This article discusses log-in methods and security measures regarding your SELMA account.
In this section:
The SELMA Login Screen
There are two ways to login to SELMA: via 2FA or third-party apps.
Note: Each provider has a unique login URL to access SELMA. For quick access to the login screen, bookmark the URL by saving it to your Favourites folder on your browser.
Two-Factor Authentication (2FA)
2FA involves two steps to login to your SELMA account:
- Enter your Email and Password (Figure 1.).
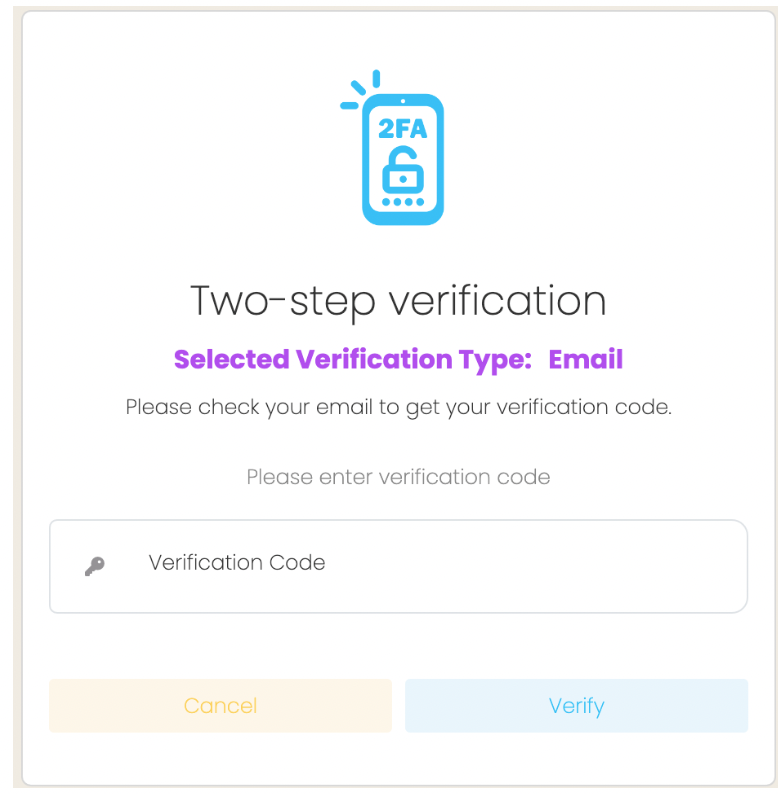
- Enter the verification code sent to your email (Figure 2.).
Figure 1. Enter your Email and Password on the SELMA Login screen.
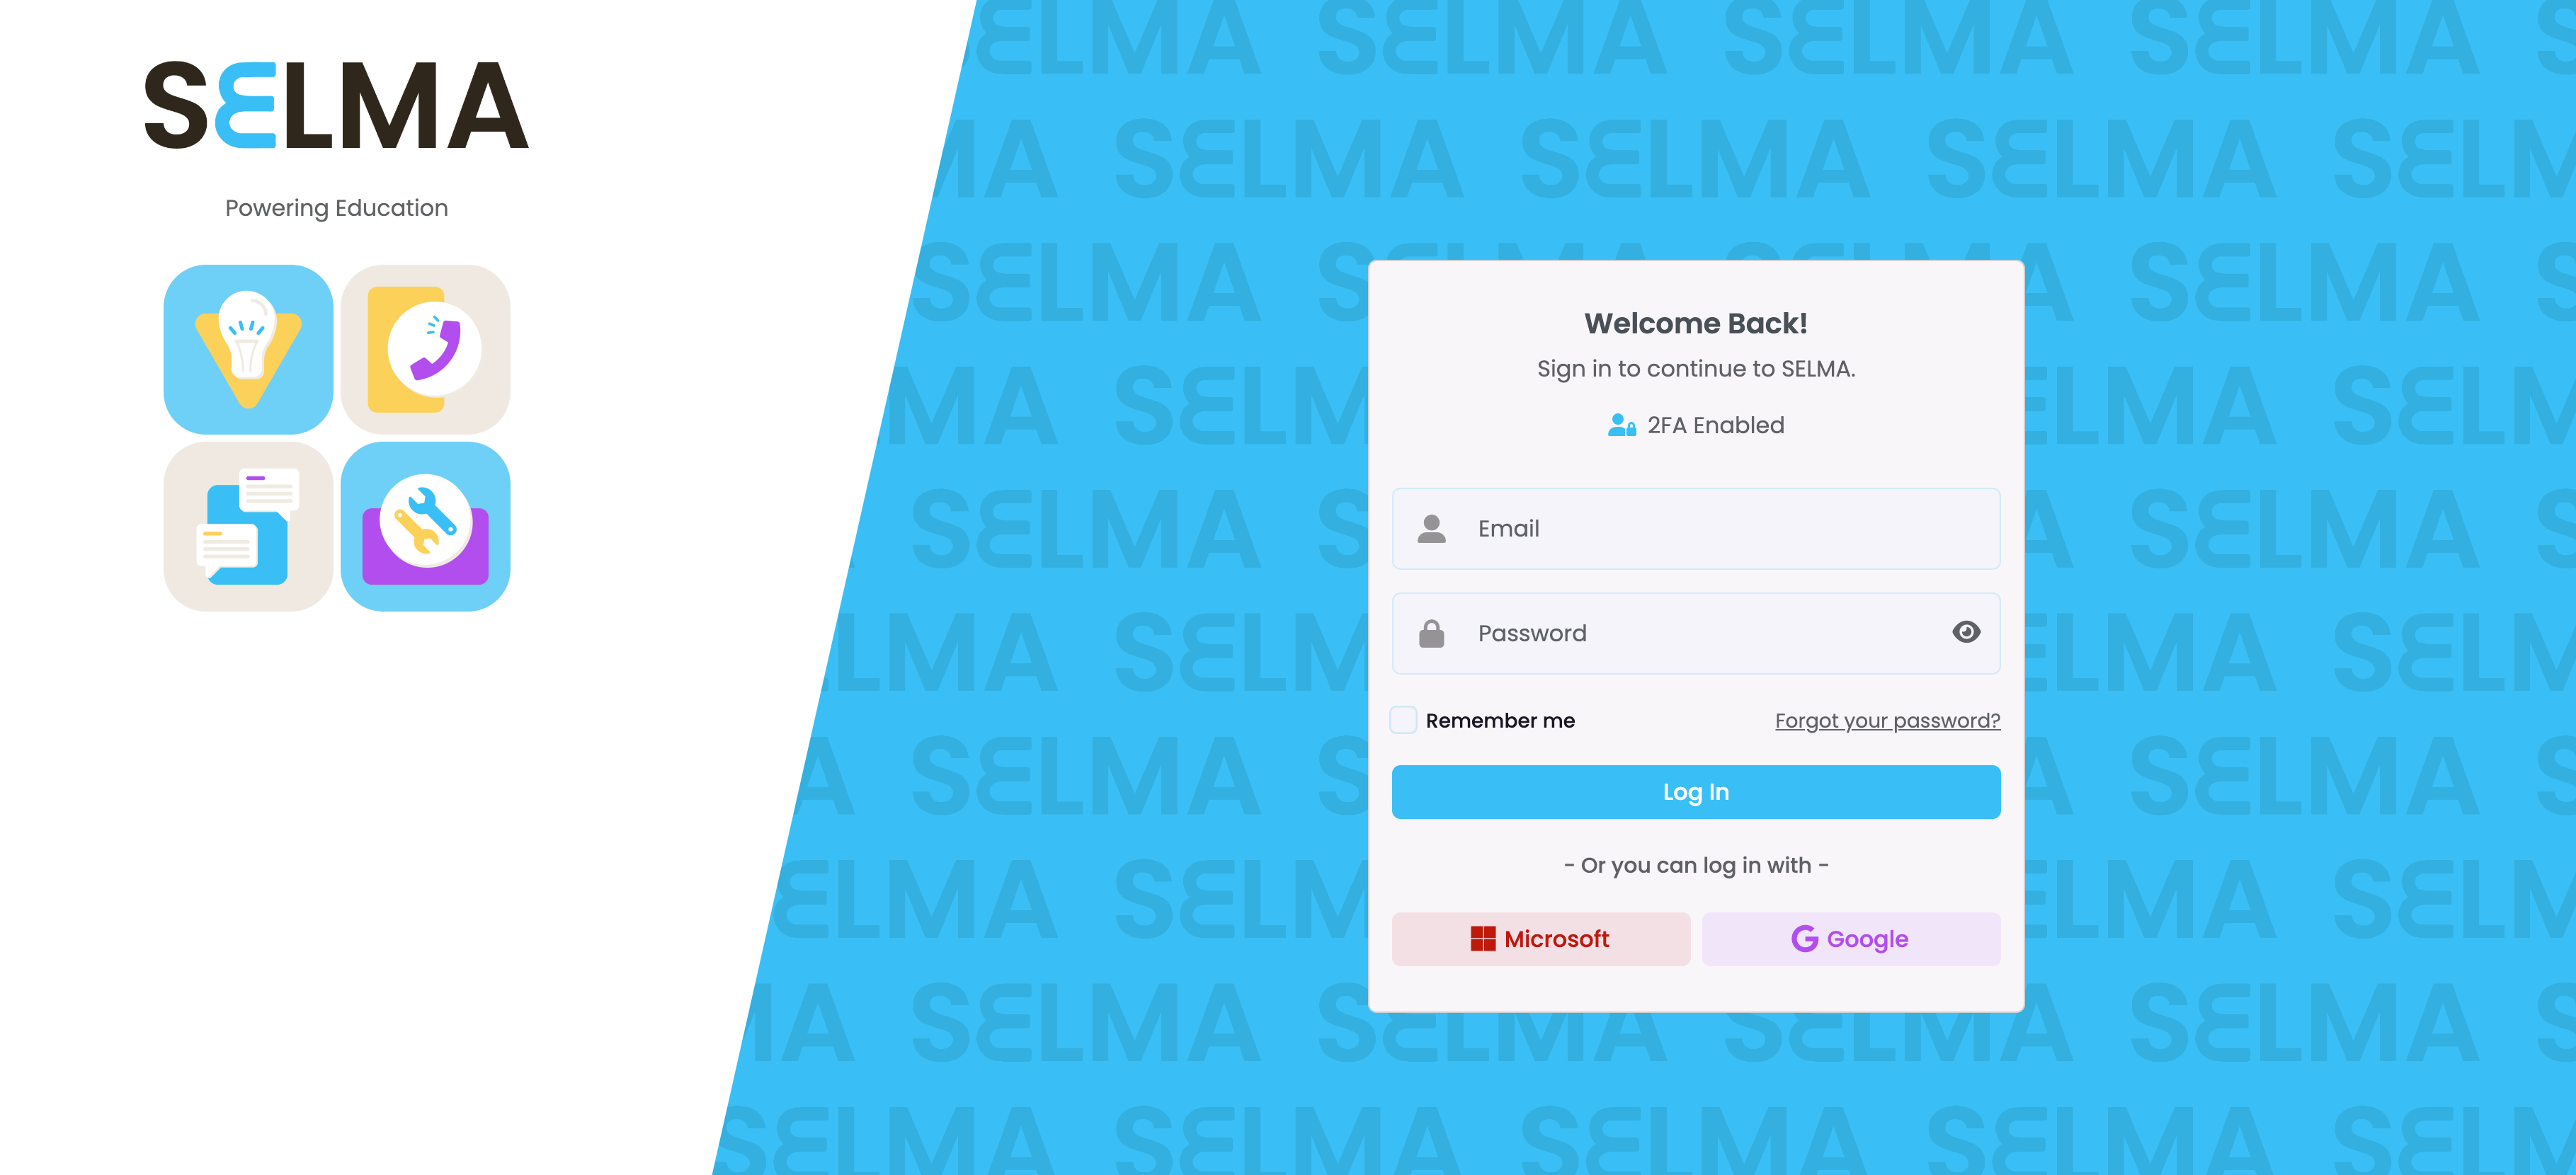
Figure 2. Enter the verification code sent to your email.
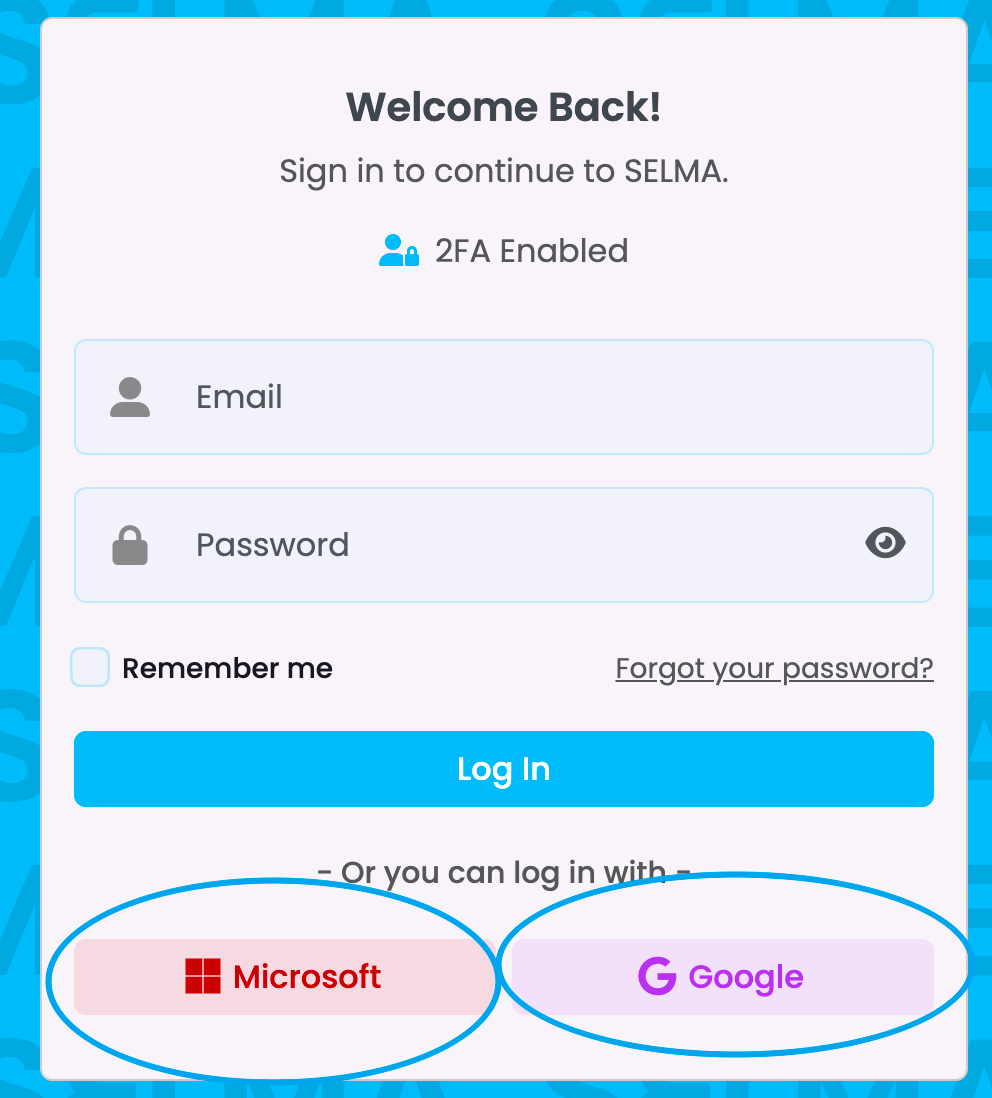
Quick-Login: Third-Party Apps
You can directly login to SELMA by automatically verifying your identity via your Google or Microsoft 365 accounts (Figure 3.).
Please contact SELMA Support to use the above third-party apps.
Figure 3. Click the Microsoft or Google buttons to login automatically.
Forgot Password
If you have forgotten your password you need not worry. The password recovery process is quick and simple:
Steps to Reset Your Password
- Click on “Forgot your password?” on the login screen (Figure 1.).
- A new screen will appear prompting you to enter your email address and click “Submit” (Figure 4.)
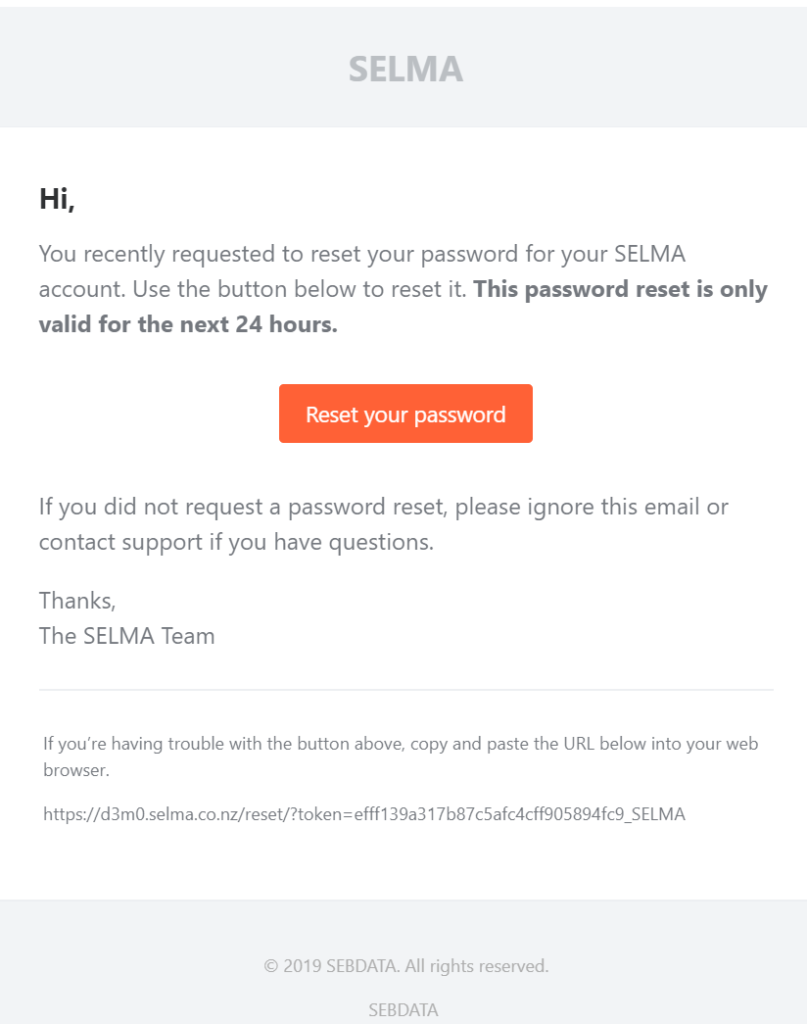
- A password reset link will have been sent your email. Click the link to set-up a new password (Figure 5.).
- If you don’t receive your email in you primary inbox, please check your “Other” and “Spam” inboxes.
- Once you have created a new password, you will be redirected to the SELMA login screen to use it.
Figure 4. Send a password reset link to your email.
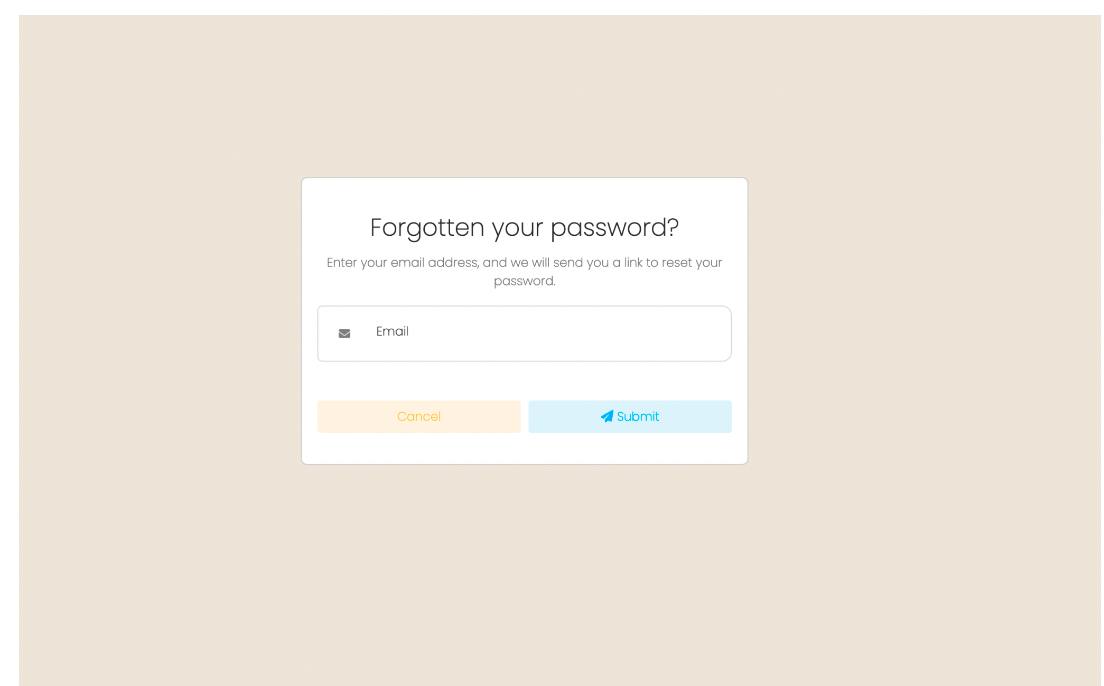
Figure 5. Click the “Reset your password” button in your SELMA email.
Logging-Out
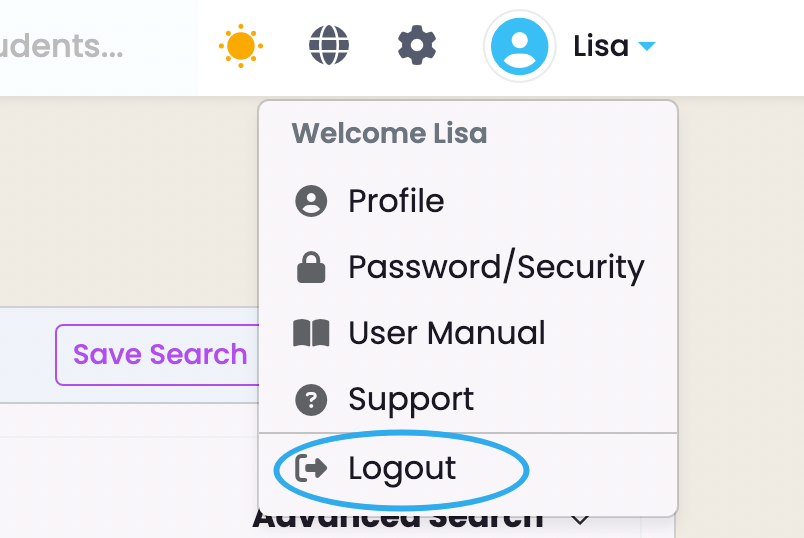
Please ensure you log-out of your account after use, by navigating from your Account Name > Logout (Figure 6.).
Figure 6. Click your Account Name in the top right of the navigation bar, and click “Logout”.
Security Measures
Enable MFA for Third-Party Logins
If using third-party authentication like Google or Microsoft to login, ensure that Multi-Factor Authentication is enabled on the third-party accounts for additional protection.
- Please contact SELMA Support to use third-party authentication.
Role-Based Access Control
Clearly define roles and assign permissions based on users’ responsibilities. Avoid granting excessive access permissions.
- Please see System Users – User Roles and Permissions in this resource for more information.
Do Not Share Credentials
Keep your login details private. Sharing credentials compromises the system’s security and accountability.
Recommended Browser
Use Google Chrome for the best compatibility and performance when accessing SELMA.
Regular Password Updates
If using 2FA to login, update your password periodically, and avoid reusing old passwords.
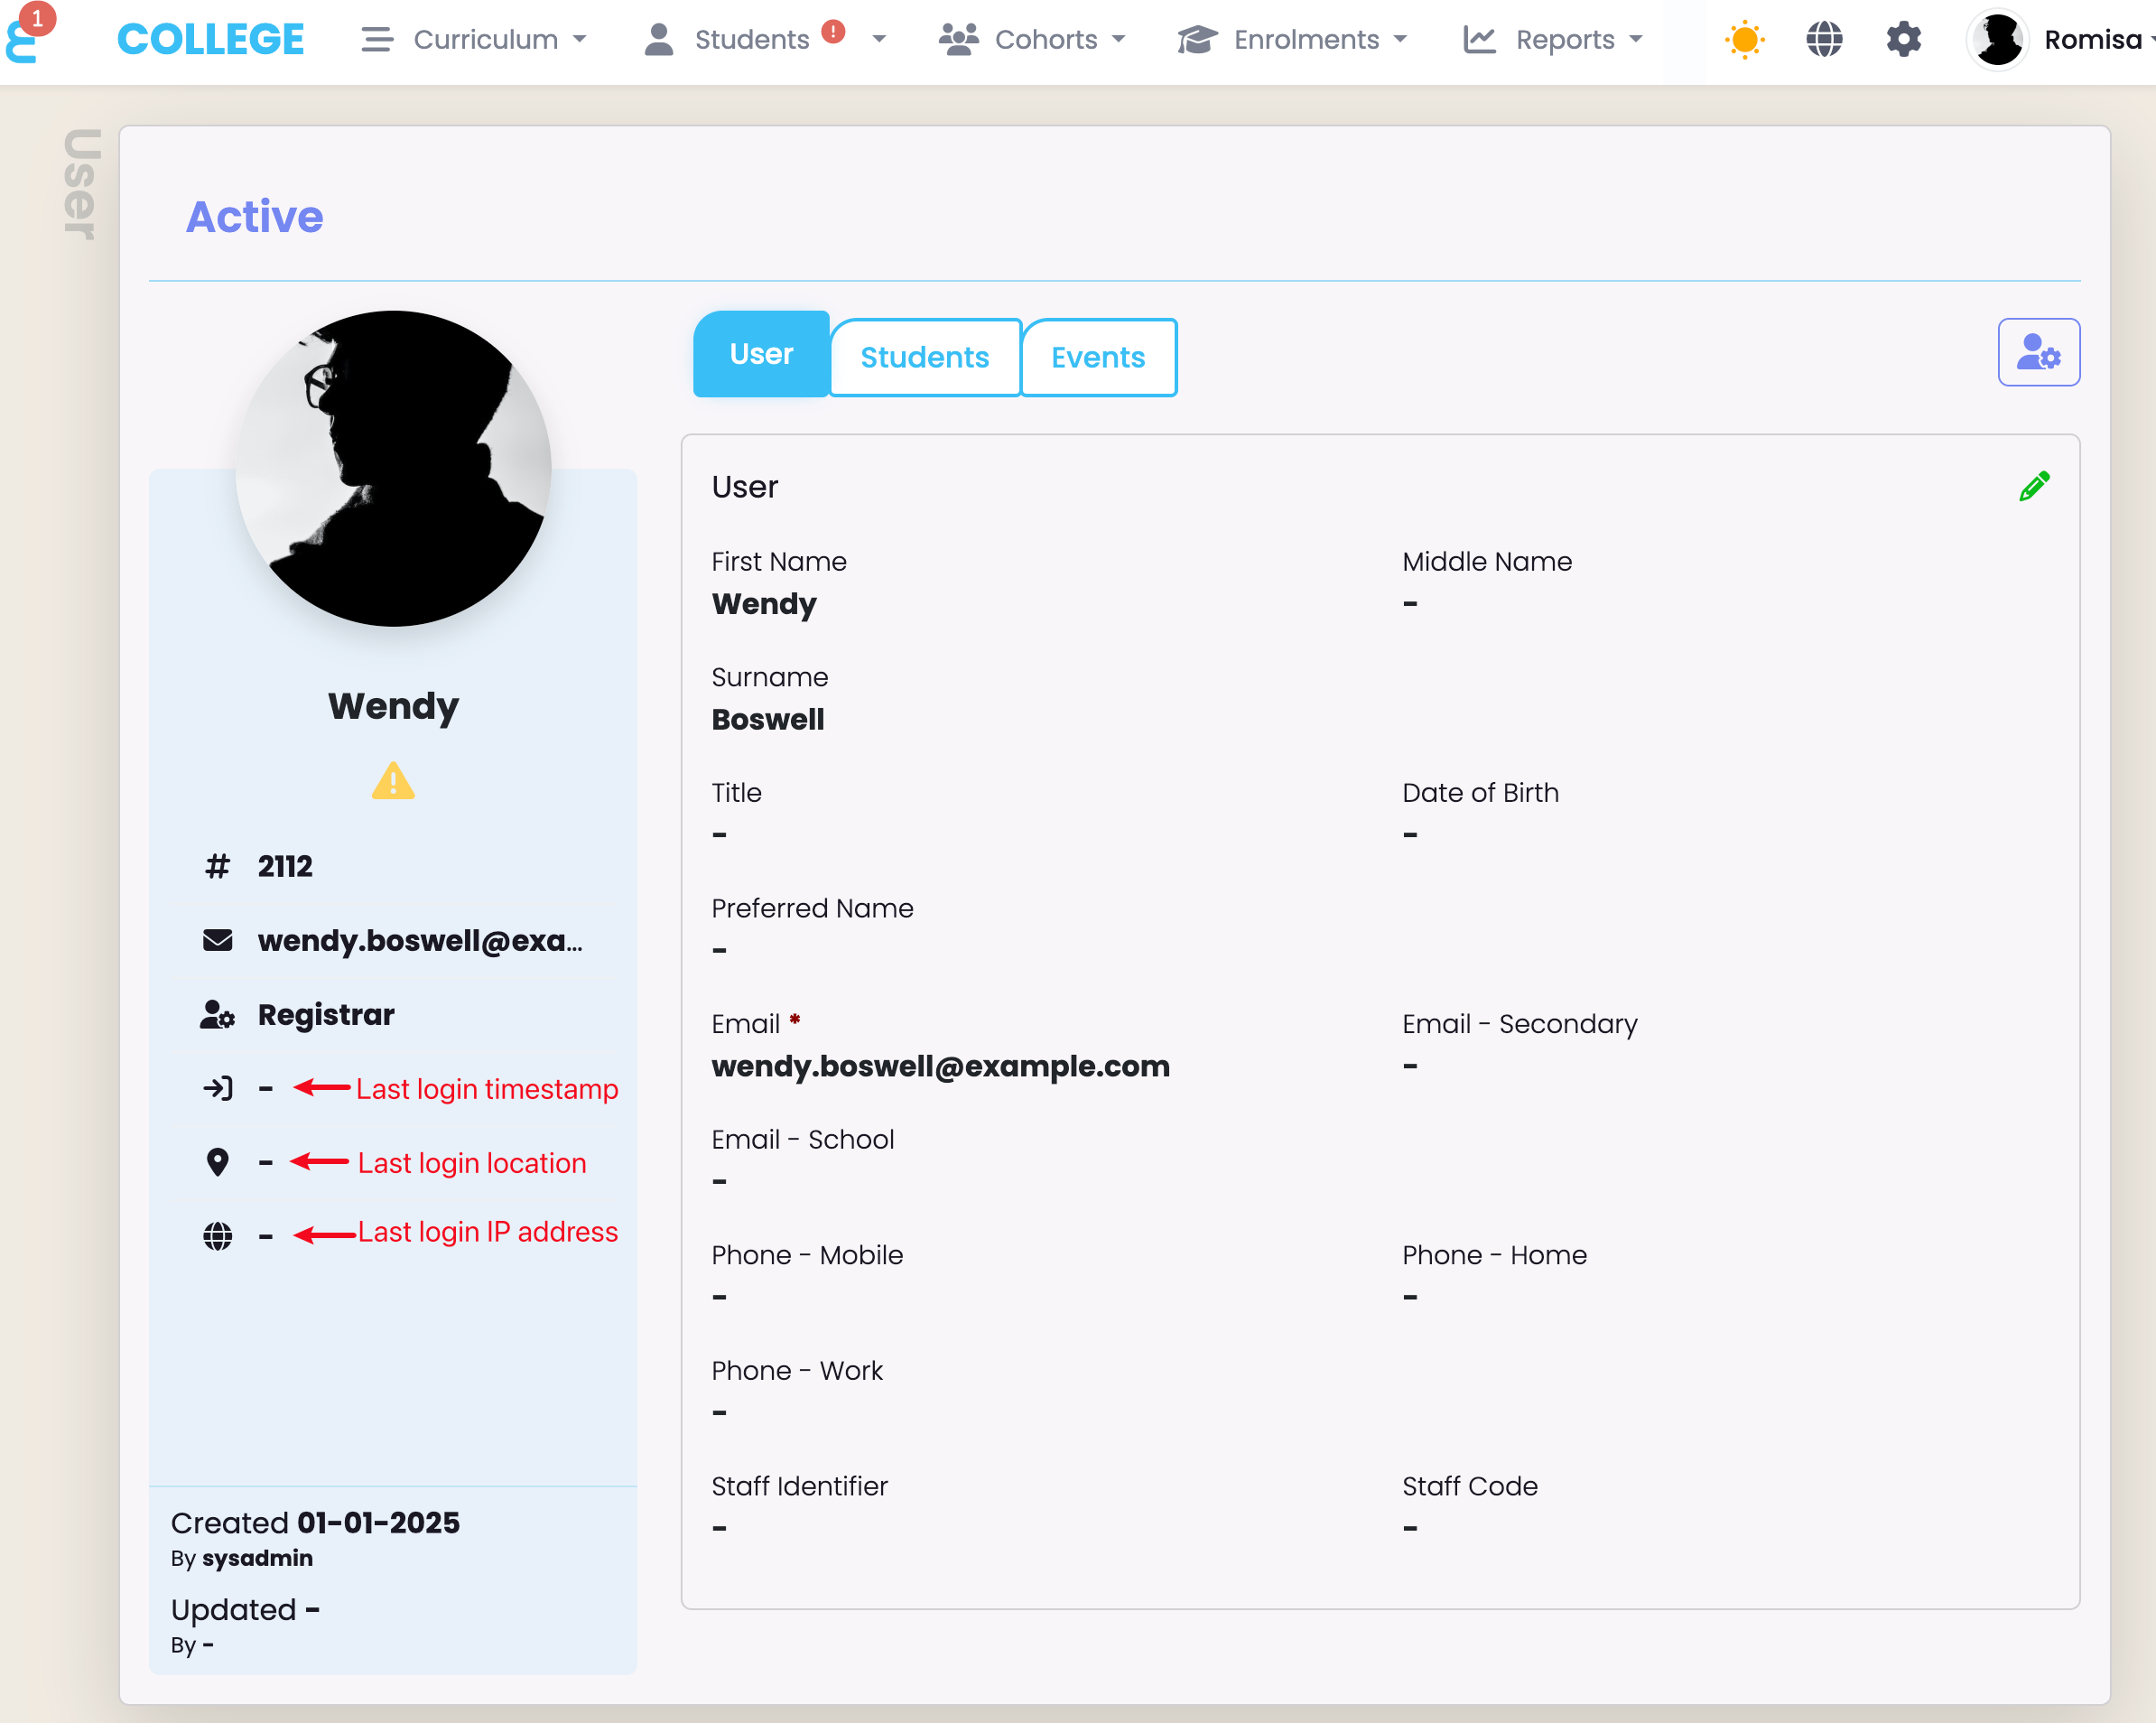
Monitor Login Activity
Monitor staff login details from their User profile, including their last login timestamp, IP address, and geographic location. Unexpected logins from unauthorised countries and/or IP addresses may indicate suspicious activity (Figure 7.).
Revoke Access for Departed Staff
Registrars must immediately deactivate User accounts that are no longer active. This ensures they can no longer access the system and reduces the risk of unauthorised login attempts.
- Please see System Users – User Roles and Permissions for more information.
Figure 7. Keep an eye on “Last login” details on User profiles for any suspicious activity (red).