Please send the following article to the Stakeholder/Contact who is working with your organisation.
How to Enrol Students
Figure 1. Invite to Portal
Click the portal invitation link in your primary email inbox. Then, follow the instructions, and set-up a password via the “Forgot Password” option.
- NOTE: The portal invitation email may be found in your spam/junk folder.
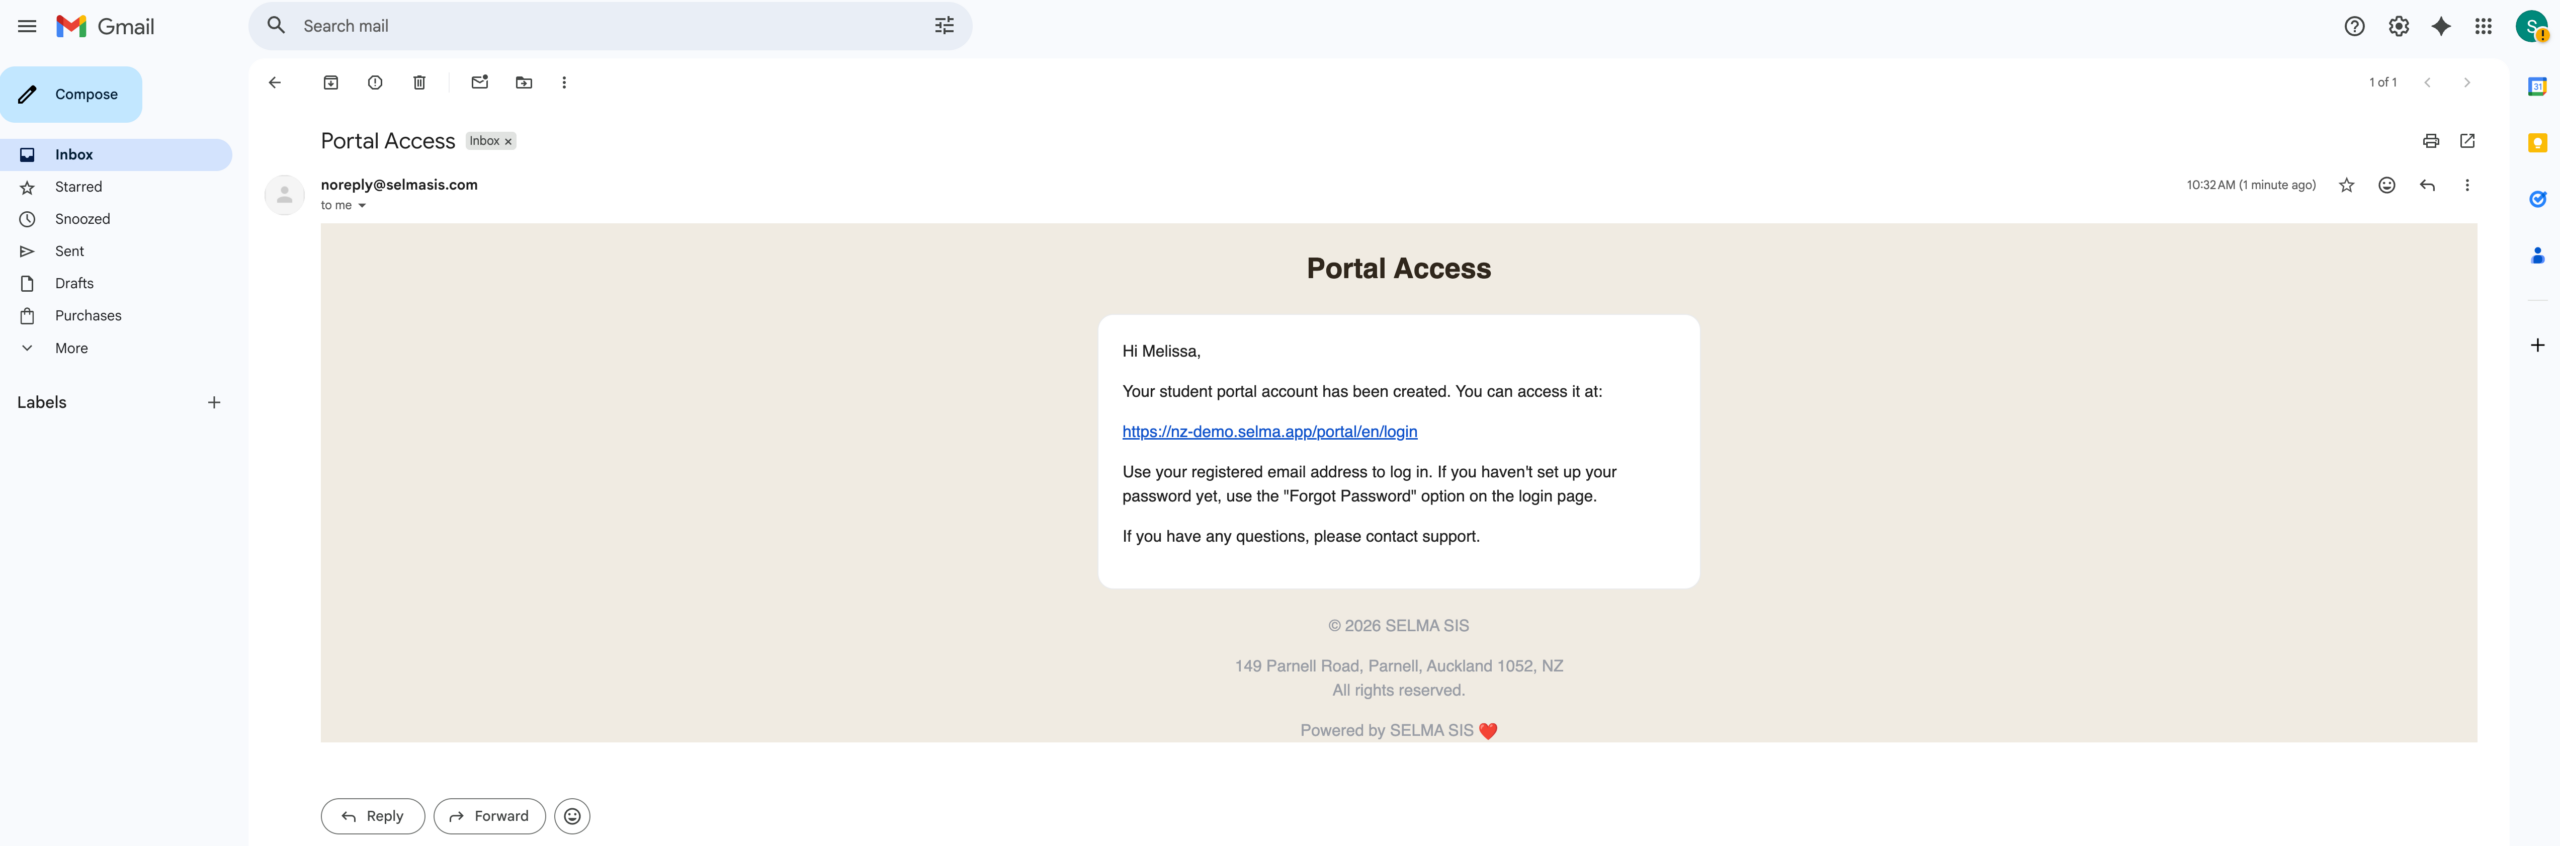
Figure 2. Enrol Students
Click the link “Enrol Students” on the top navigation bar.
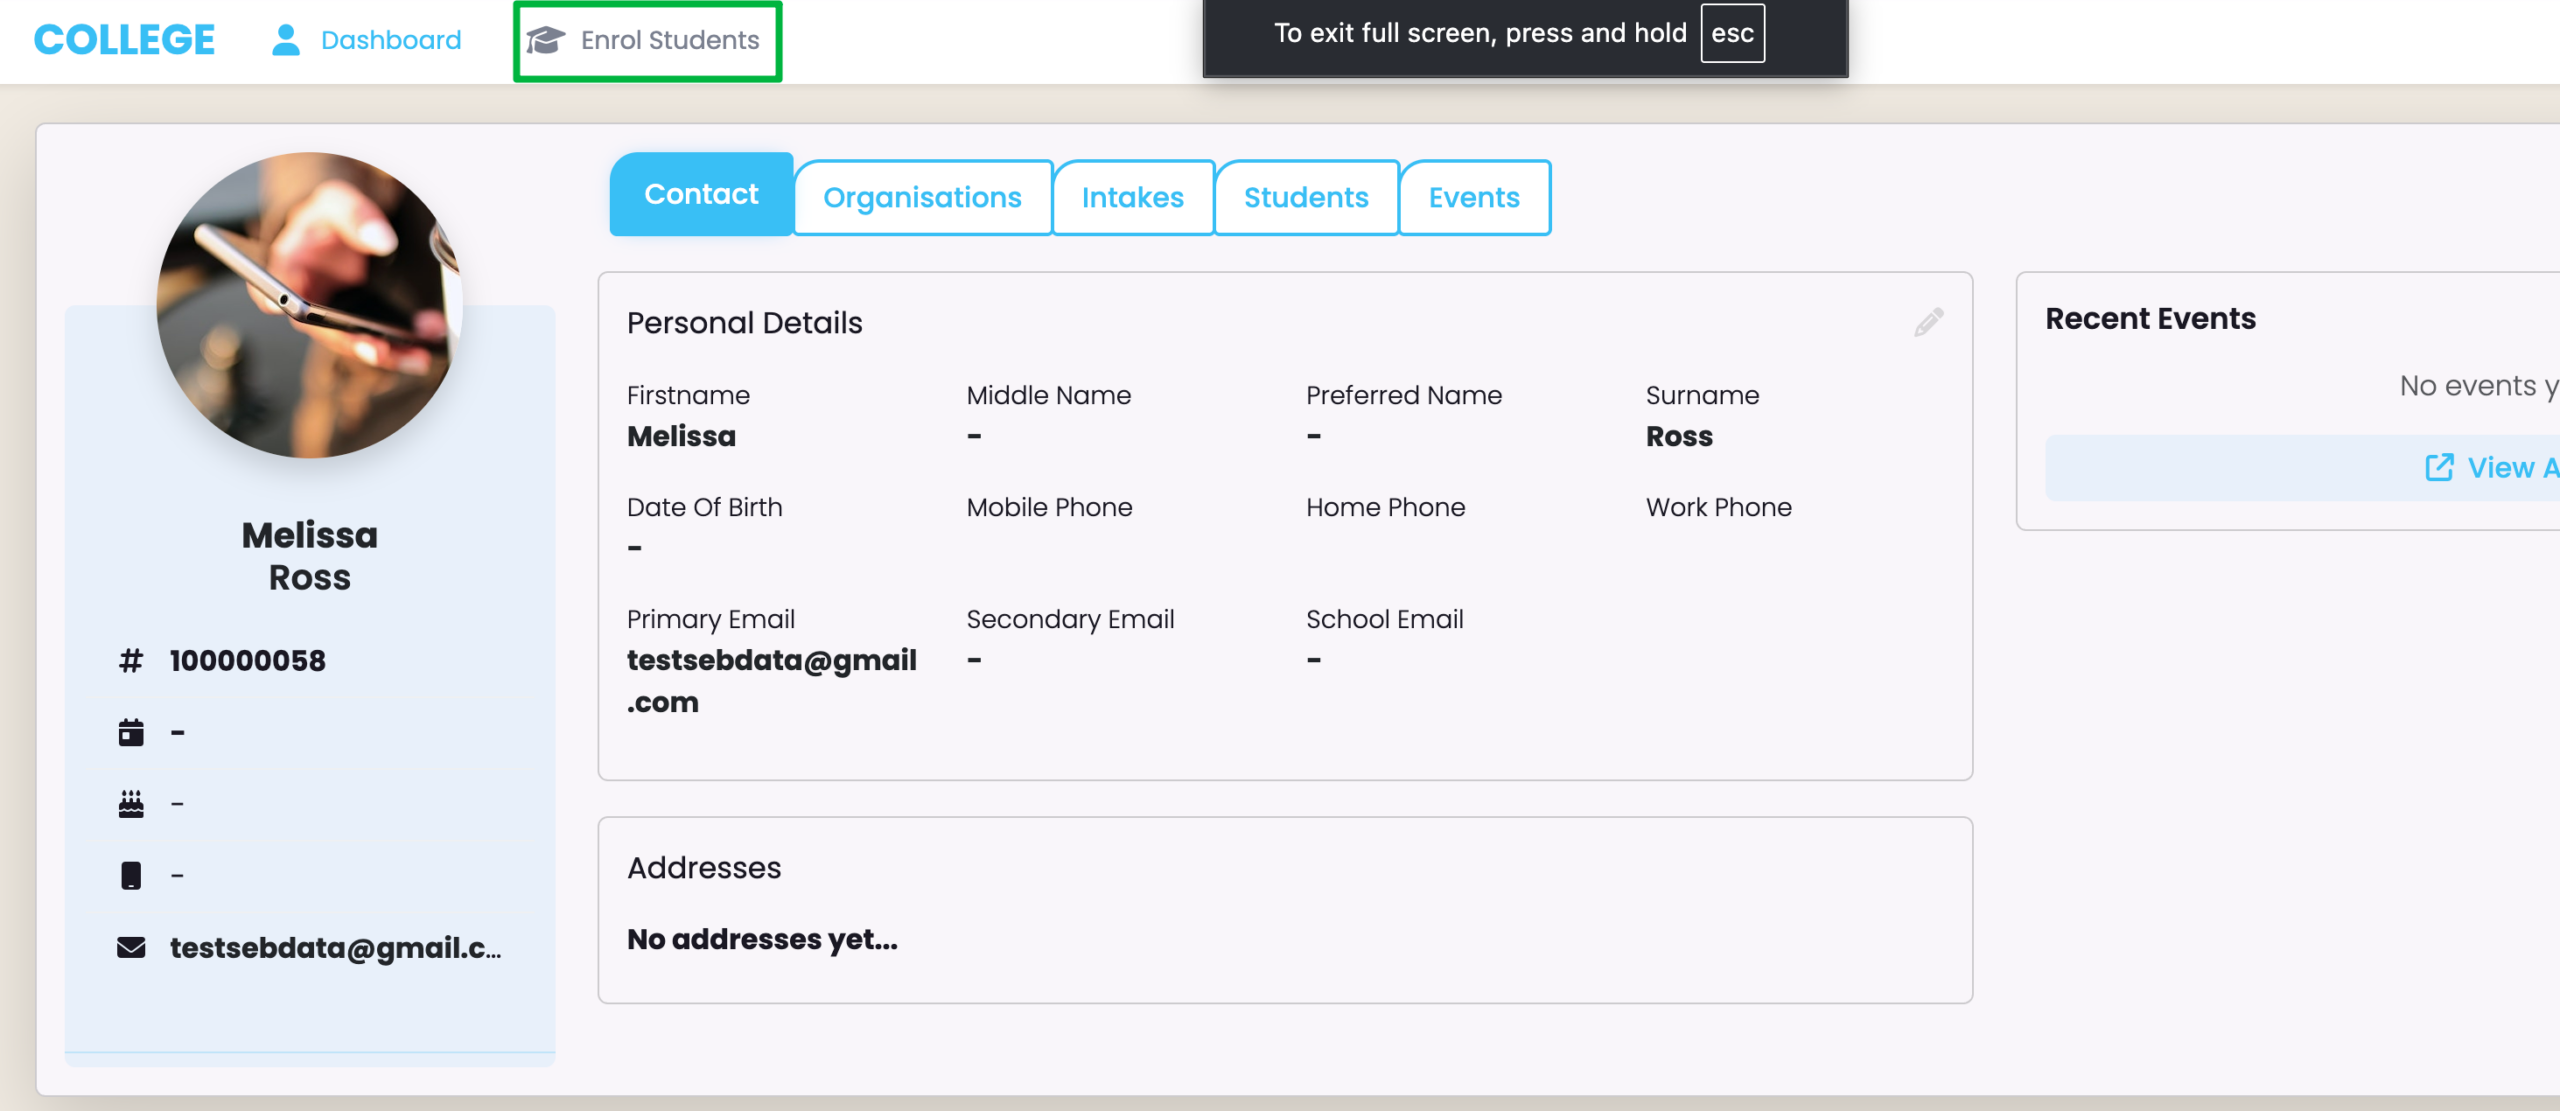
Figure 3. Select a Programme
You will see all available Programme/s, here. Click the “View Intakes” button to select a Programme.
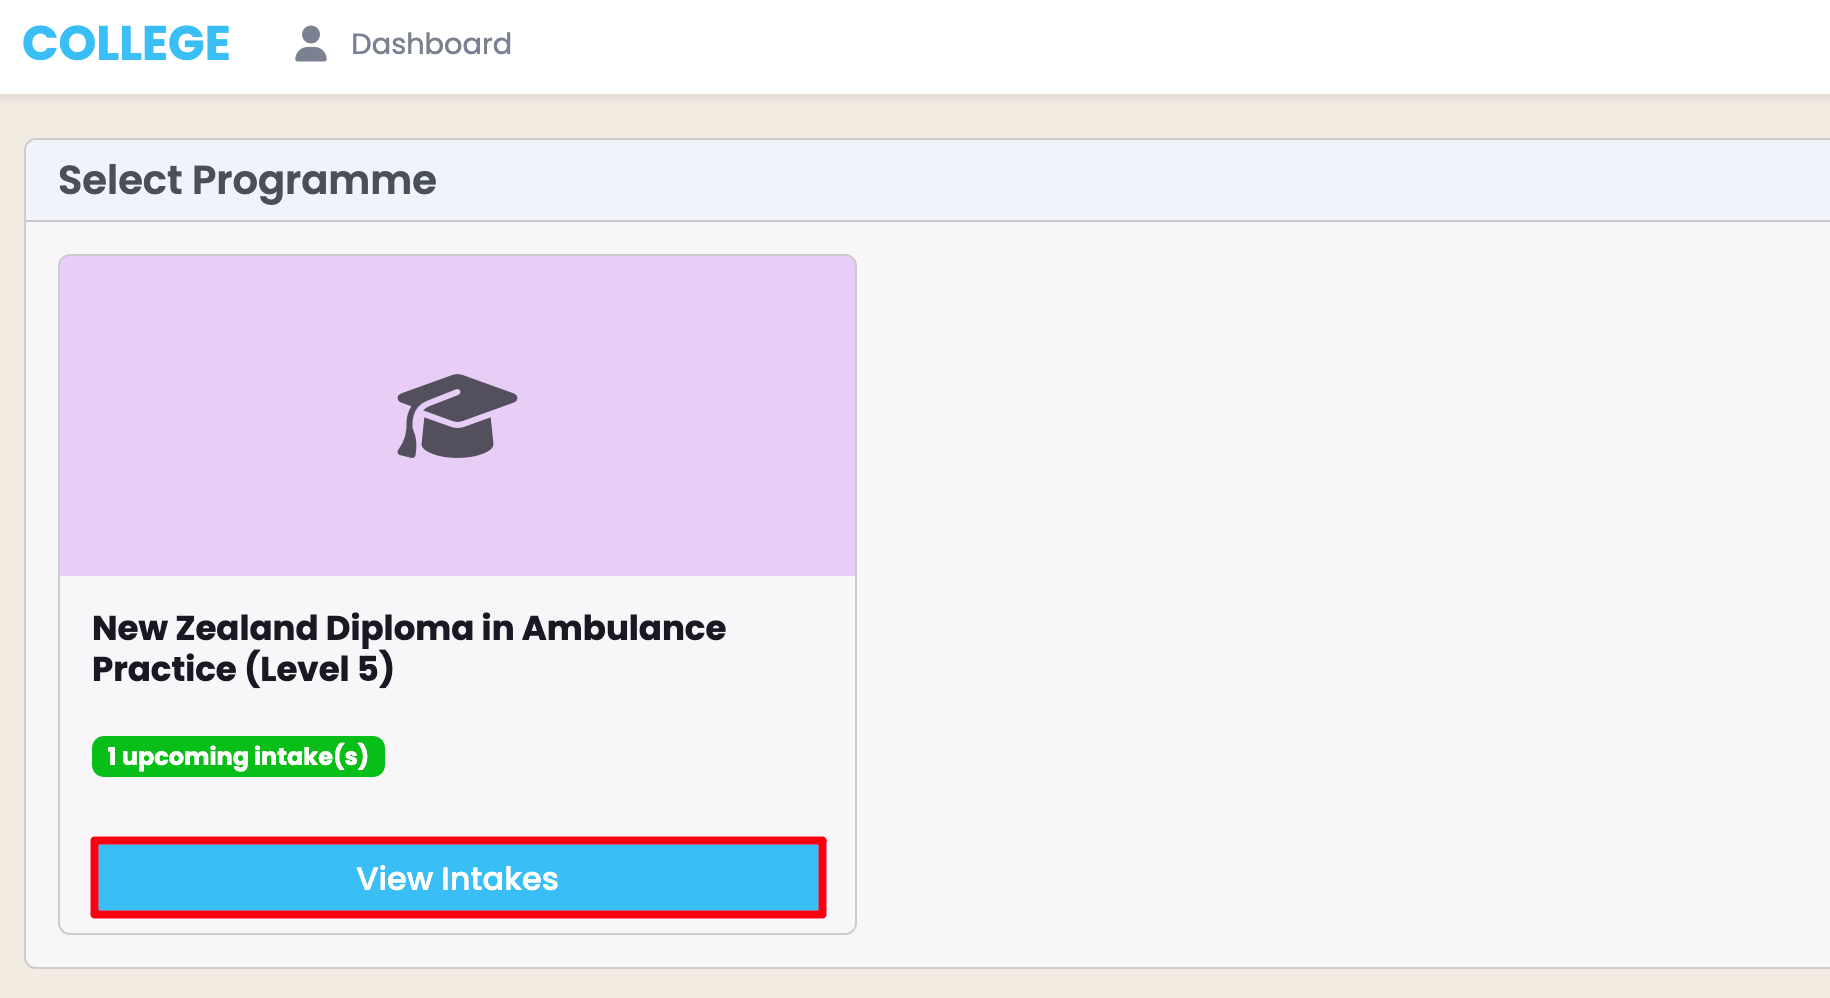
Figure 4. Select Intake and Enrol
Fill out the required fields, as marked by red asterisks.
- NOTE: You can see specific details about each Intake (orange), including how many spots are remaining in the Intake. You can also select multiple Enrolments, using that number to guide you.
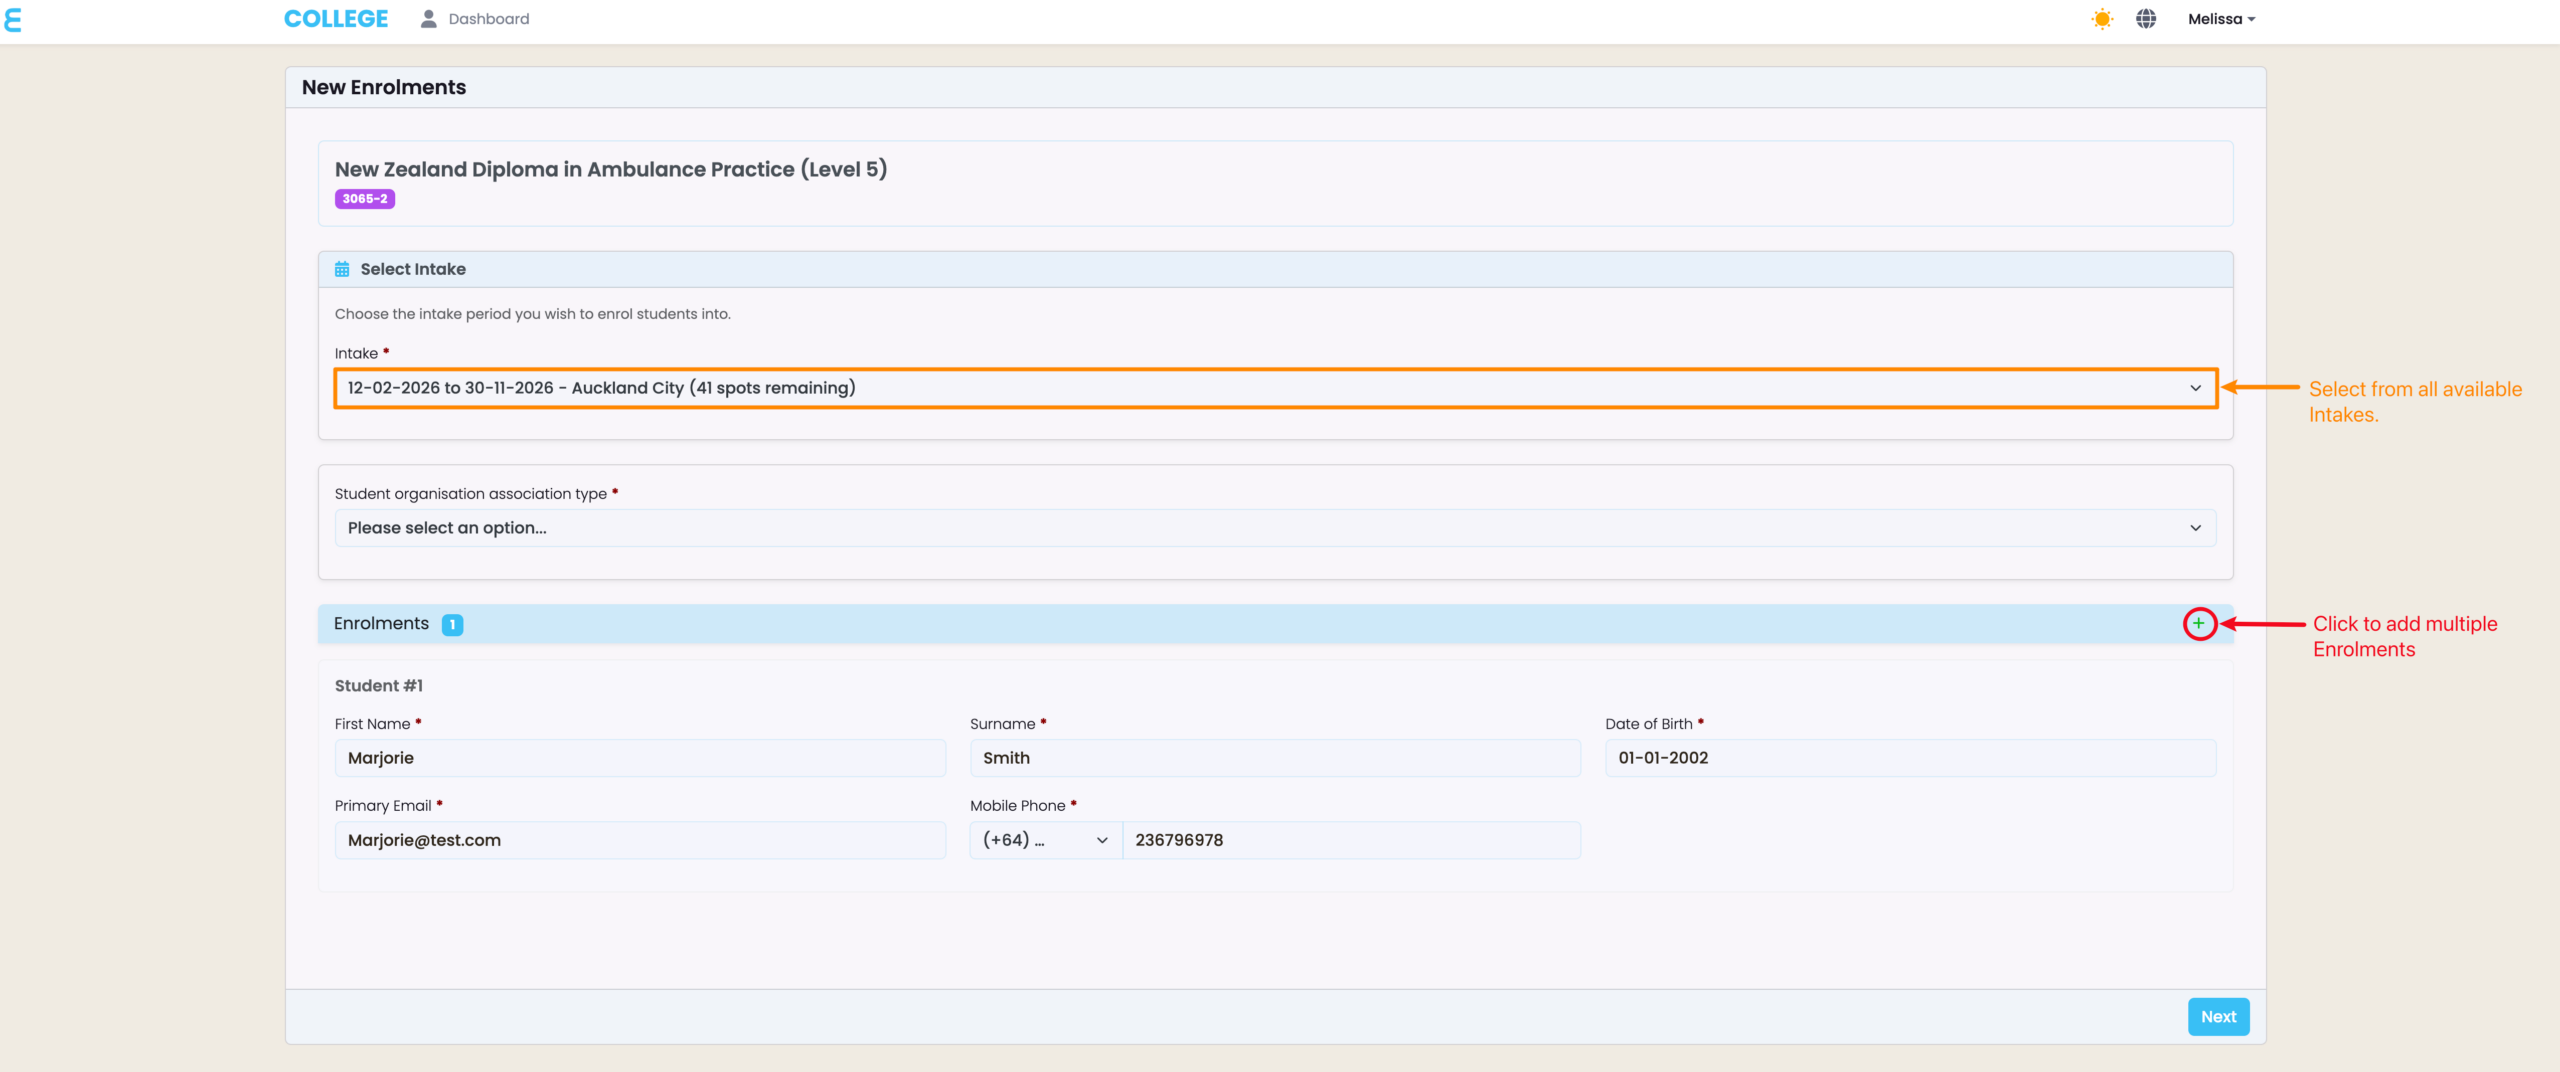
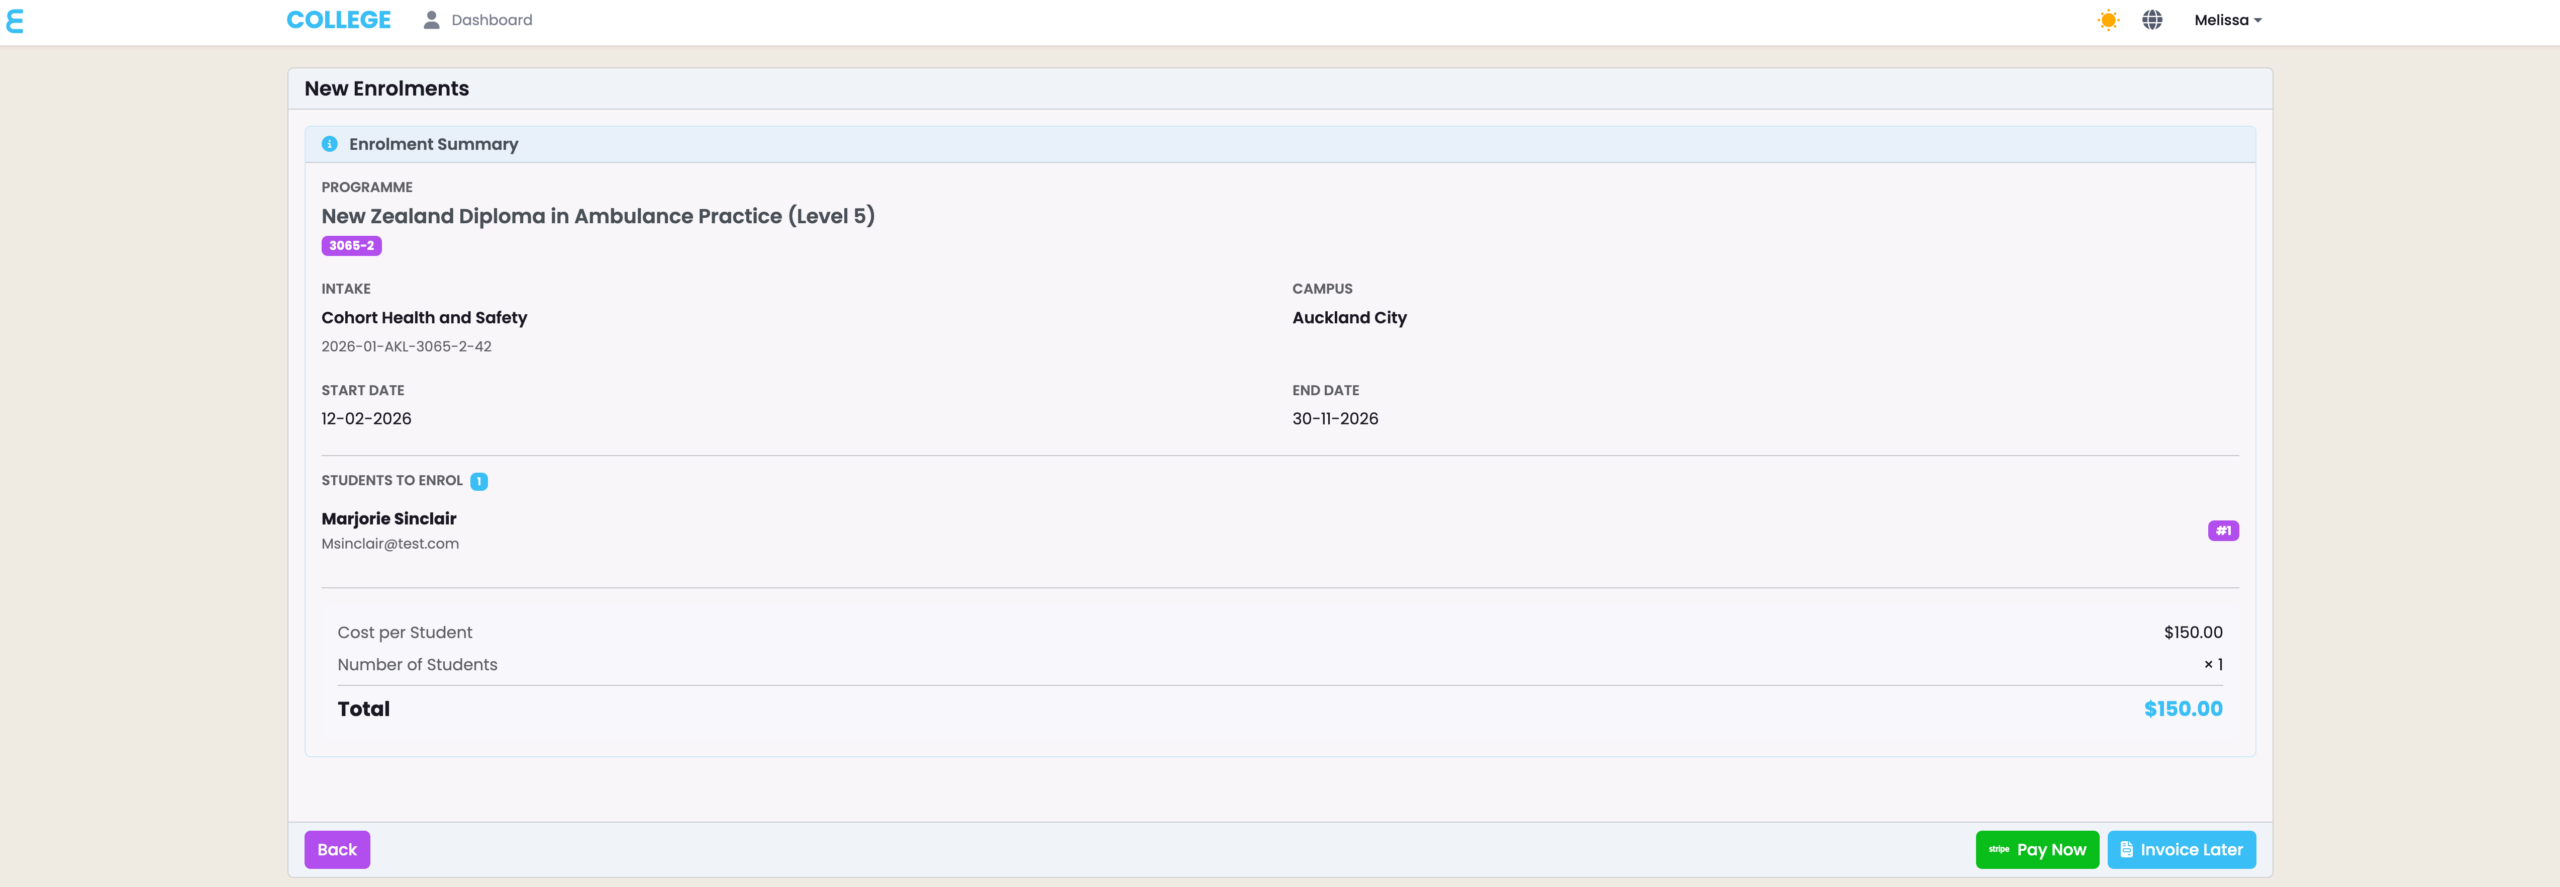
Figure 5. Review Details and Pay
Review all details before choosing to pay immediately (green button), or generating an invoice to send as an email to your Primary Email address.
- NOTE: Once this is done, the Contact’s Fees tab will show the sum of fees associated with Enrolments.