6. Lookup Data

In this Section:


Create and Manage Lookup Data

Include customised fields as a new tab on profiles by following the guide below.

Create a Data Type

Figure 1. Navigate to Settings > Lookup Data

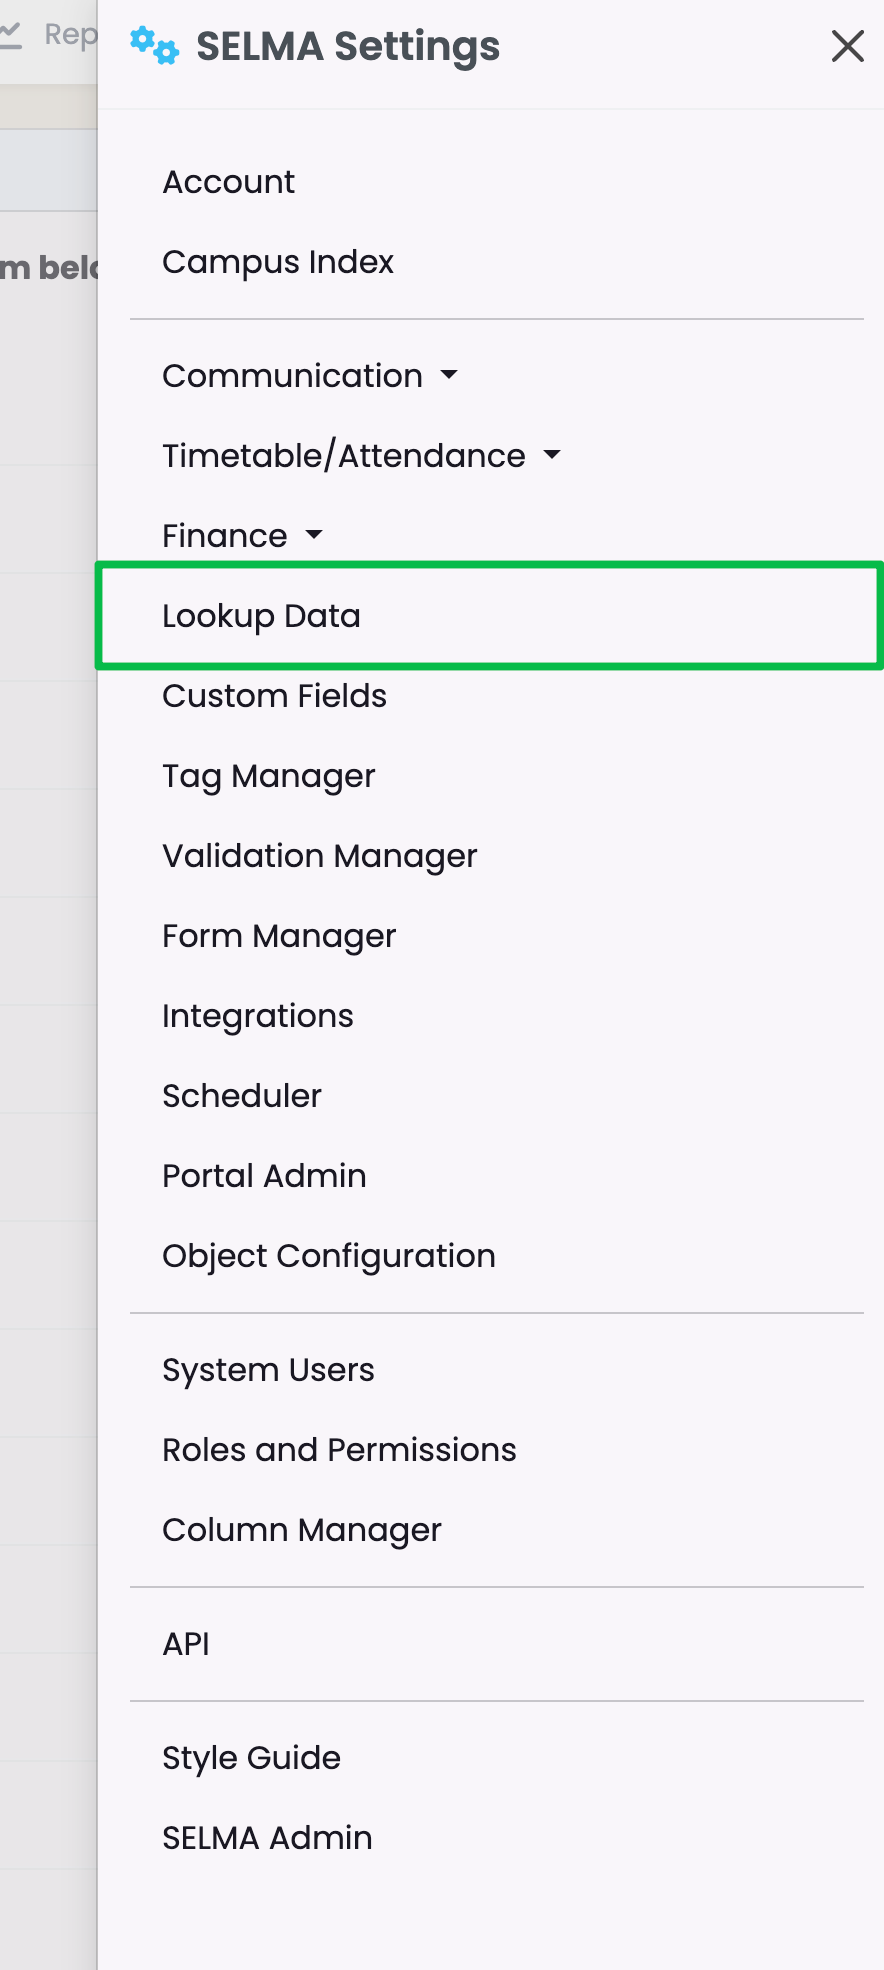
Figure 2. Lookup Data Overview

This page allows you to manage Lookup Data across multiple functions in SELMA. For example, the function “Address Type” will have multiple data values nested under it, such as “Home Address”, “Mail address”, “P.O. Box Address” etc.

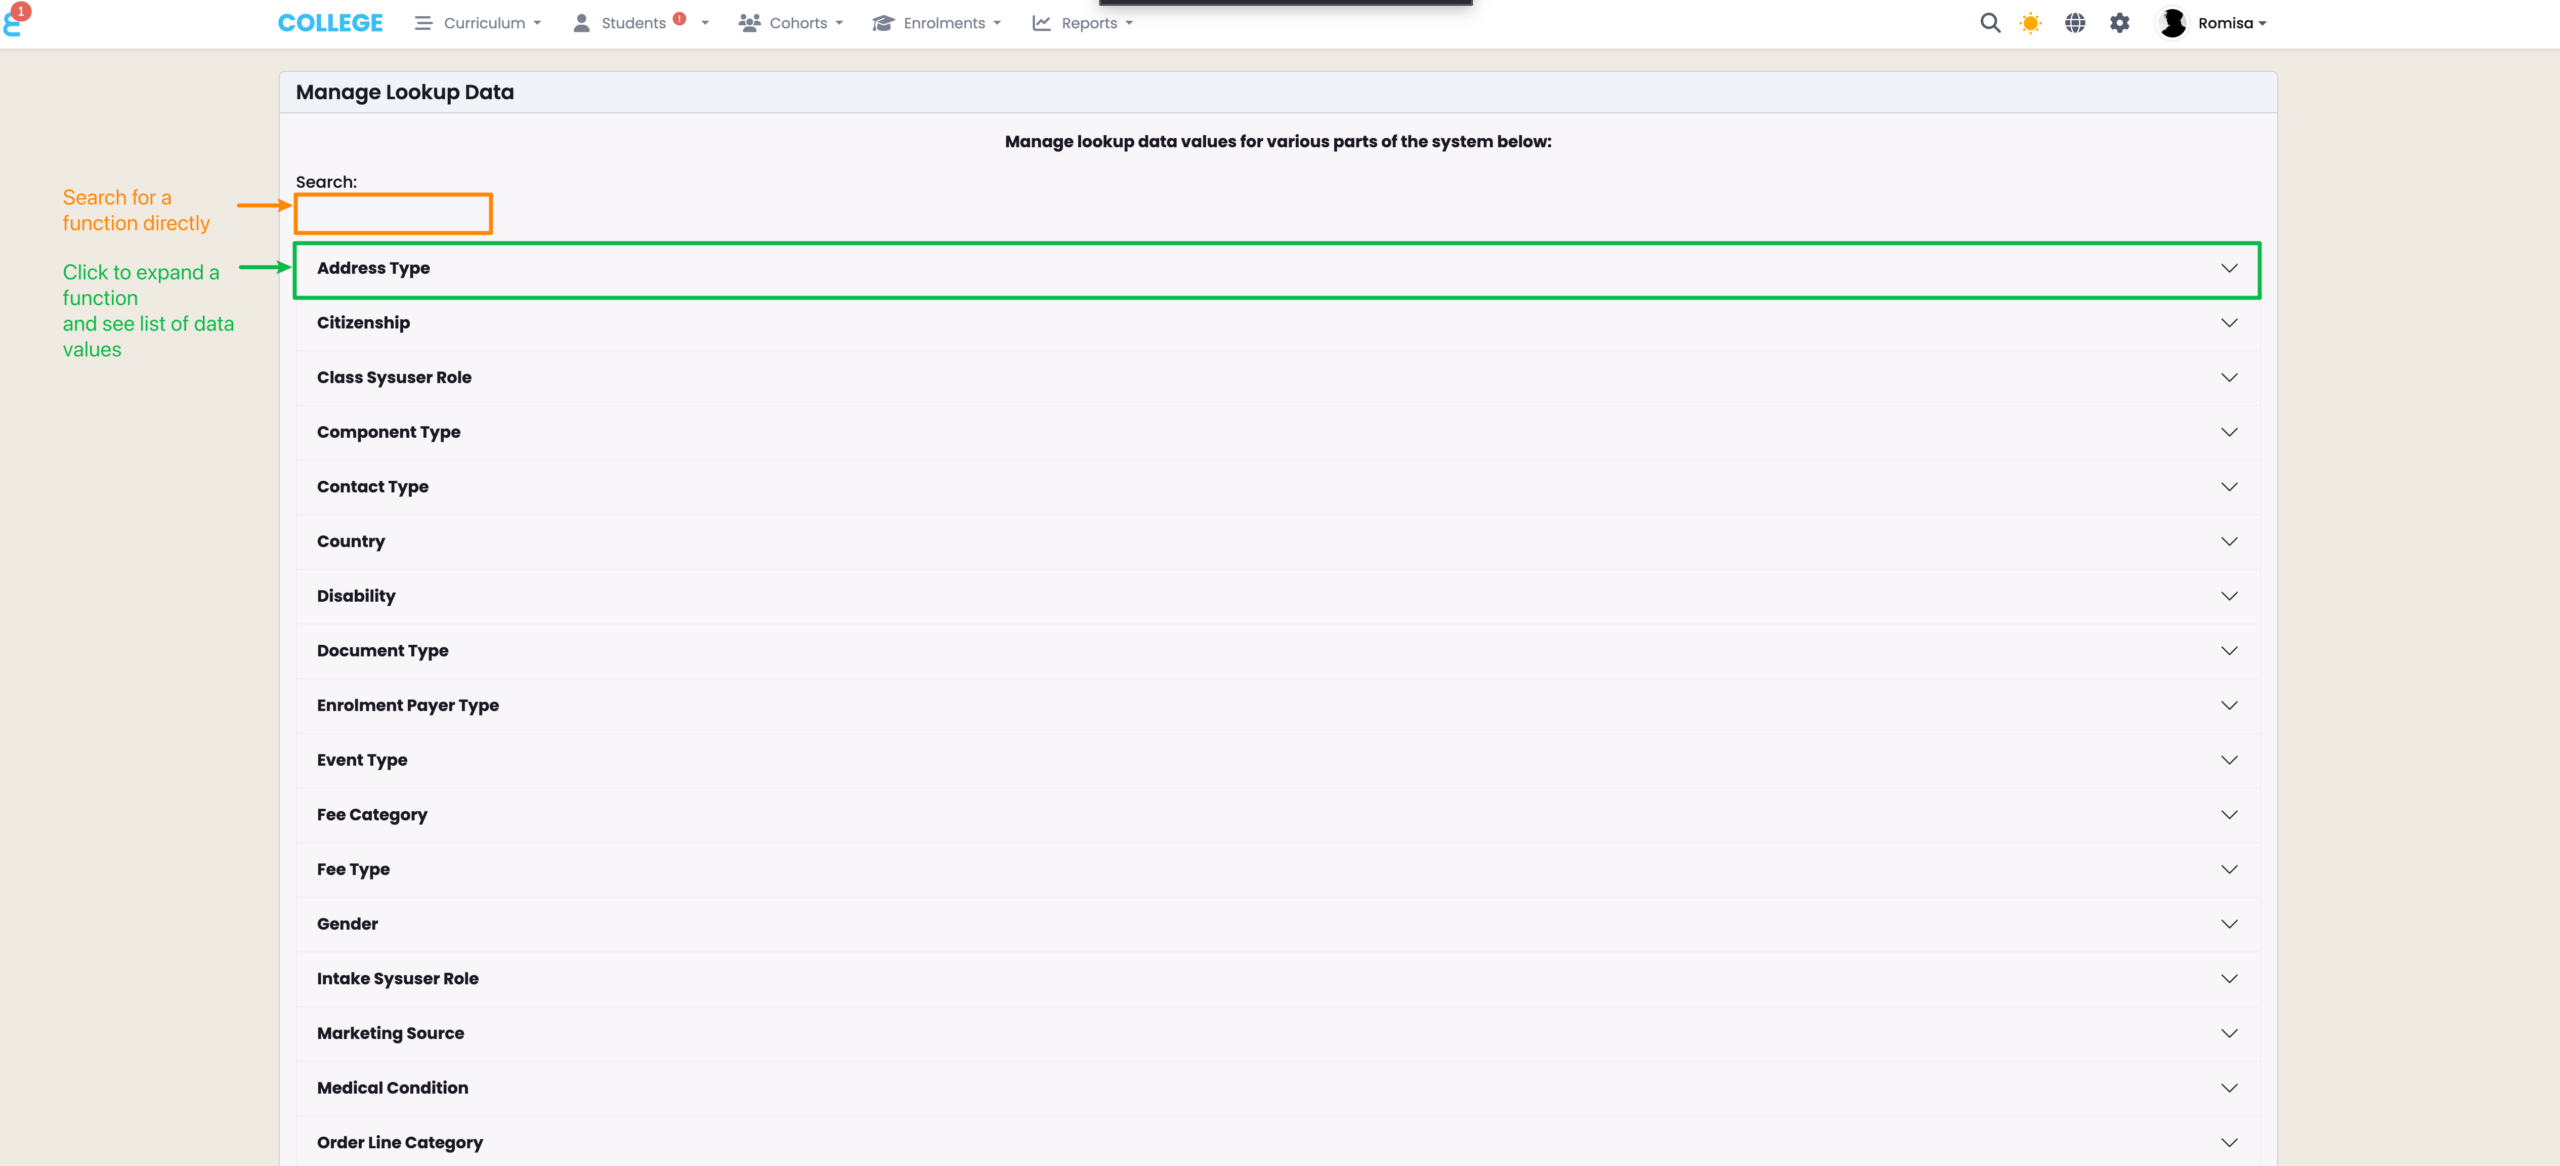
Figure 3i. Create a Data Type

Click the “New” button to create a new data value (red). Hover beside the tool icon to see a star – click the star to set a default value which will pre-populate a field in SELMA.
Note: Items represented by a tool icon are system default values and cannot be deleted or altered.

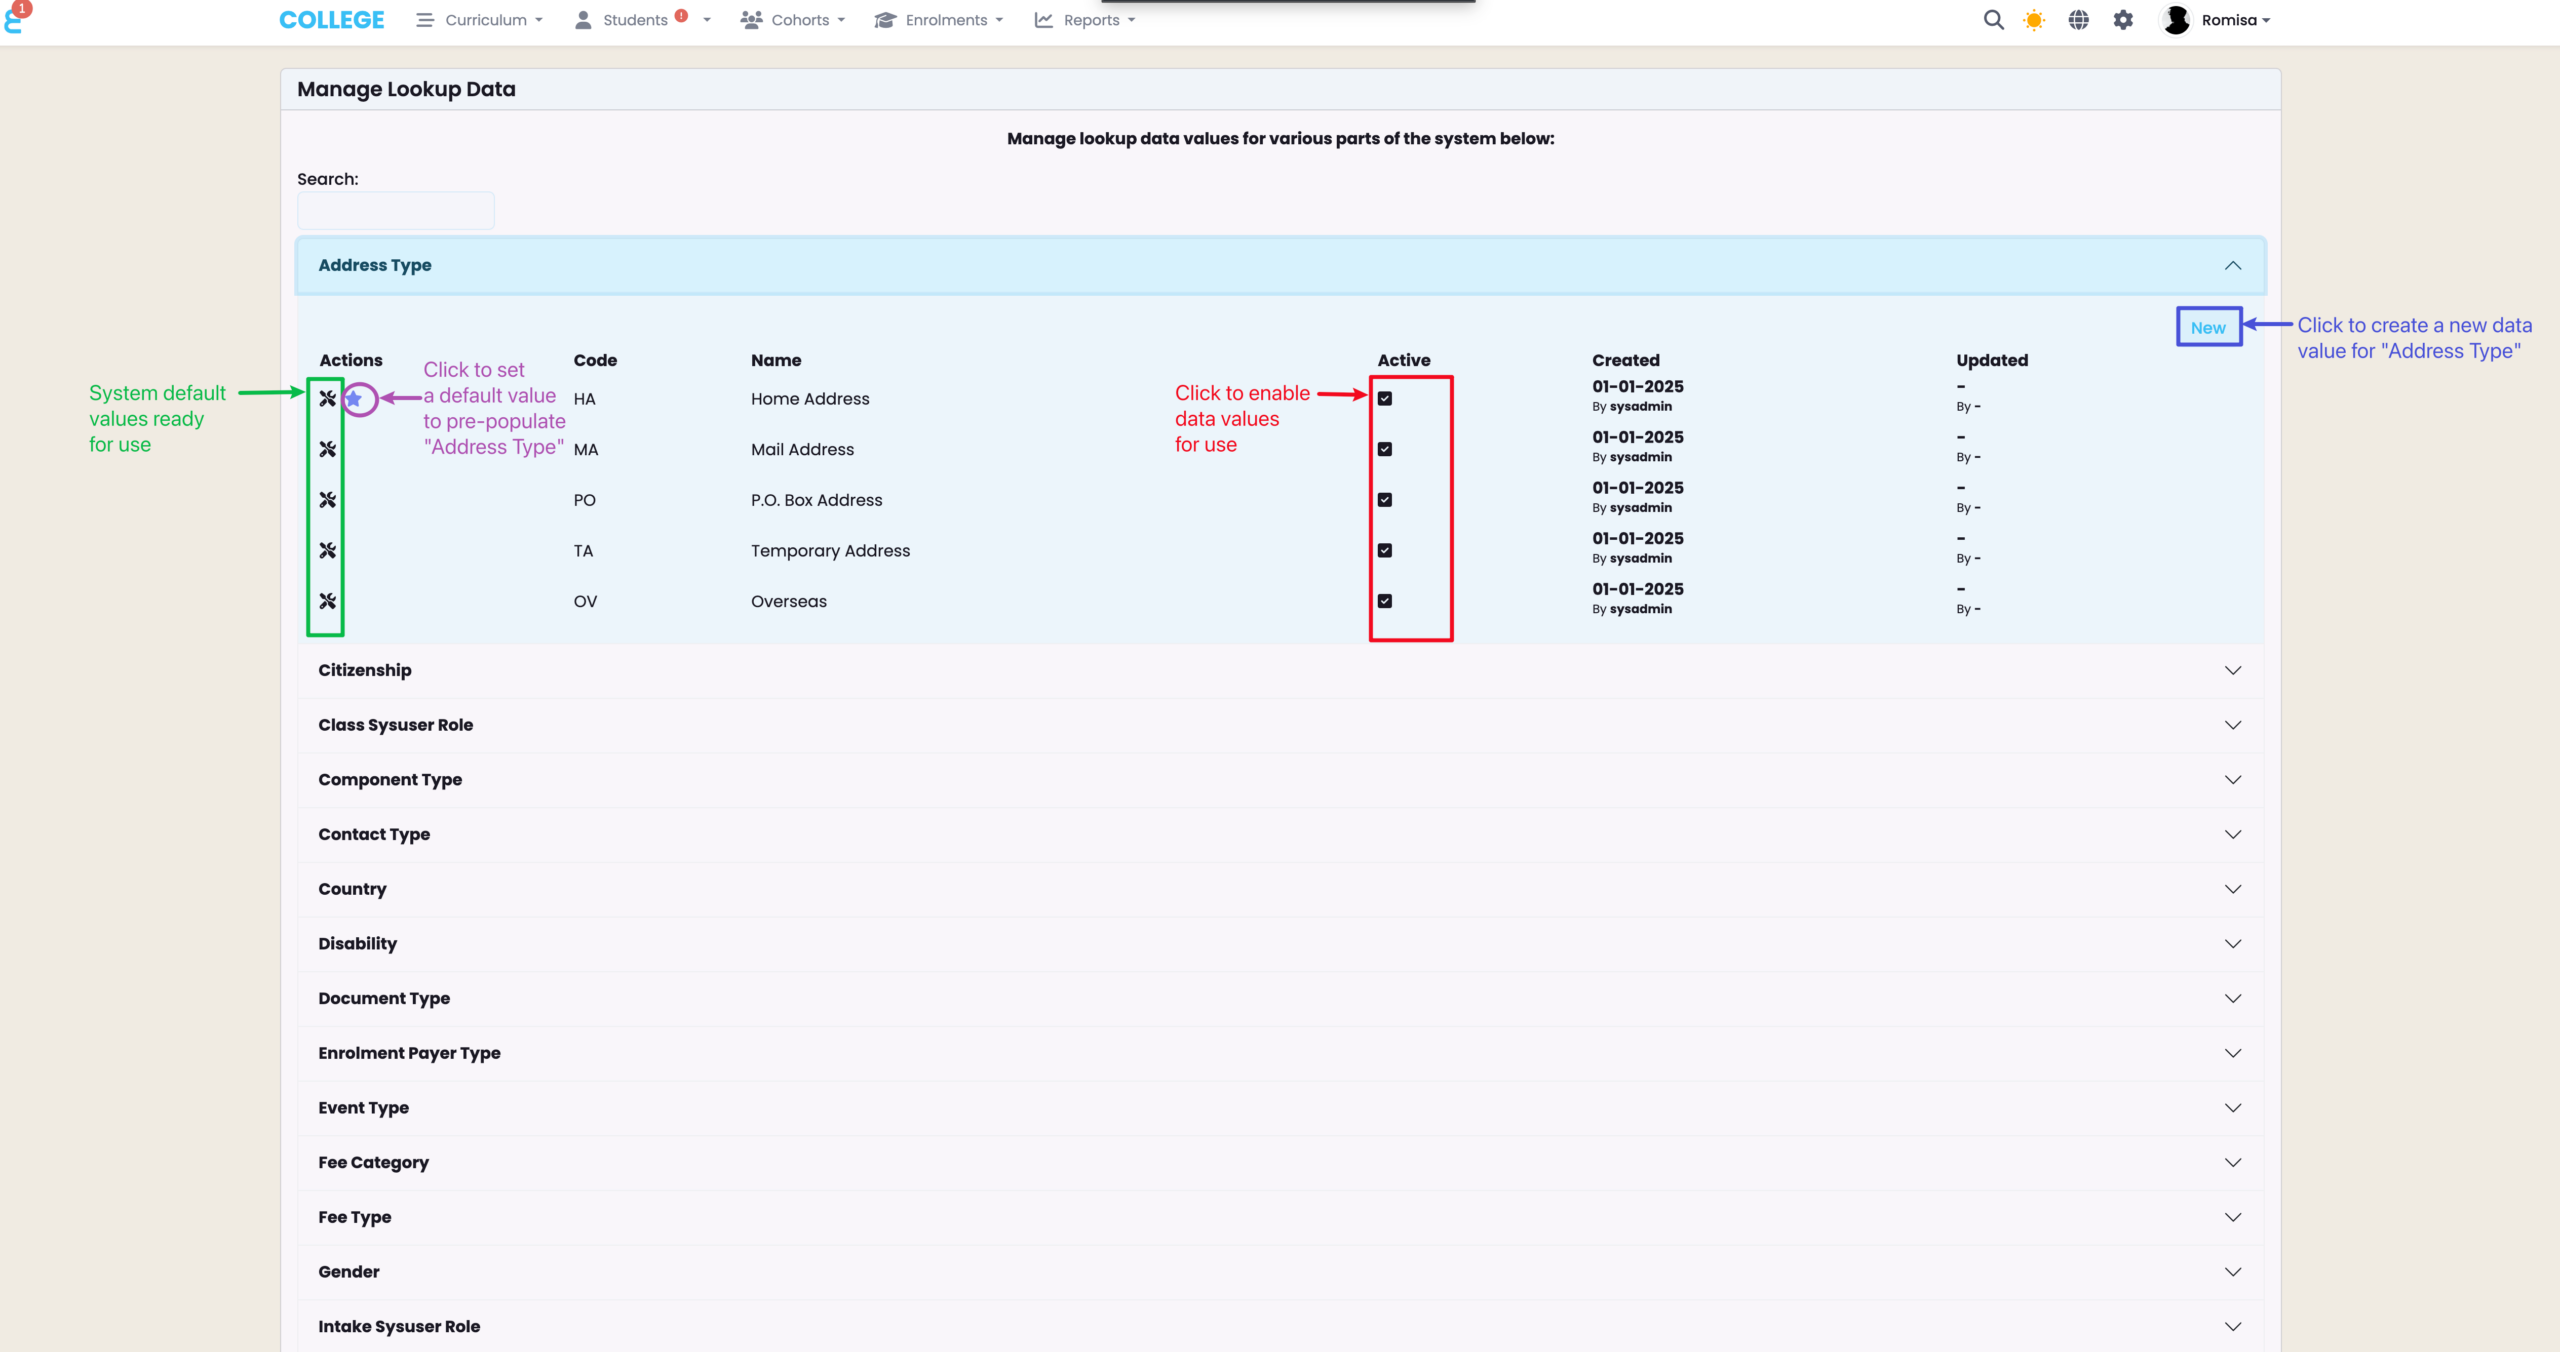
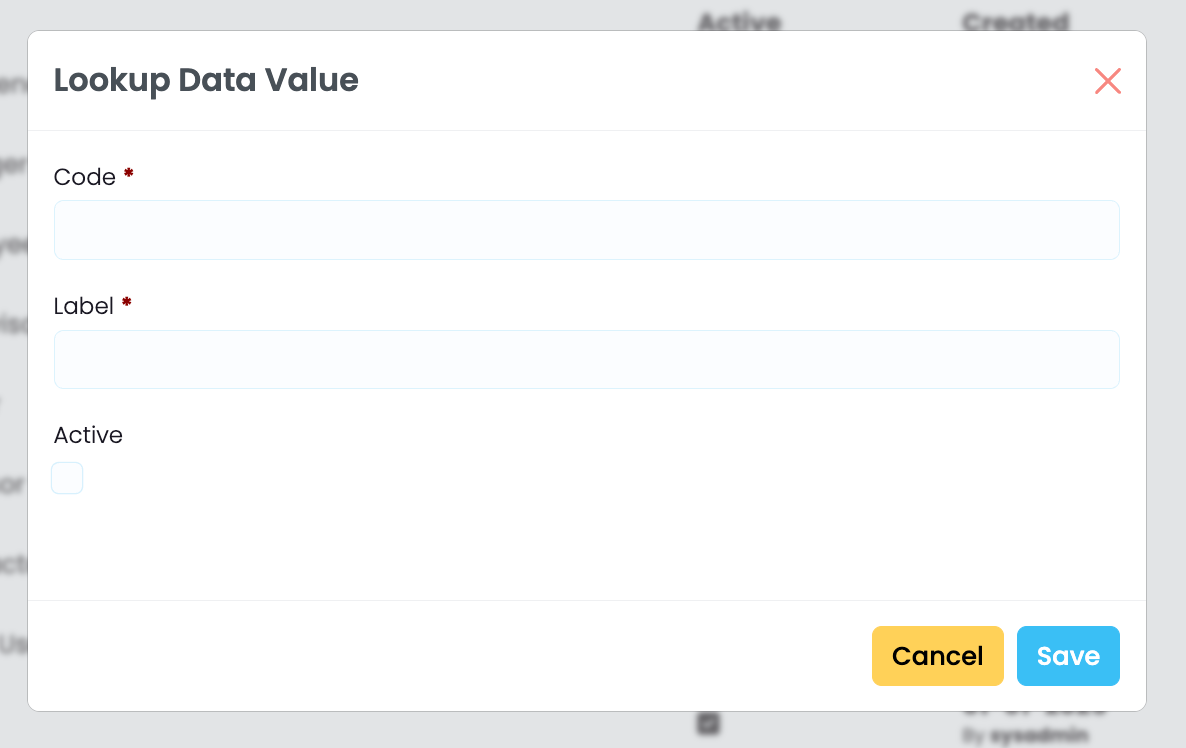
Figure 3ii. Add Required Details

Required details are marked by red asterisks, and include a “Code” and “Label”. The checkbox labelled “Active“, enables the data to be shown on SELMA where you use it.


Contact Us

Most Lookup Data values will be populated upon account creation. However, if you require assistance or notice a large number of missing values, please get in touch with us via support@selma.co.nz.

Related Articles

4. Custom Fields

In this Section: Create and Manage Custom Fields Include customised fields as a new tab on profiles by following the guide below. Create a Custom Field Figure 1. Navigate to Settings > Custom Fields Figure 2. Custom Field Overview See a list of custom fields under each Object heading, which corresponds with an “Object” in …

7. Tag Manager

In this Section: Create and Manage Tags The Tag Manager is a tool that allows SELMA Users to assign and manage tags against different Objects within the system, such as Students or Components. Tags are labels used to classify batches of information, and make it easier to search for a related Object. Create a Tag …

8. Validation Manager

In this Section: Validation Manager Your account will come with a default validation configuration called ‘SELMA’. This can be configured using your own specifications, or you can leave it as is, and create a new one. Add New Validation Figure 1i. Access Validation Manager Navigate from Settings > Validation Manager Figure 1ii. Validation Manager Overview SELMA …

3. Communication Templates

In this Section: Access Communication Templates Figure 1. Navigation Bar Click the cog icon in the top navigation bar. Figure 1ii. Settings Panel Click “Communication Templates“. Create a New Template The most effective way of using comms in SELMA is by creating templates. You can create templates for Emails, Email Attachments (PDF documents) and Text …