
On this page:
System Users Overview
When you select a user’s record, you gain access to their detailed profile where various administrative actions can be performed. In this screen, you can edit the user’s details, many of which are also visible to the user through their profile. For example, you can update their assigned role, reset their password, resend an invitation for a pending user, or deactivate their account if they no longer require access to SELMA.
For users assigned the role of Teacher, their profile will display a list of students currently assigned to them. This feature provides a quick and easy way to manage teacher-student associations, which can be particularly useful for educational organisations.
Additionally, the Event Log tab allows you to keep private notes about the user. These notes are only visible to administrators or users with access to this part of the system, ensuring confidentiality and controlled access.
It is important to note that the Primary User has restrictions on what can be modified. For instance, their account cannot be deactivated to maintain the integrity of the system’s management.
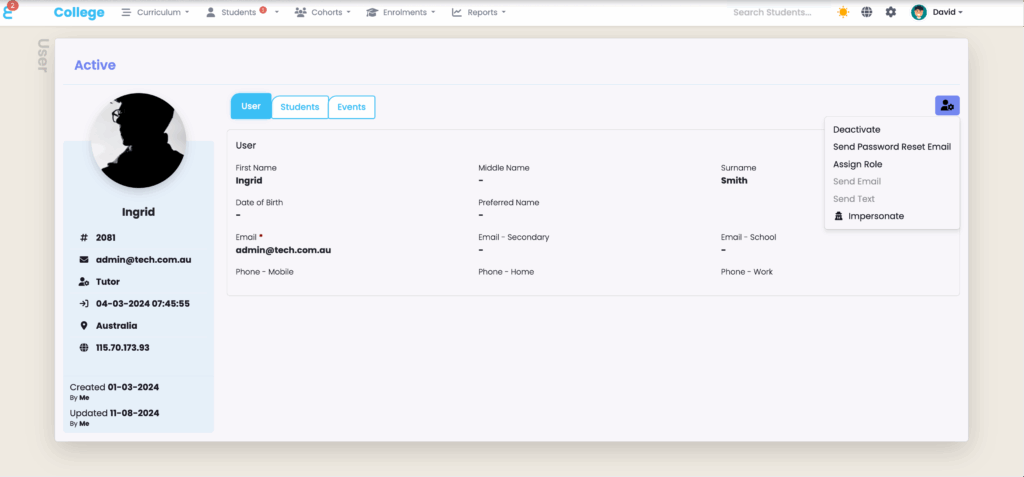
SELMA also provides the option to impersonate another user, which is a powerful feature for administrators. By impersonating a user, you can view the system from their perspective. This is particularly useful for troubleshooting or ensuring the user experience is as intended. For example, you can check how much access a Teacher has when they log in. However, it is important to be aware that while impersonating, any changes you make to the system on their behalf will be recorded in the SELMA audit log, noting that the changes were performed while impersonating another user.
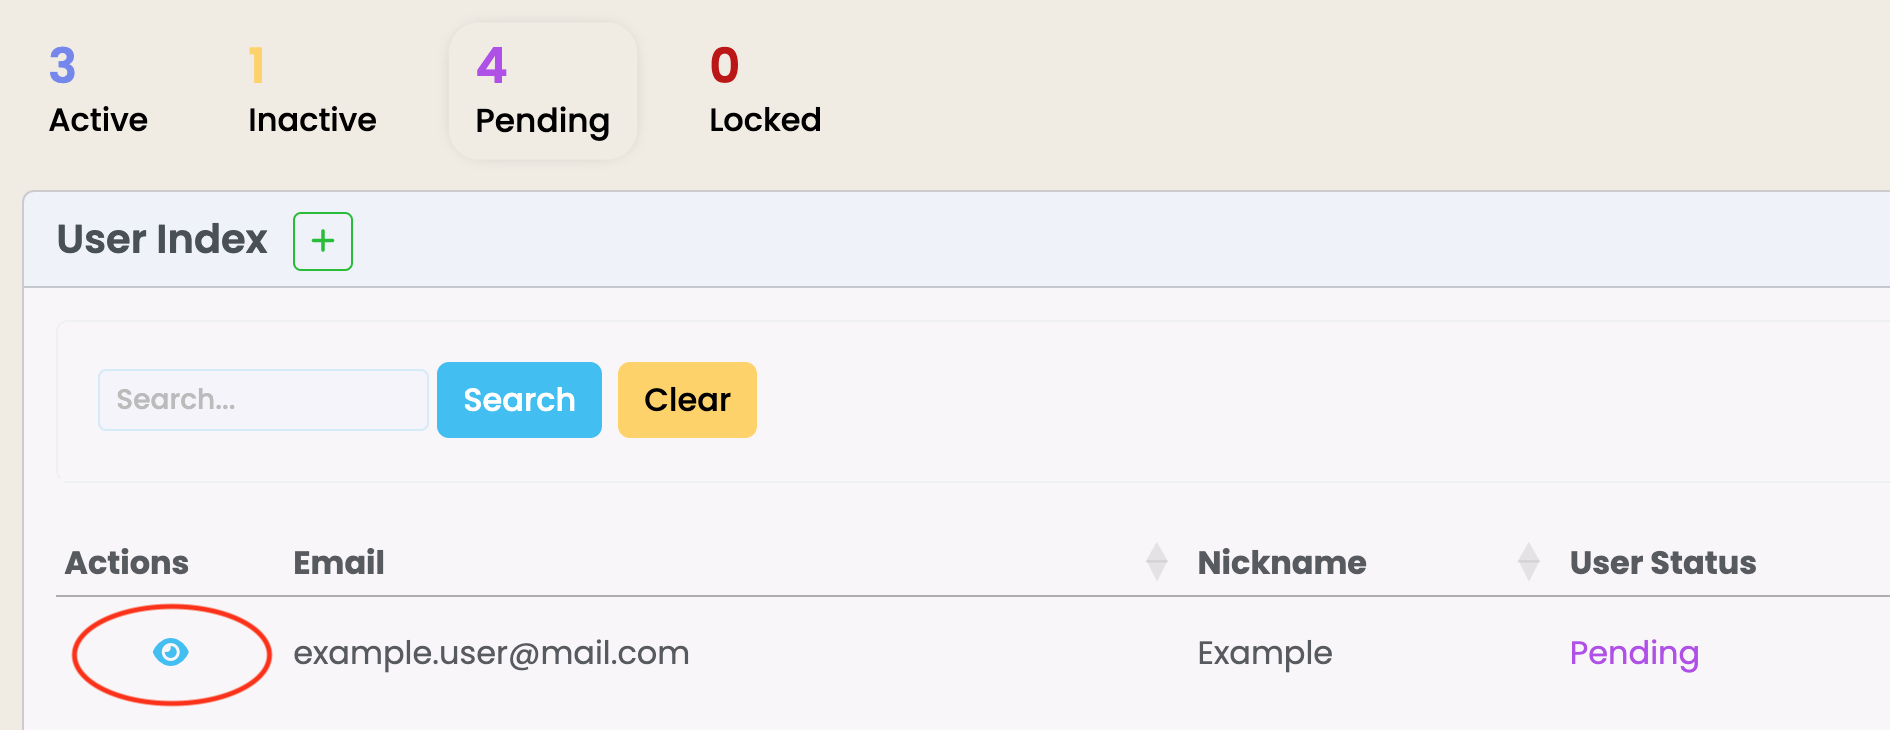
Navigate to the user index via SELMA Settings (cog icon) -> System Users
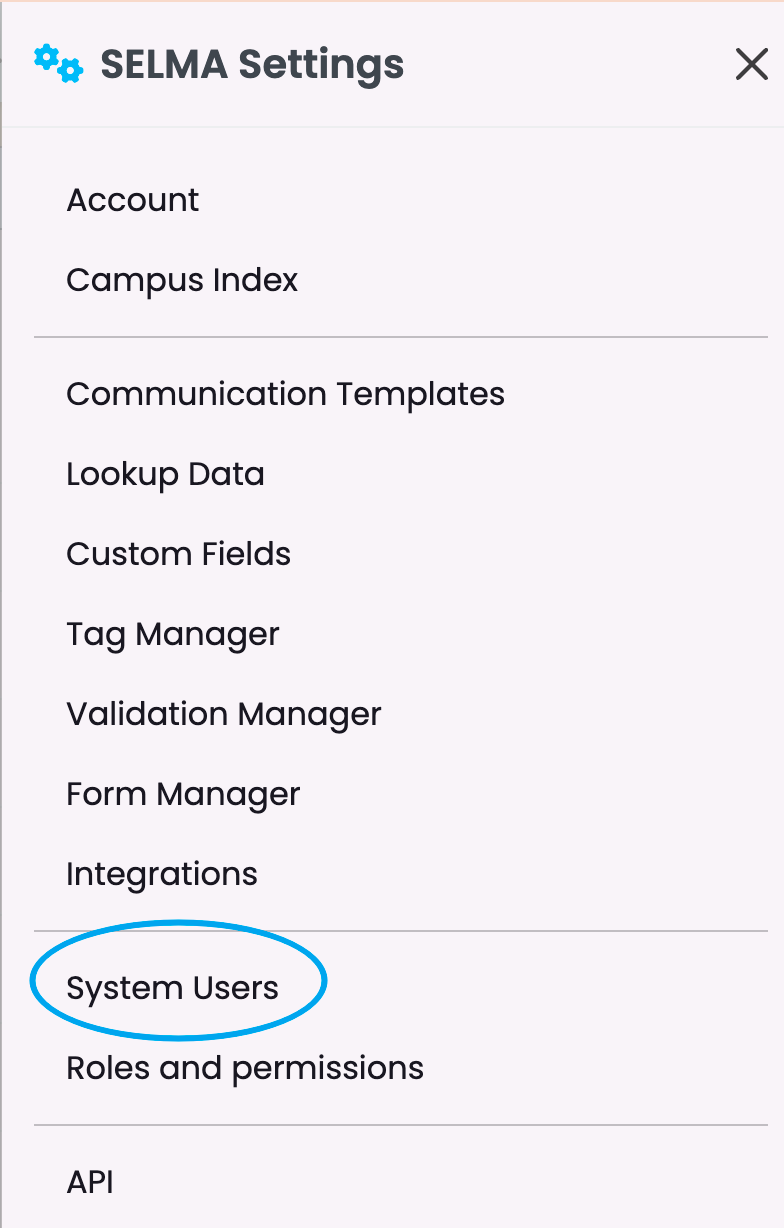
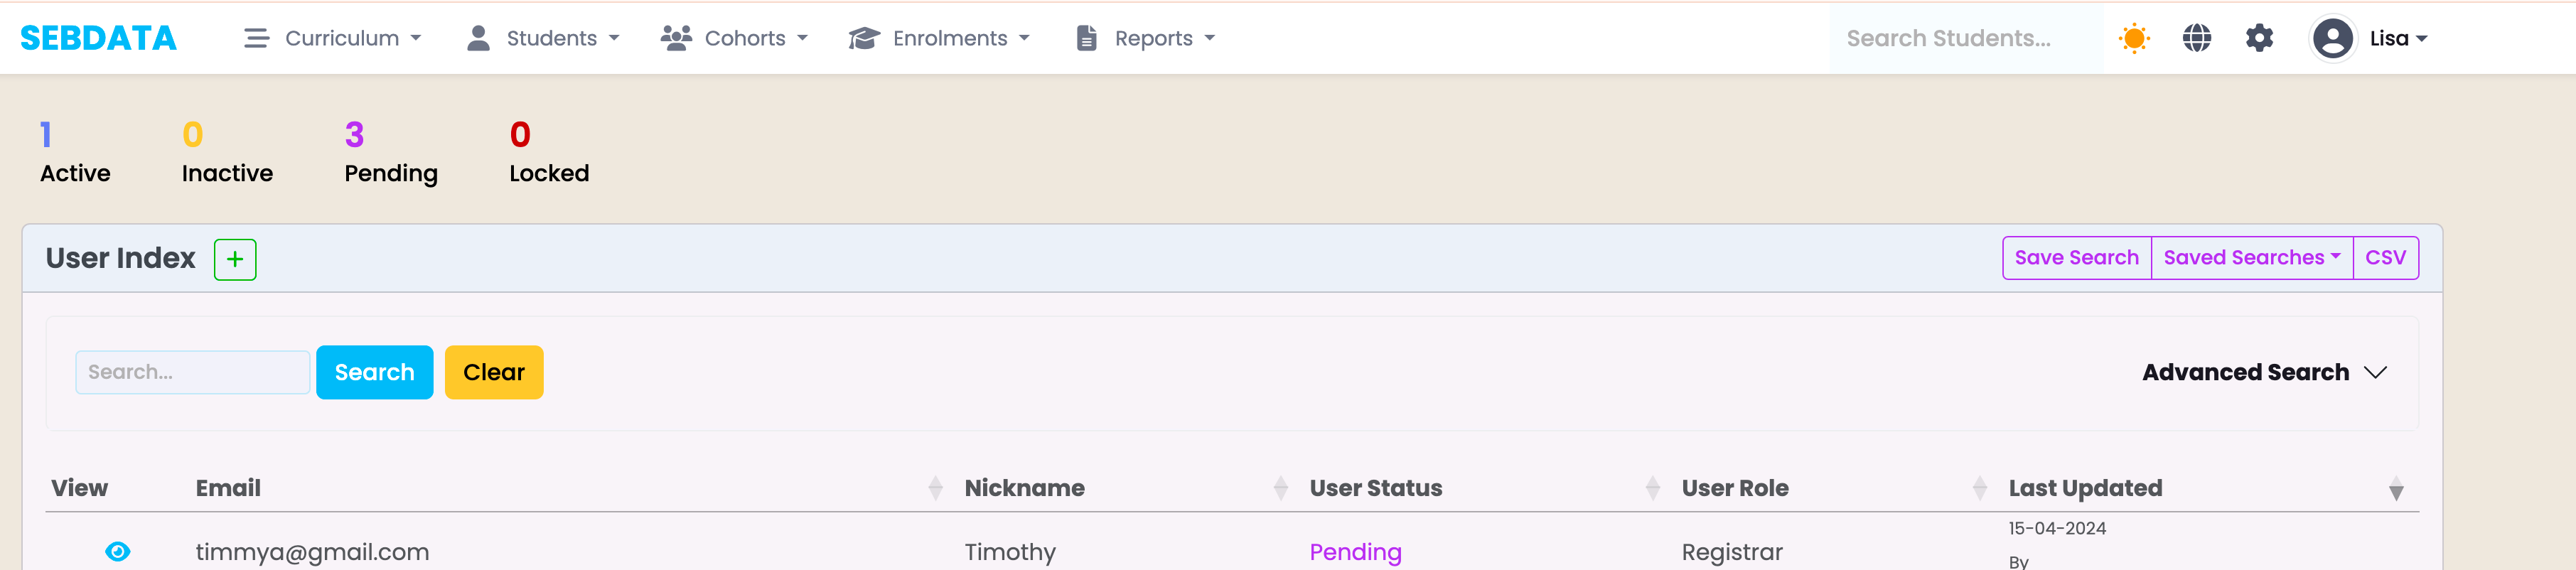
Manage and add users from the ‘Users Index’ page. If you can’t find a particular user, please refer to User Index & Search section on this resource centre.
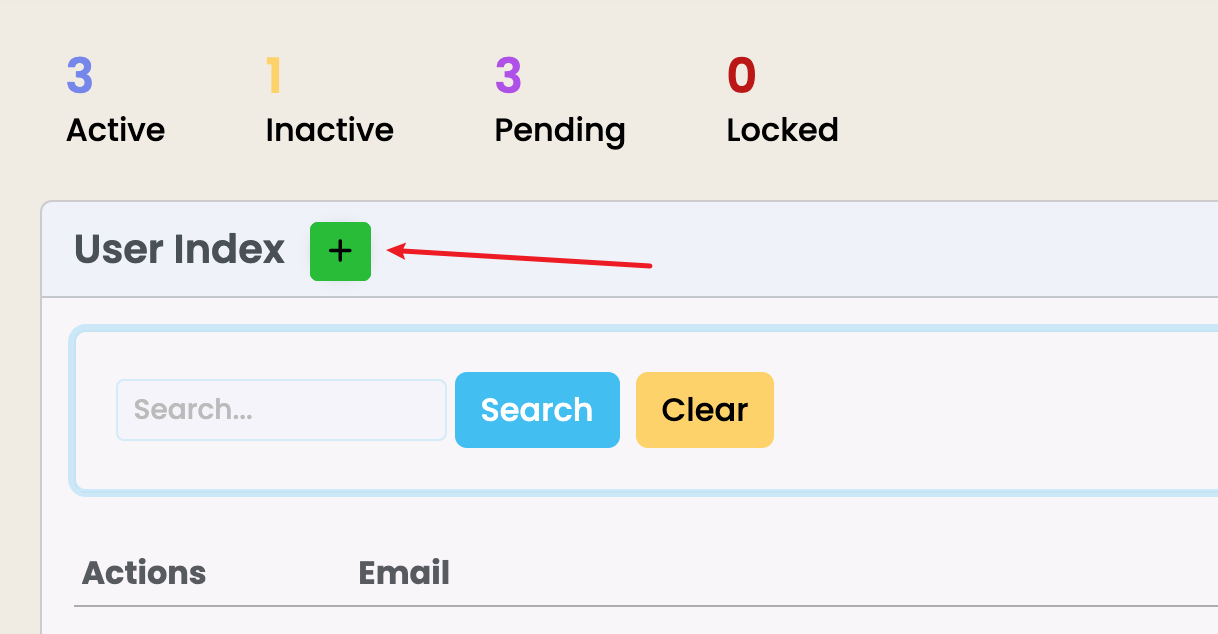
Add New User
You can add a new user by clicking on the green ‘plus’ button next to User Index page title.
Fill in their details accordingly then click ‘Save’. Mandatory fields are marked with a * star sign.
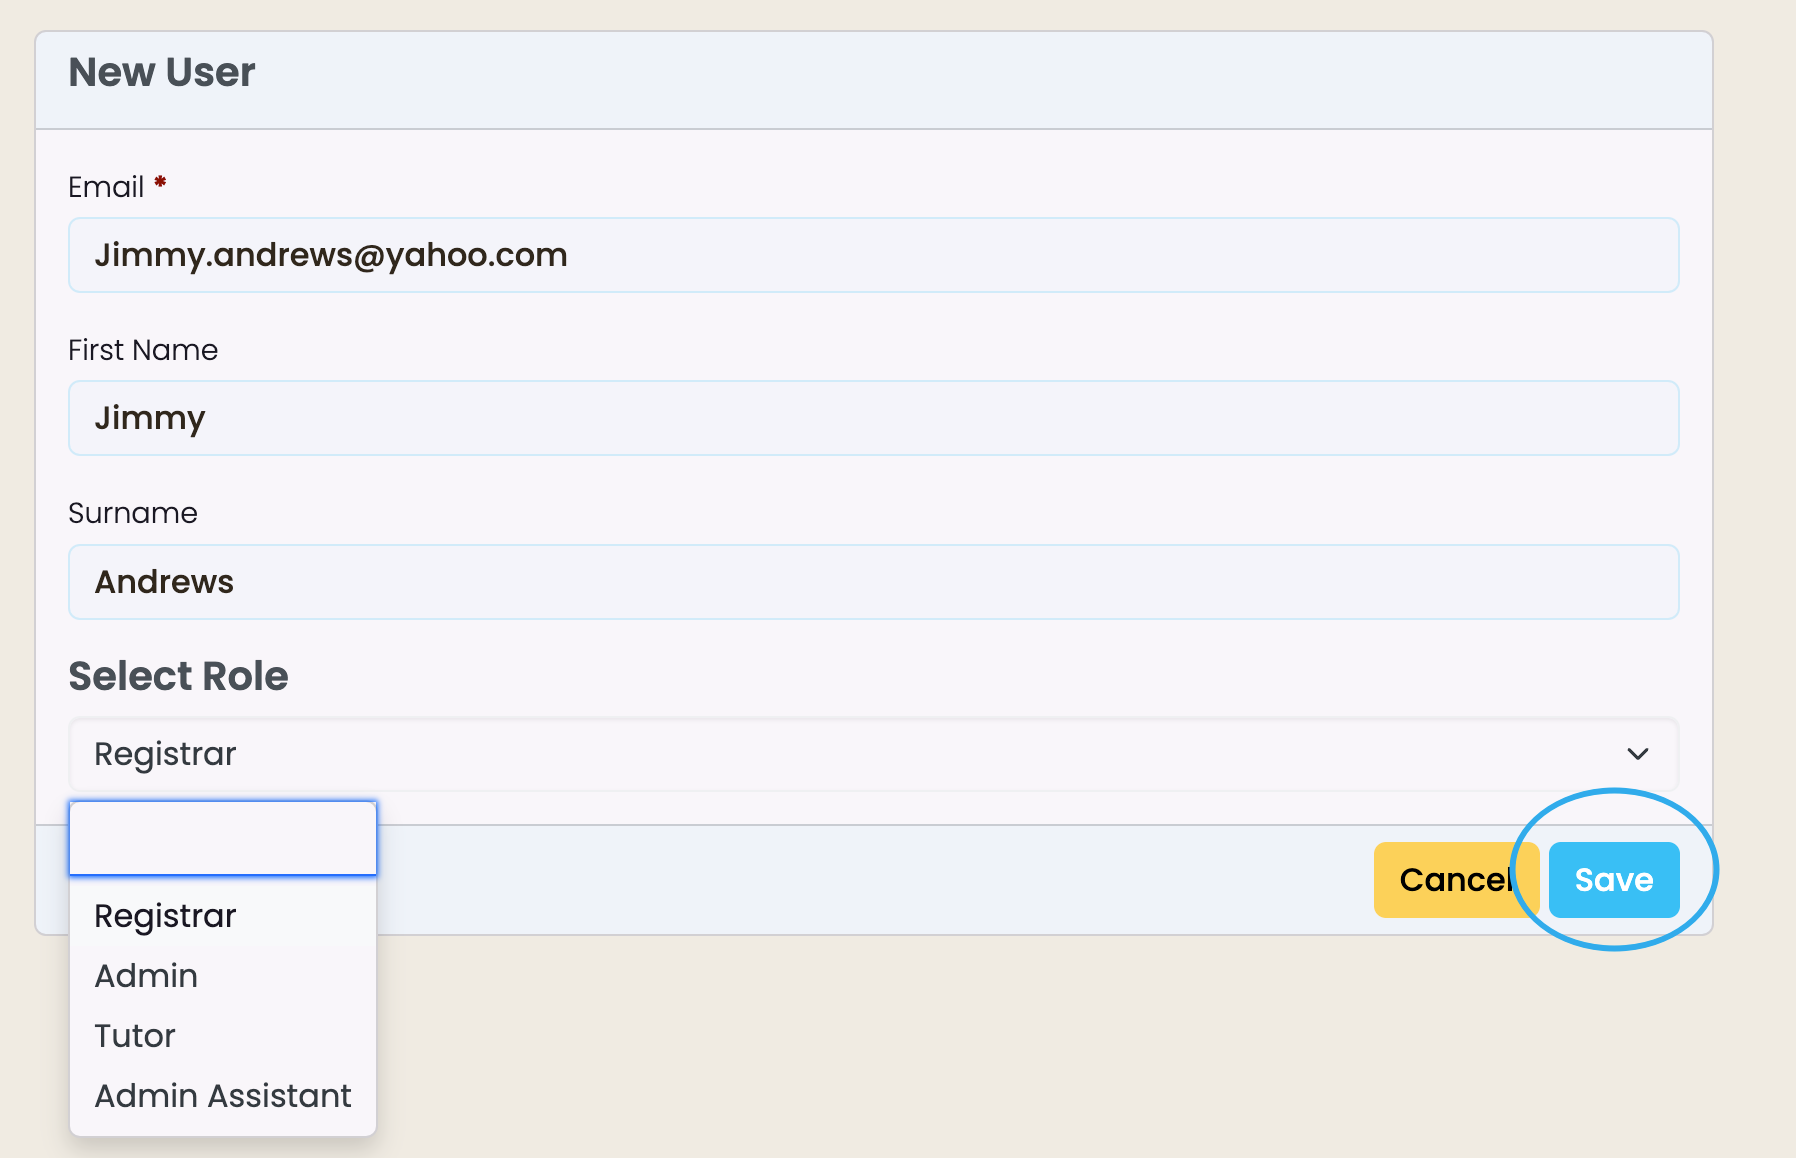
Depending on your system configuration, the newly created user will get an invite to join SELMA via email.
The user will then appear under the Pending section until they log in for the first time. Should the user not receive the invitation email, or if it is lost, you can open their user record and resend the invitation as needed.
The system requires a Primary User, which is the account that was initially created when SELMA was set up. This user is crucial and cannot be deactivated. If for any reason you need to change the Primary User, it is necessary to contact SELMA’s support team for assistance.
Edit User
To add more information to the user profile, open their profile by clicking on the ‘blue eye icon’ on the user index
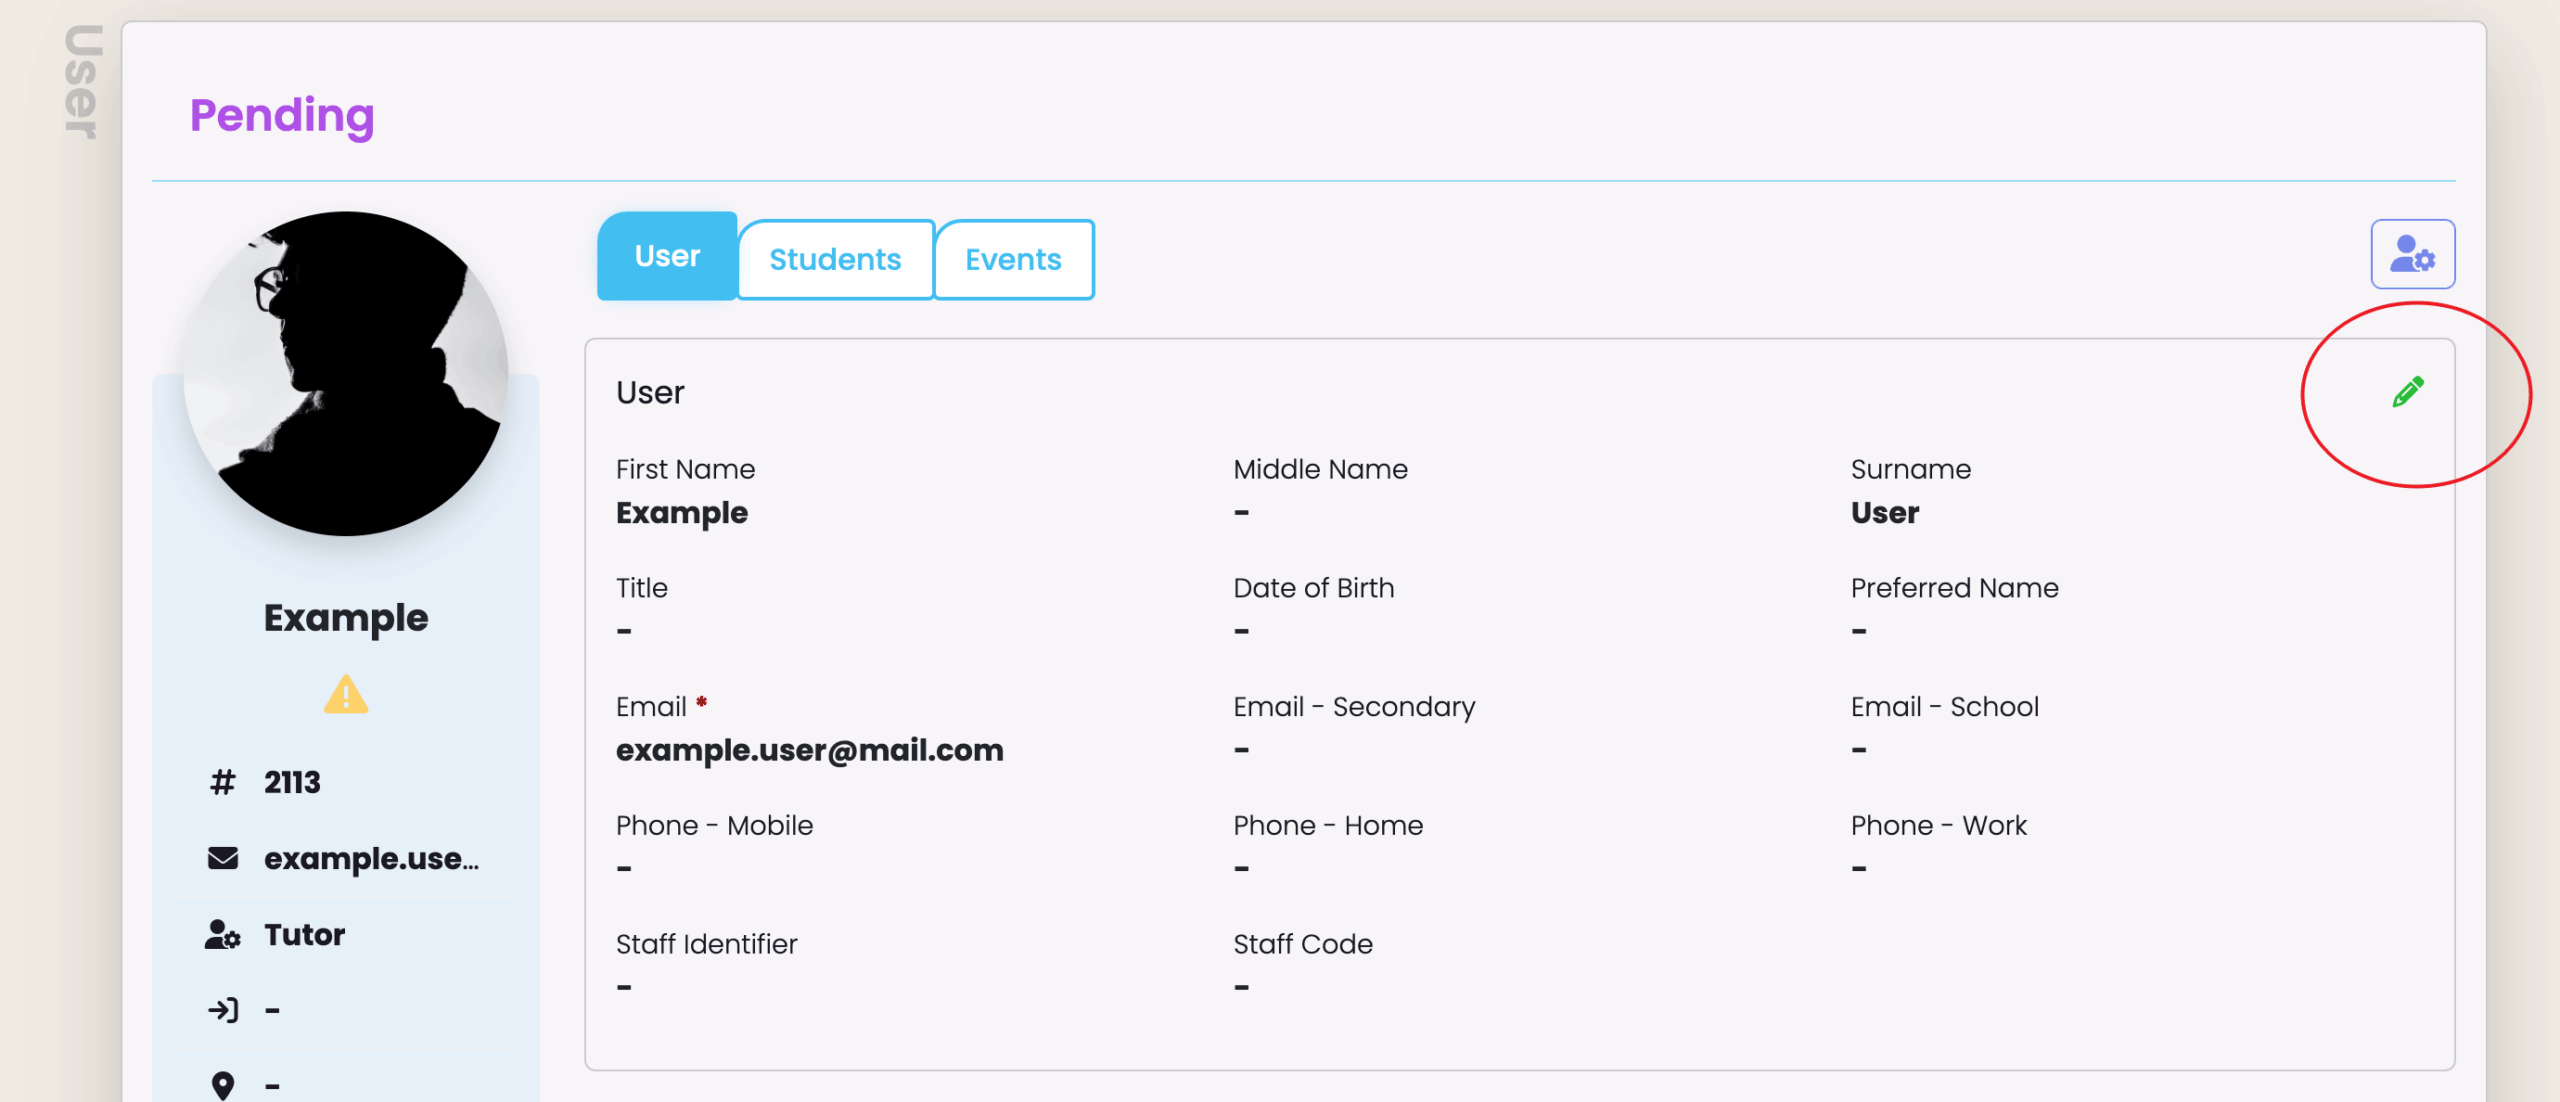
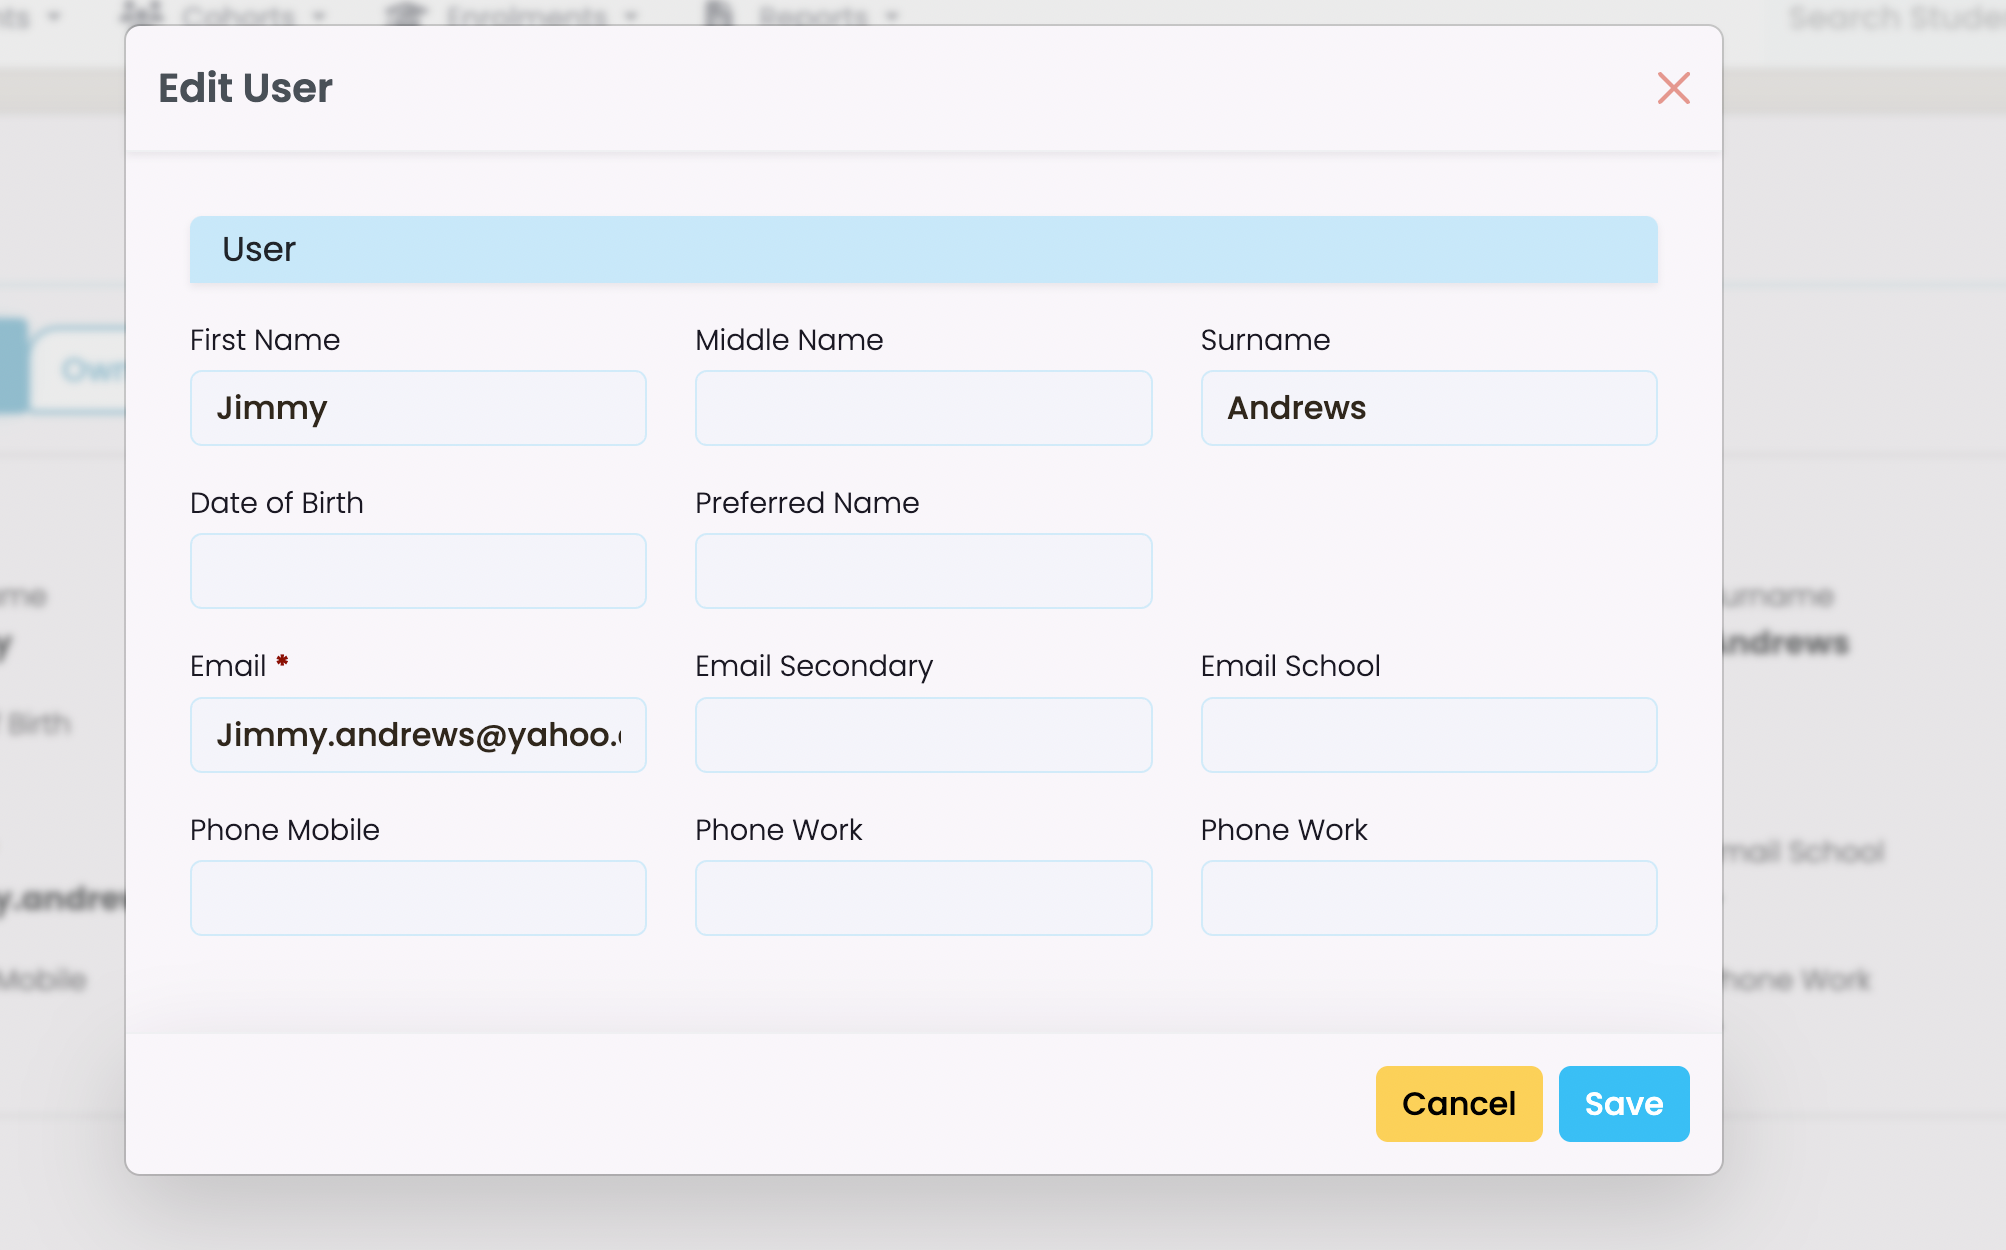
Then with the user profile open, click on the green pencil icon and edit accordingly
Assigned Students
Tutors – In SELMA you can also add Account Managers to a Student profile. This information is available under the ‘Students’ tab within the User profile.
