On this page:
- What is RBAC?
- Viewing Existing Roles
- Creating a New Role
- Editing Roles
- Defining or Editing a Role’s Name and Description
- Managing Permissions for the Role
What is RBAC?
Role-Based Access Control (RBAC) is the way in which SELMA allows you to regulate access to sections/data within the system. With RBAC, permissions are assigned to roles, and then users are assigned to those roles.
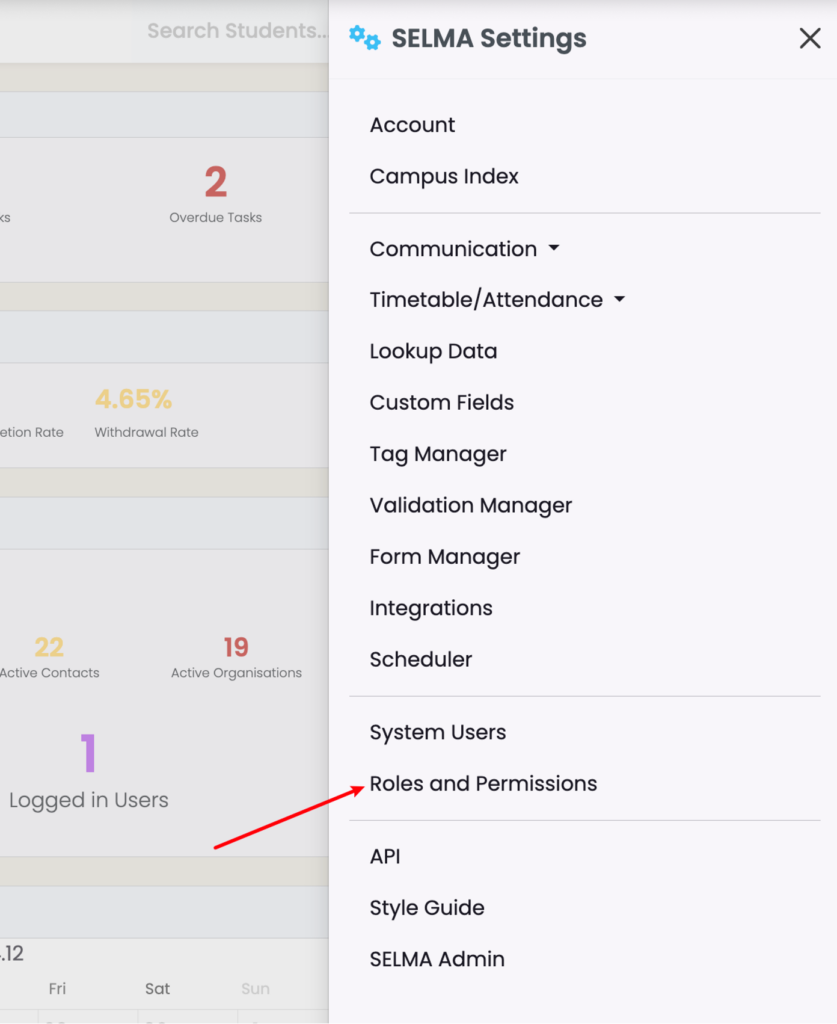
To access the RBAC interface in SELMA click on Settings -> Roles and Permissions.

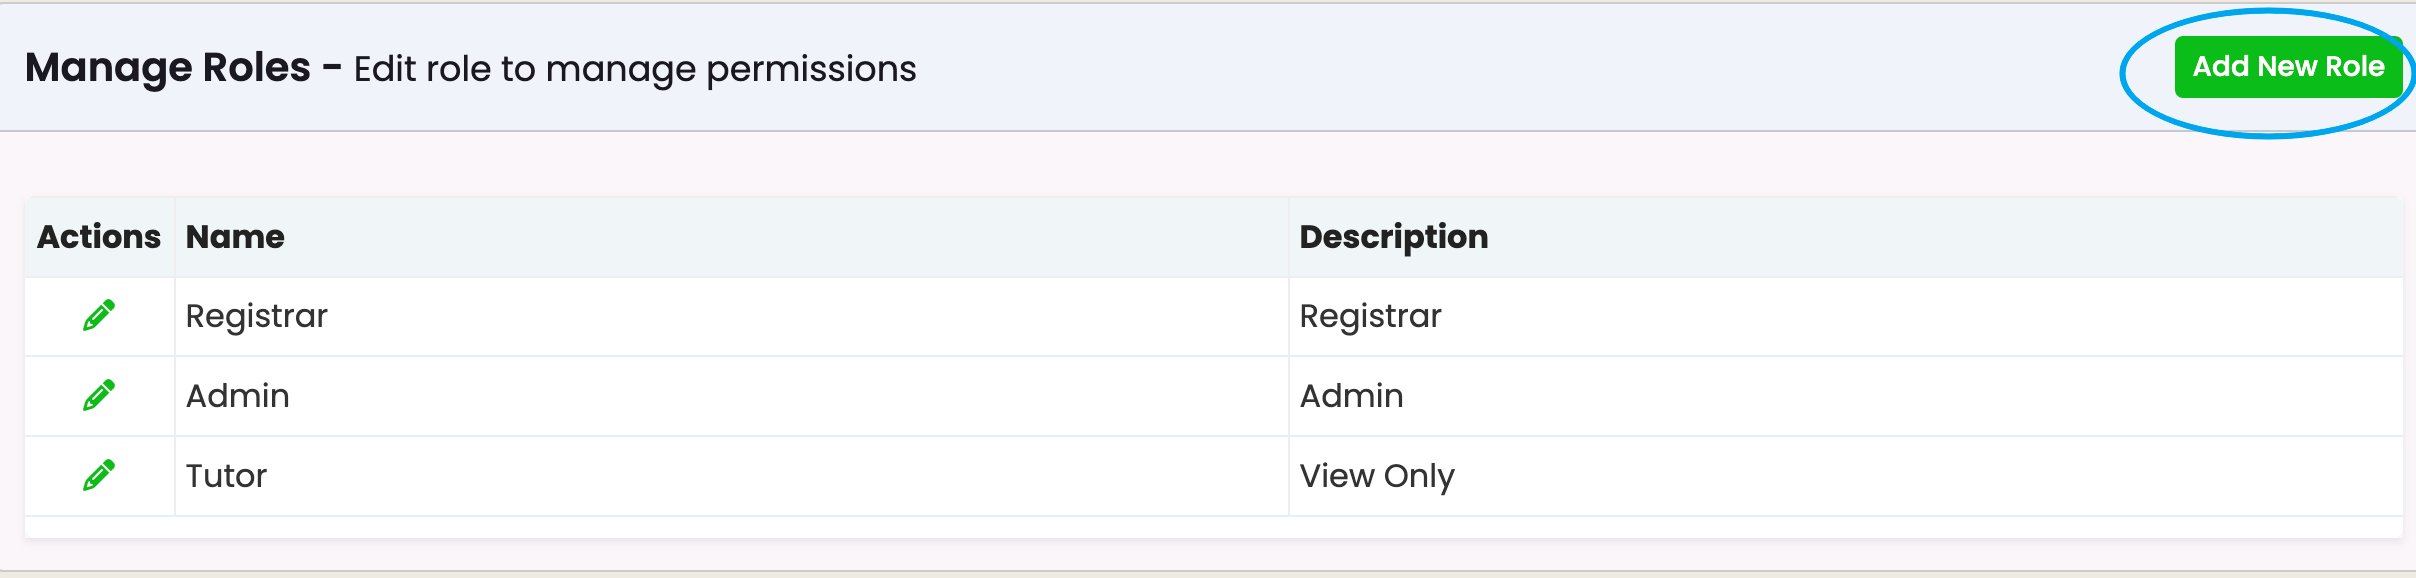
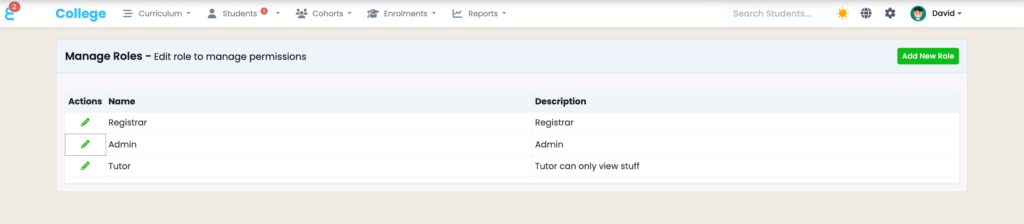
Viewing Existing Roles
- The interface displays a list of roles, including “Registrar,” “Admin,” and “Tutor,” along with their descriptions.
- These roles show their respective permissions or restrictions (e.g., “Tutor can only view stuff”).
Creating a New Role
The “Add New Role” button (green) at the top-right corner enables administrators to create a new role.
Enter role Name and Description and click “Create”.

Editing Roles
- Each role has an “Edit” action (pencil icon) next to it, allowing the administrator to modify the permissions or details associated with the role.
Defining or Editing a Role’s Name and Description
- Role Name:
- The field labelled “Name” allows you to define or update the name of the role (e.g., “Admin”).
- Role Description:
- The “Description” field is used to add or modify a brief explanation of the role’s purpose or scope.
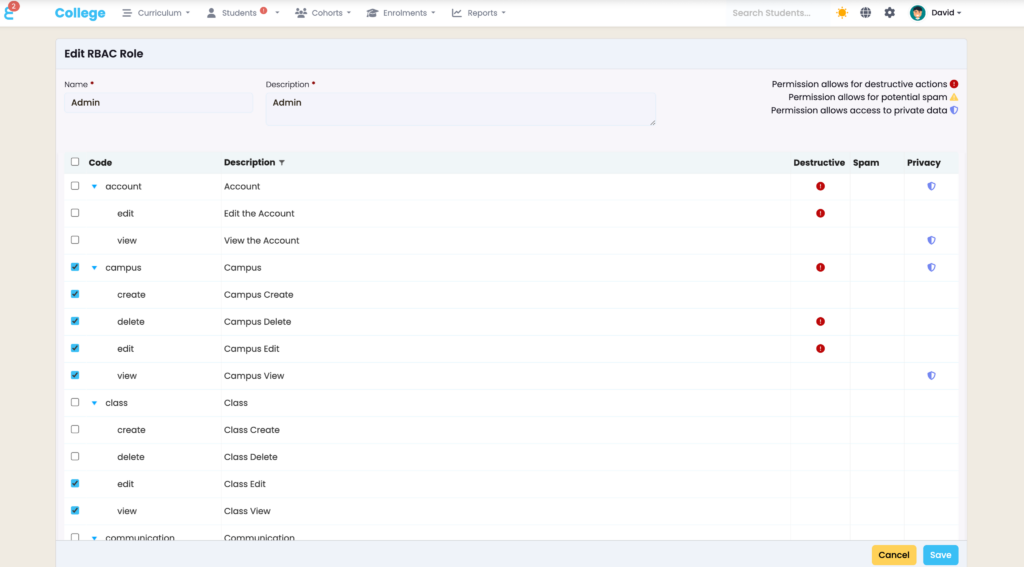
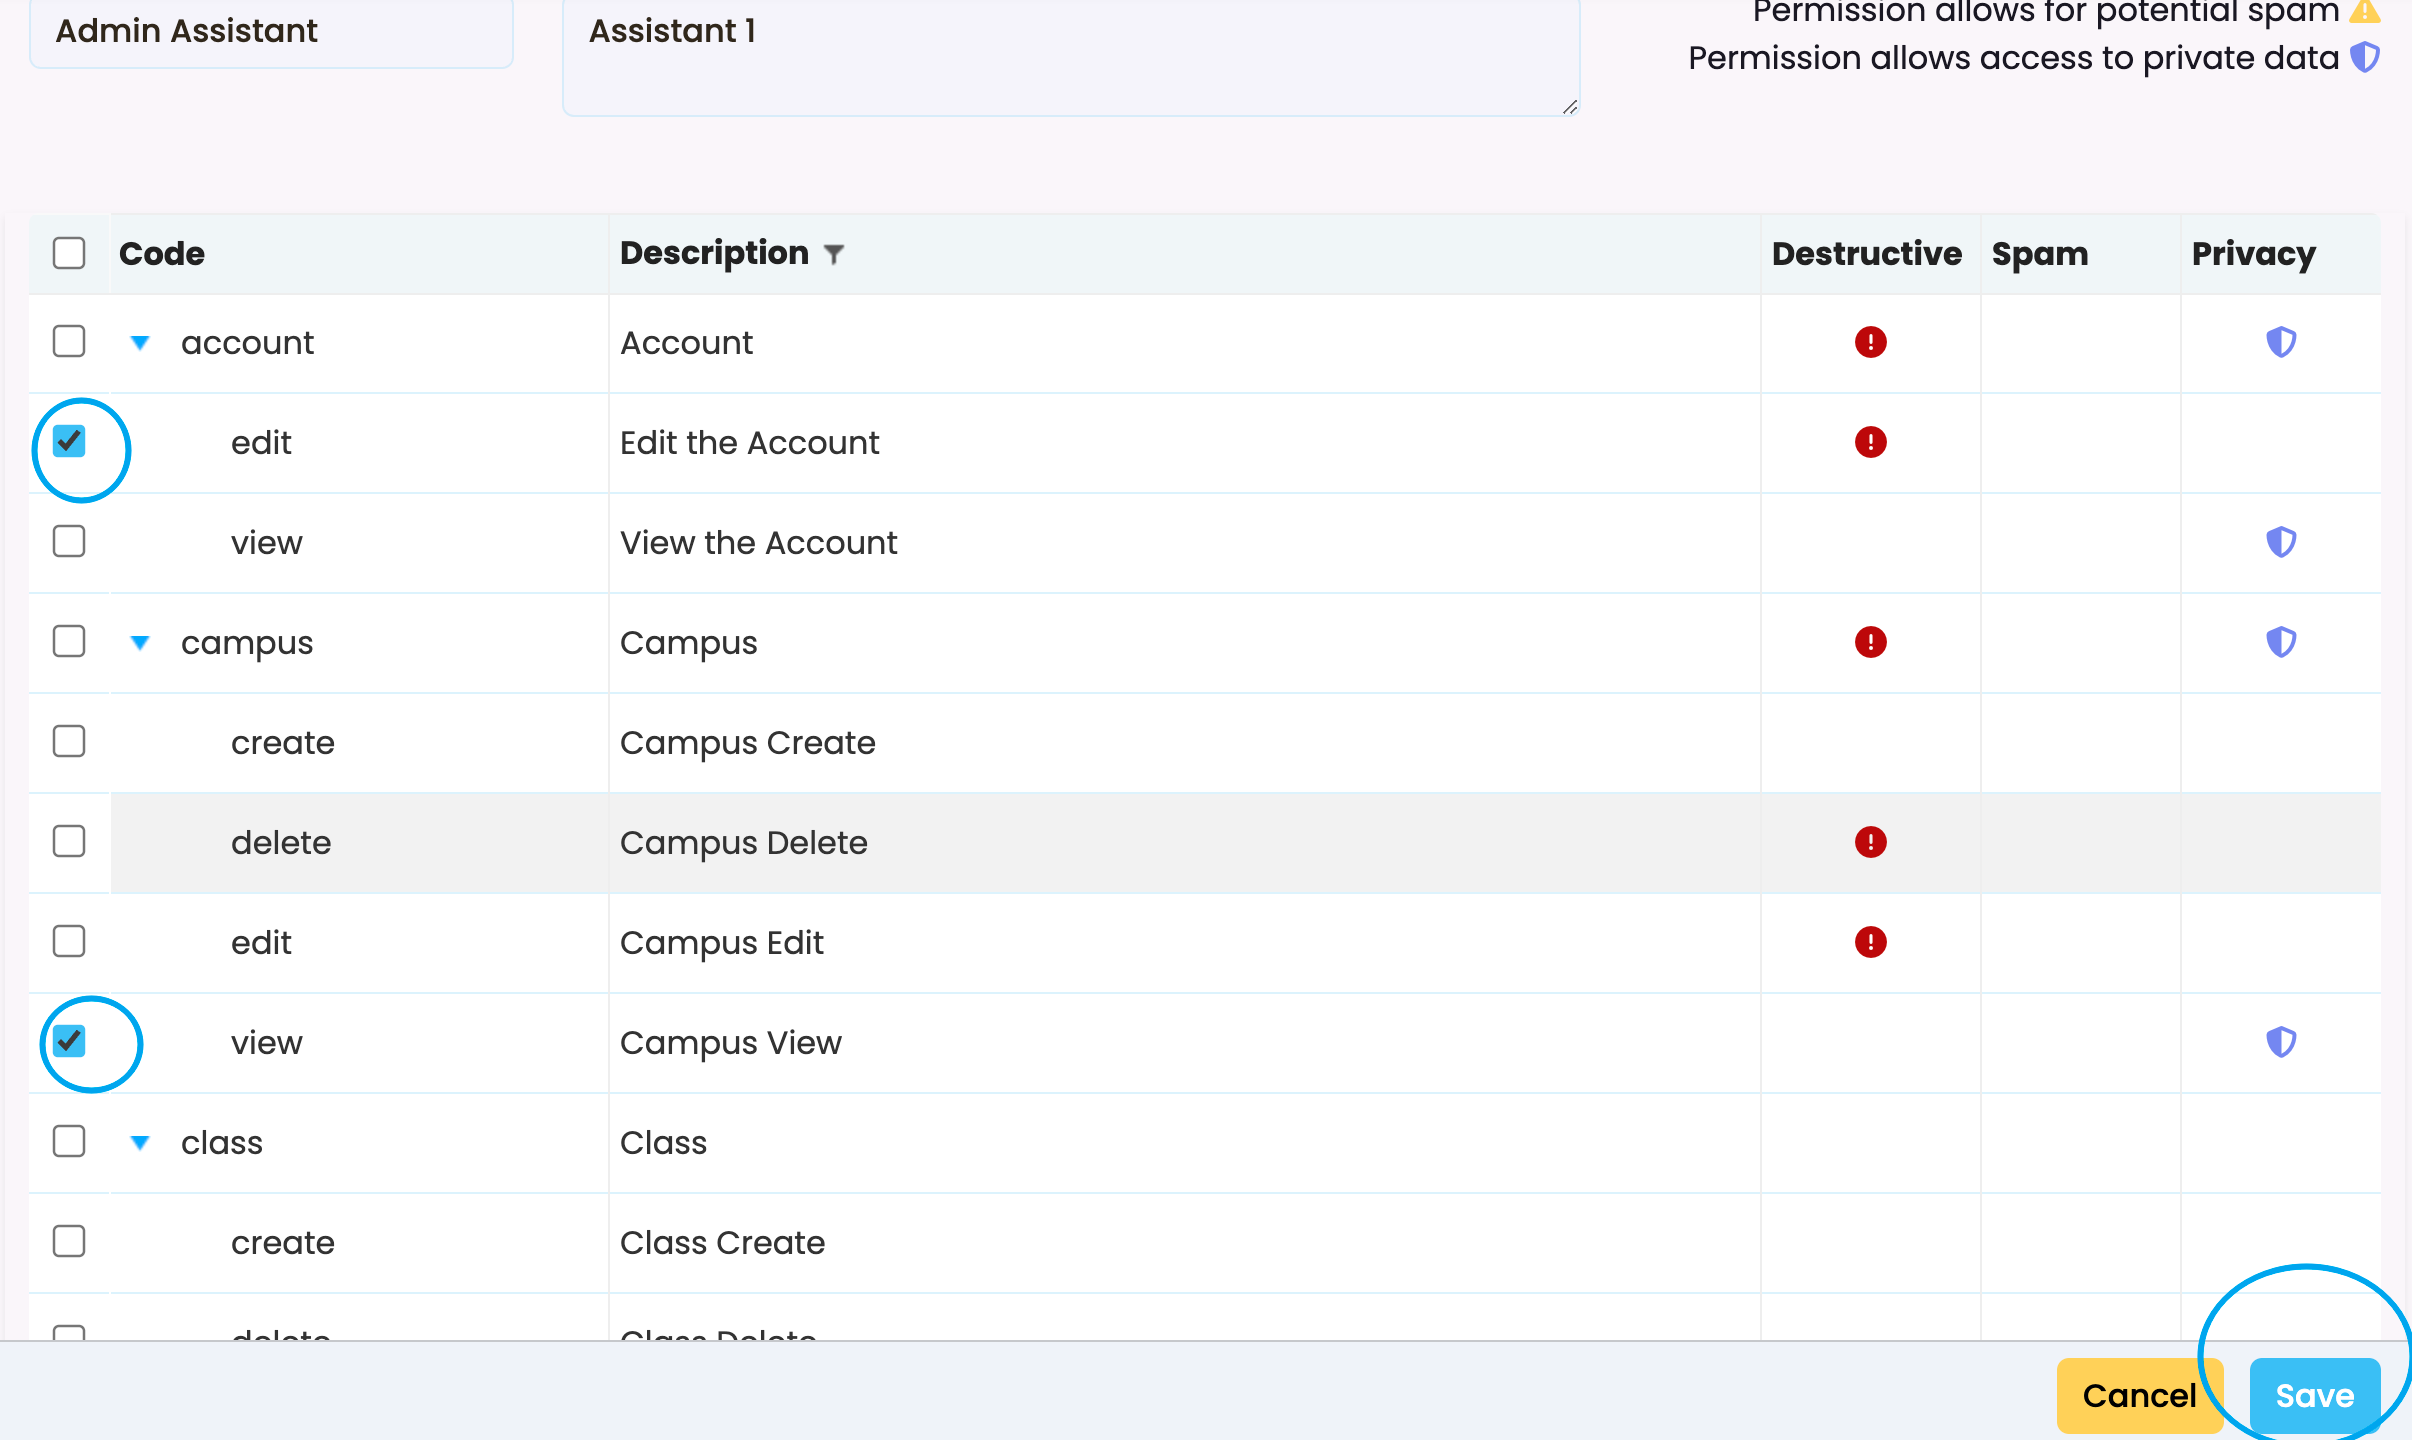
Managing Permissions for the Role
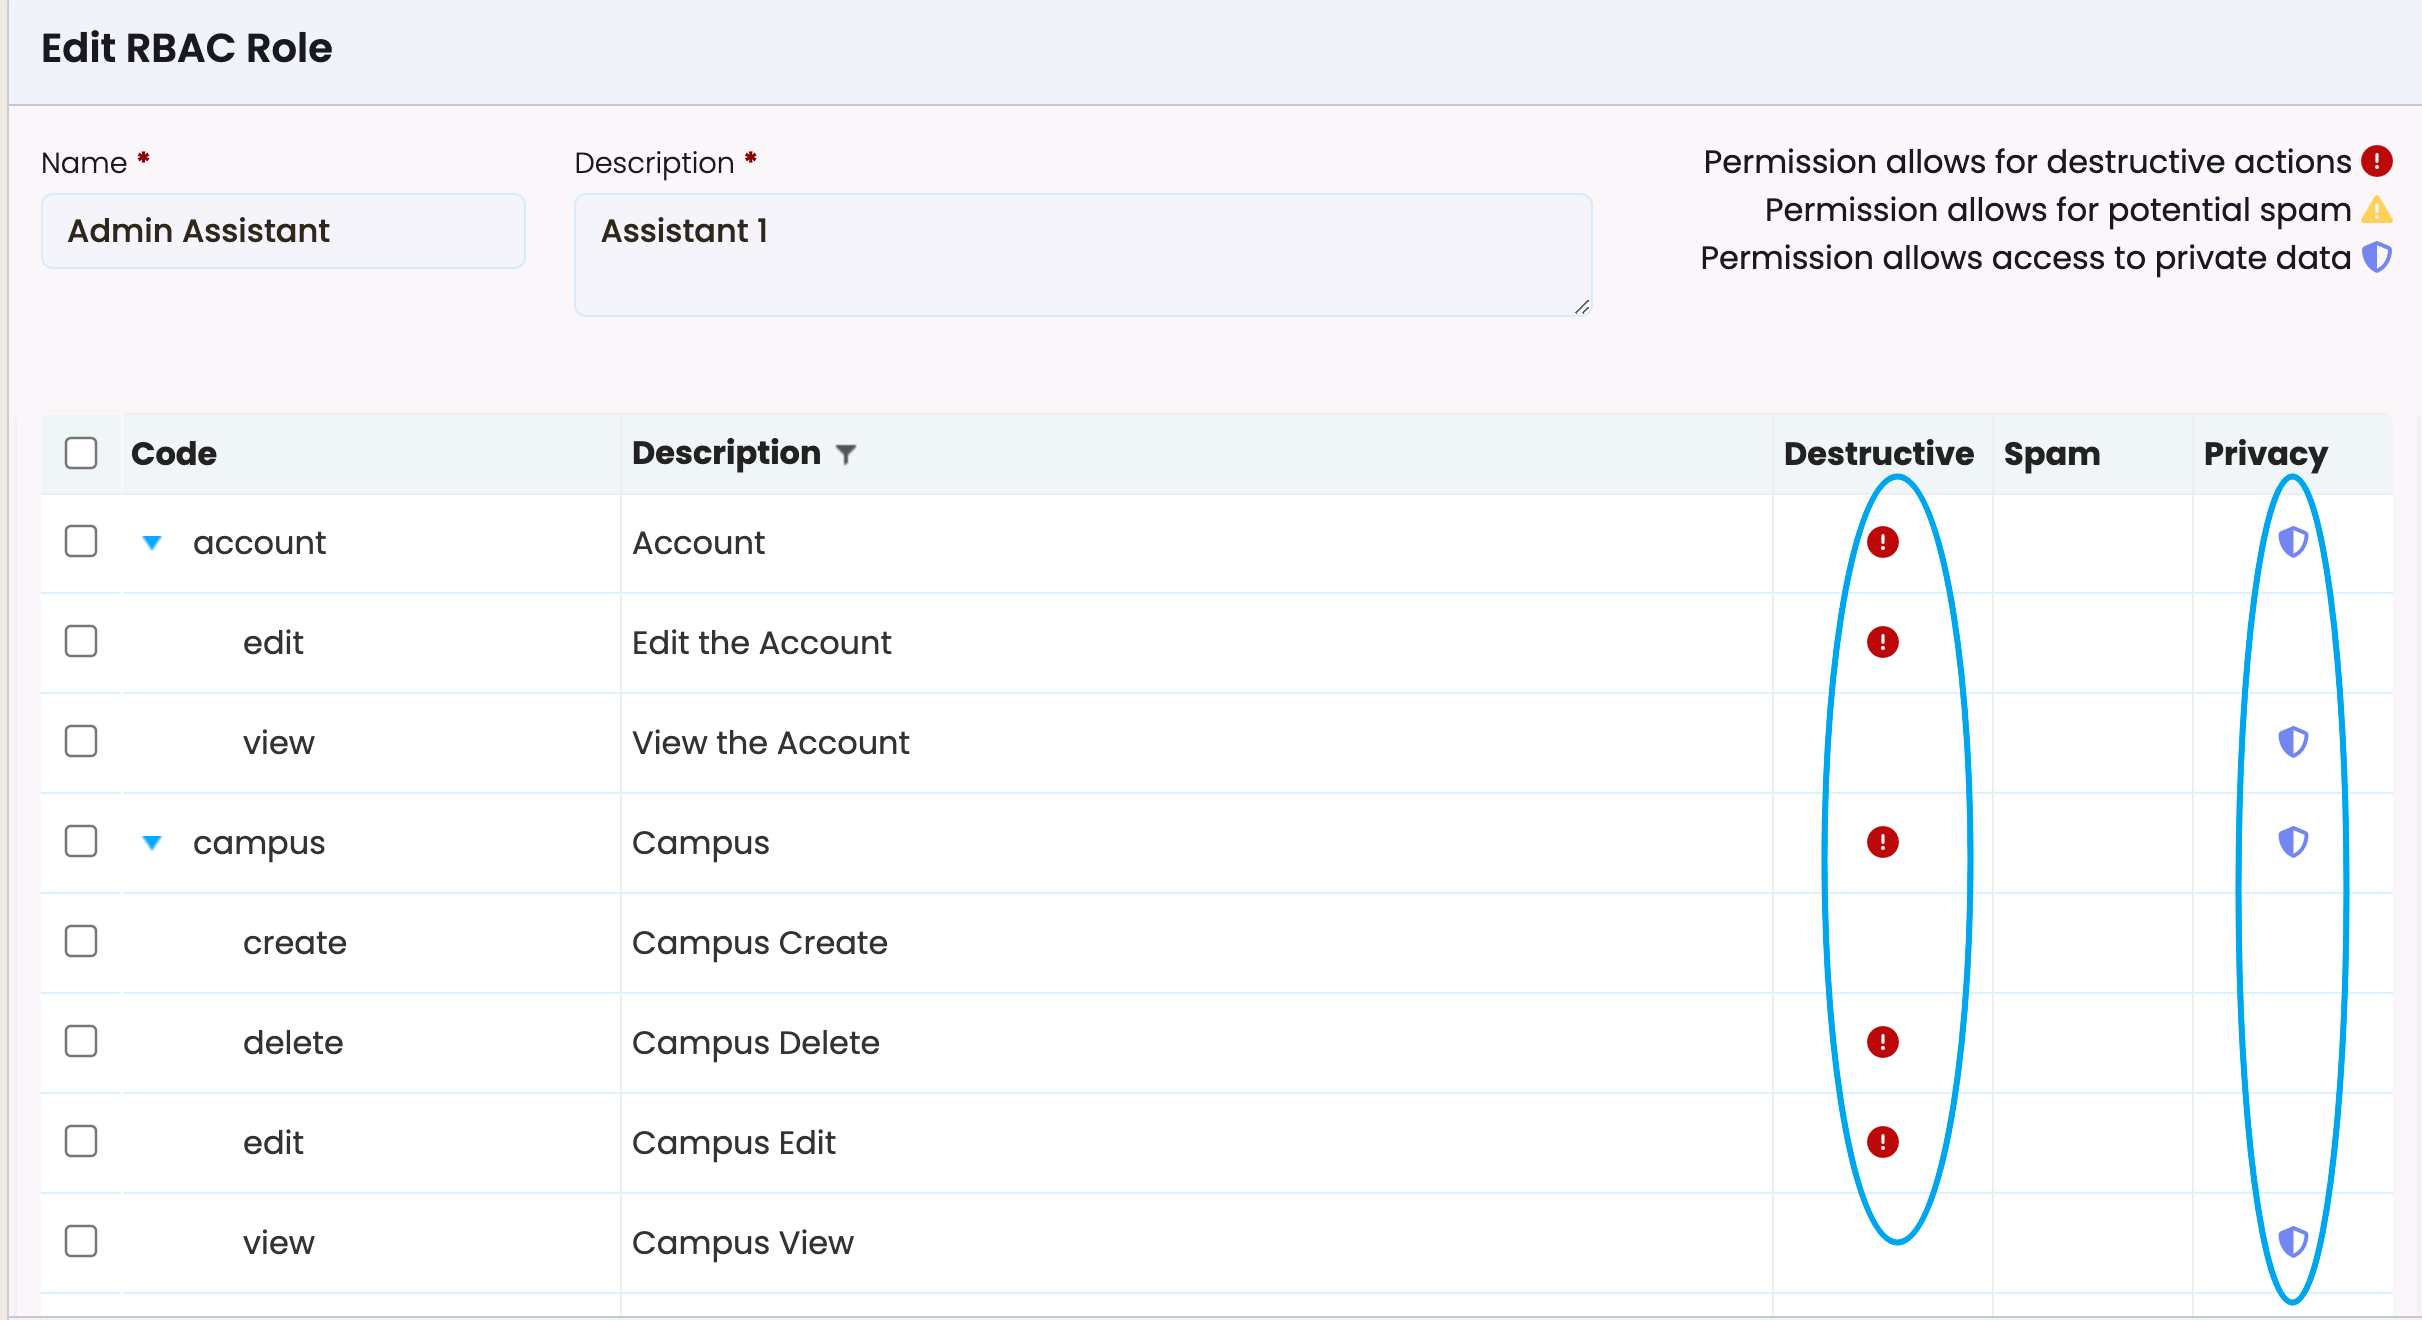
- Permission Categories:
- Permissions are grouped by categories (e.g., “account,” “campus,” “class”) for easy navigation.
- Actions:
- Each category has specific actions such as:
- Edit: Modify details of the category (e.g., “Edit the Account”).
- View: Access information (e.g., “View the Account”).
- Create/Delete: Add or remove entities (e.g., “Campus Create,” “Campus Delete”).
- Each category has specific actions such as:
- Selecting Permissions:
- You can enable or disable specific permissions for the role by ticking or unticking the checkboxes next to each action.
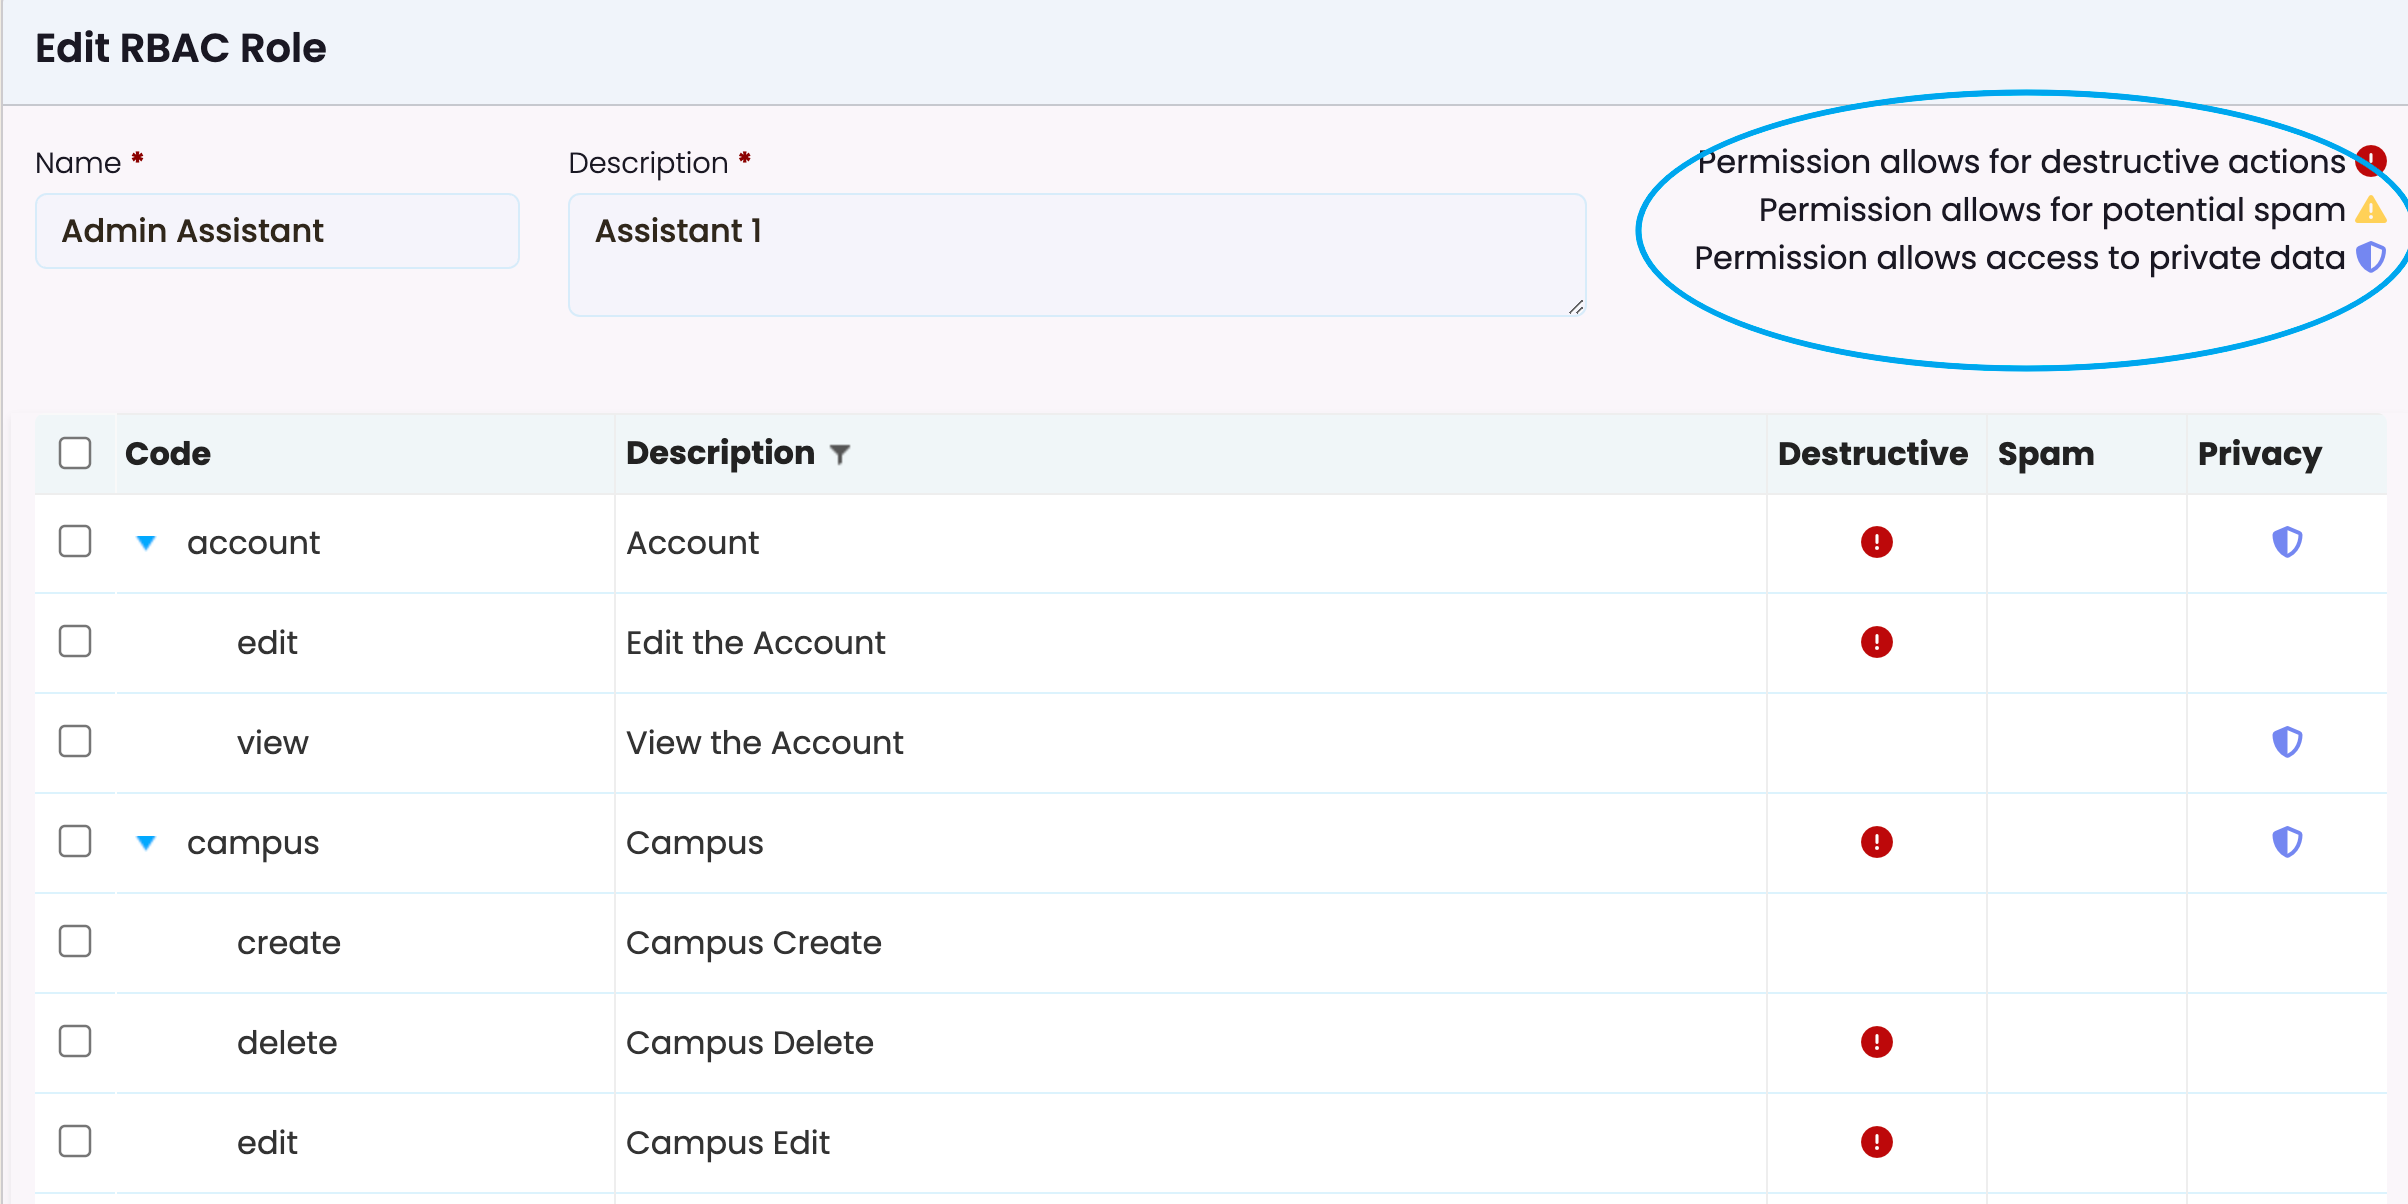
- Indicators:
- Icons indicate the implications of permissions:
- Destructive (Red): Permissions that allow potentially harmful actions, like deleting data.
- Spam (Yellow): Permissions that could involve spam-like behaviour.
- Privacy (Blue): Permissions granting access to private or sensitive data.
- Icons indicate the implications of permissions:
The indicators help you understand what level of actions a role is able to perform. You can find a brief explanation of each icon in the top-right corner of the editing screen.
Icons indicated next to each role:
Tick the boxes you wish to add to the role and click “Save” to confirm changes to the role’s name, description, or permissions.