
Enabling the Microsoft login in SELMA allows users to authenticate themselves, using their Microsoft accounts. This improves the User Experience by allowing you to sign-in with a click of a button, as opposed to traditionally typing out your username and password.
In this Section:
Retrieve Values from Microsoft Entra
Please follow the guide, here, until you retrieve the following credentials:
- Client ID
- Tenant ID
- Client Secret Key
Then, contact SELMA Support to configure the OAuth2 Integration for your SELMA instance.
Test the Integration
Once the SELMA team have configured the integration, Users should log out of their accounts, and sign-in using the “Microsoft” button.
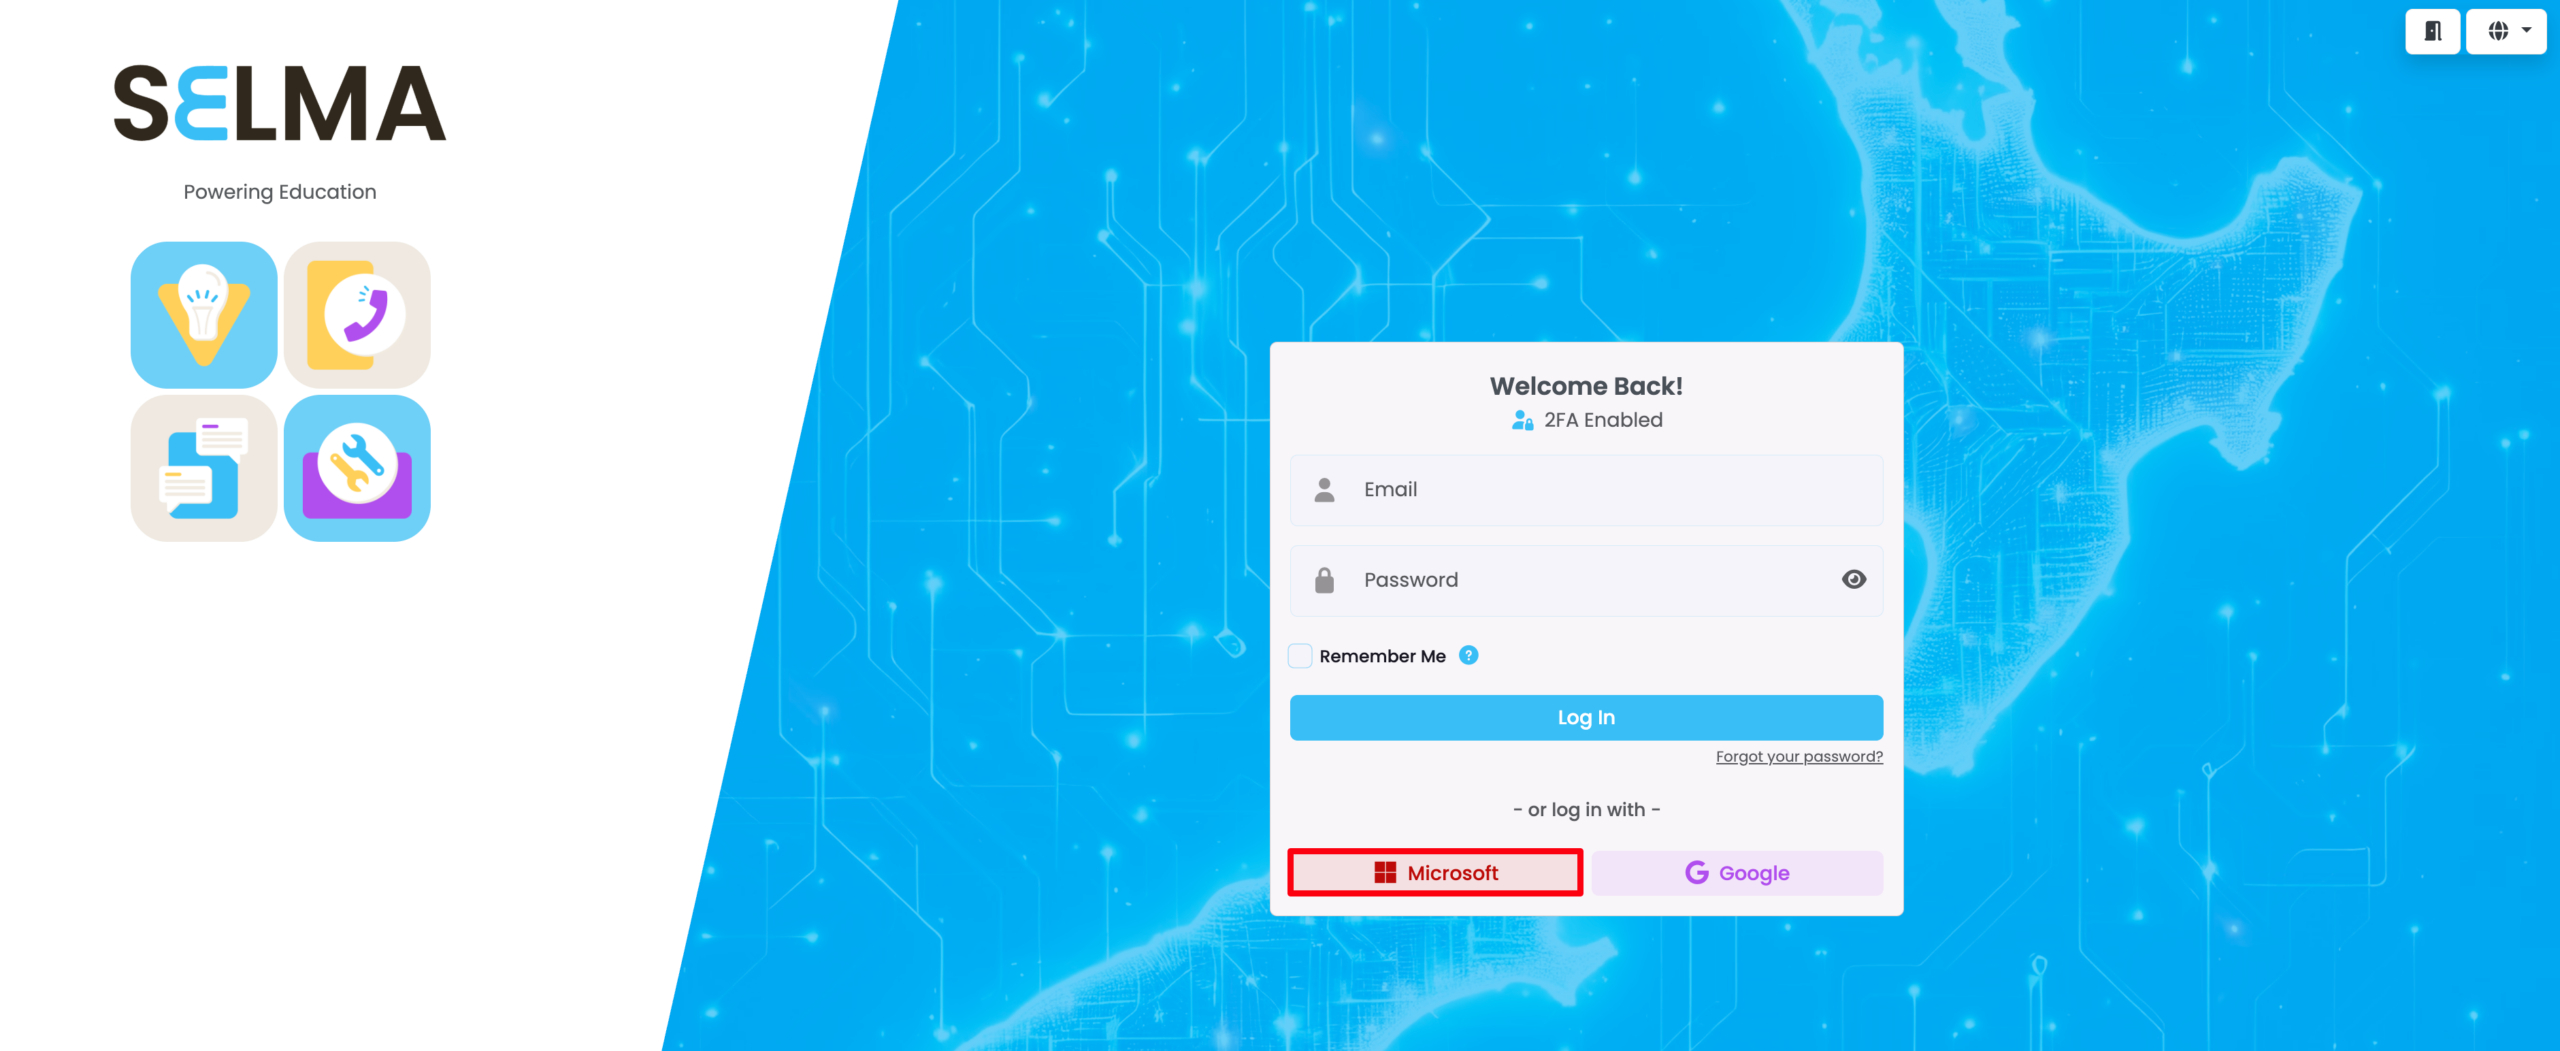
Login with Microsoft | SELMA Login Screen
On the SELMA login screen, click the “Microsoft” button to sign in immediately.
Note: You may be redirected to a page to select a Microsoft account, if you have multiple.
Important Notes
- Setup Process:
- The Entra App set-up is done by your organisation, but the SELMA integration is configured by the SELMA team.
- Credentials Security:
- Store your Client ID, Tenant ID, and Client Secret Key securely before sending them to the SELMA team.
- Email Matching:
- Users must have the same email address in both SELMA and their Microsoft account for the login process to work.
- Secret Expiry:
- Remember to renew your Client Secret Key before it expires, and provide the new secret to the SELMA team.
Trouble-Shooting
- “Invalid client” error:
- Check that the correct Application ID, Directory ID, and Client Secret were provided to the SELMA team
- “Redirect URI mismatch”: Ensure the redirect URL in Entra exactly matches the format
https://subdomain.selma.app/connect/azure/check
- Secret expiry issues:
- If authentication suddenly stops working, check if the client secret has expired in Azure