
Class Management
Classes are cohorts of students that study one or many subject together, are managed by a teacher, or in any other way share this common cohort.
In higher education, classes are used to create subjects and build timetables for each subject. Students then join multiple classes with different subjects and teachers. All classes together, build the students timetable.
In vocational studies, the classes can be used much like in higher education or to build a study group per teacher.
In apprenticeships, classes can be used to group multiple apprentices for block courses.
As a pastoral care person, I might create myself a class to group all my students into for bulk communication and note taking.
Classes can be created independent of intakes and students studying in different intakes and programmes can join the same class.
Create and Manage a Class
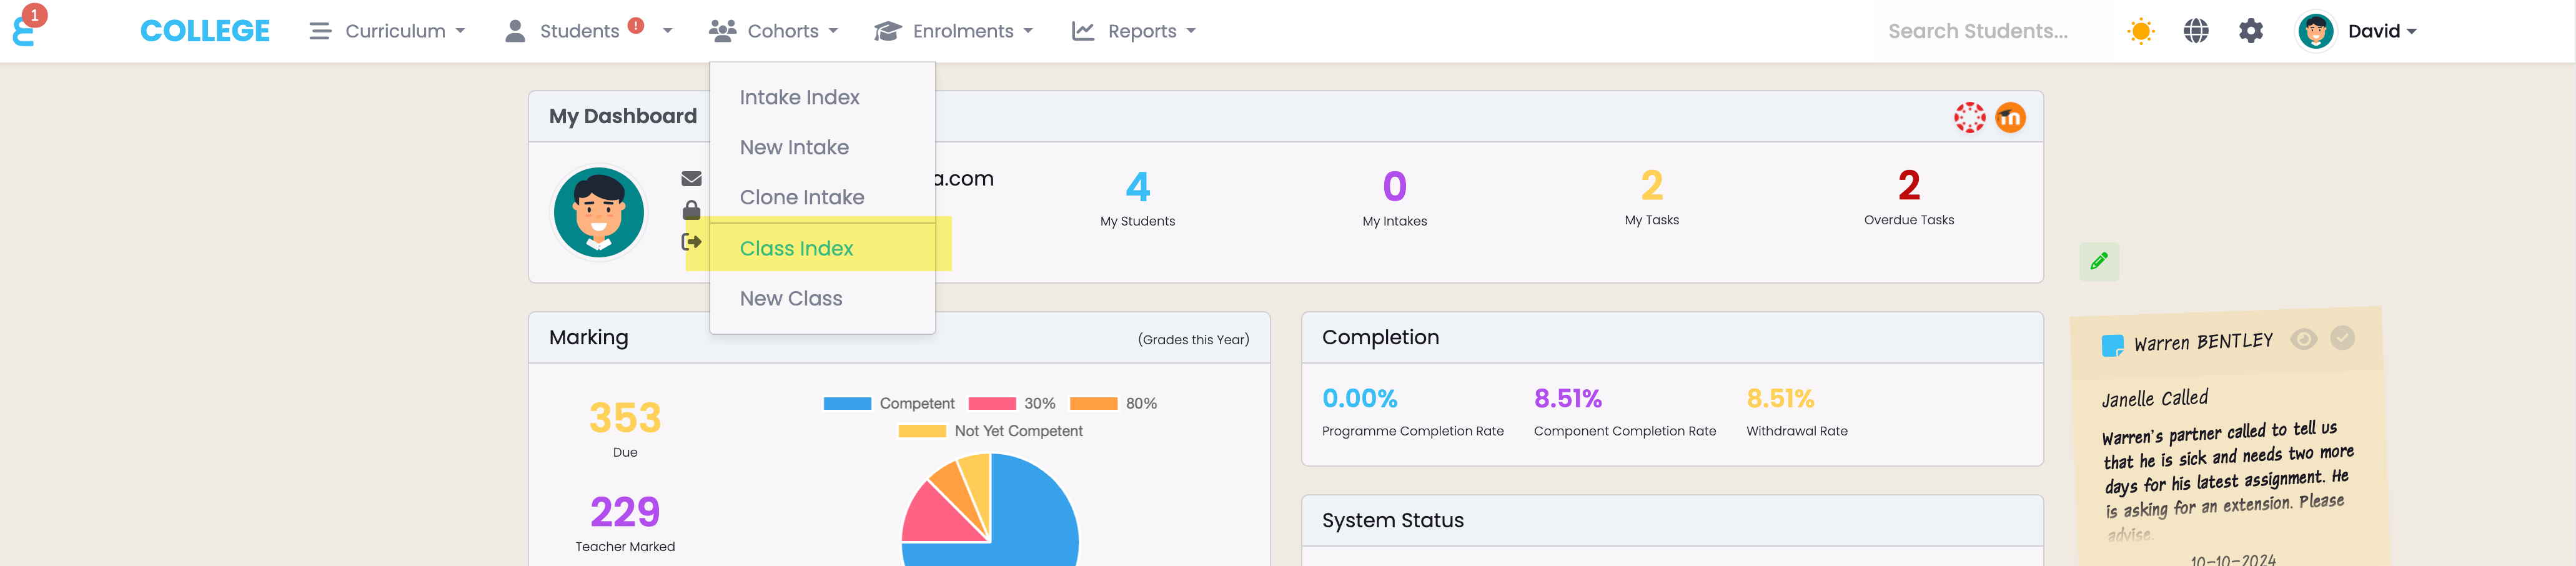
Click on “Cohorts” and then “Classes” to open the class index:
Like in any other grid view, you can search and open classes, save your searches or export the list to csv. To create a new class, click the + button:

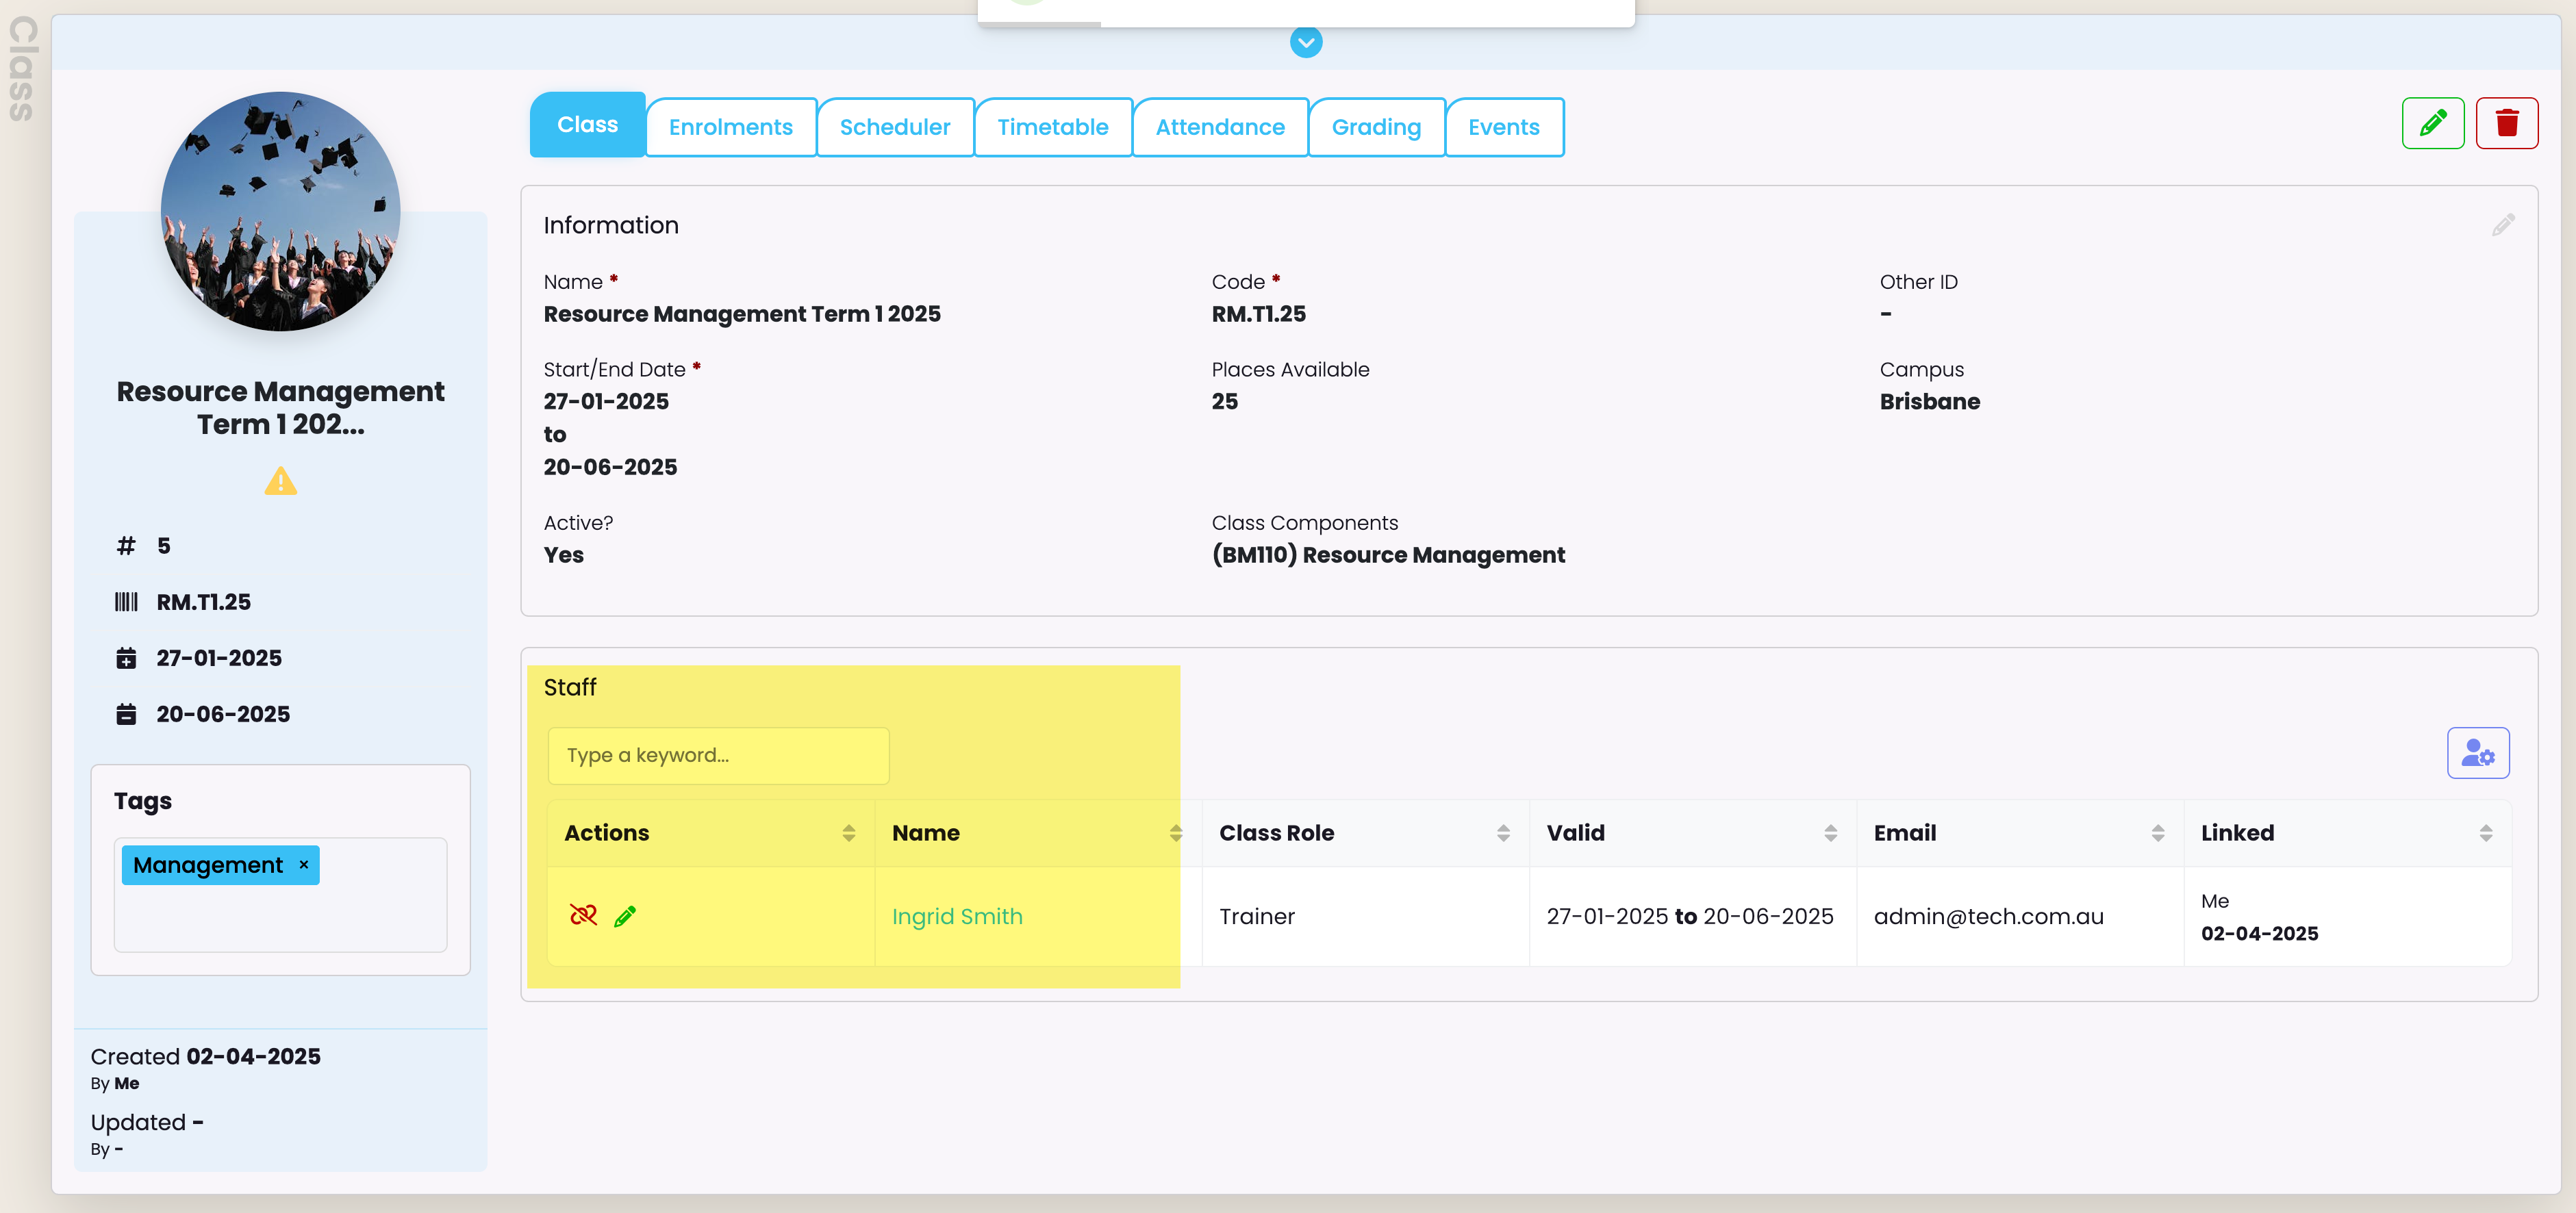
You should provide a unique name for a class and you may also provide a class code. Set the start and end date and a campus:
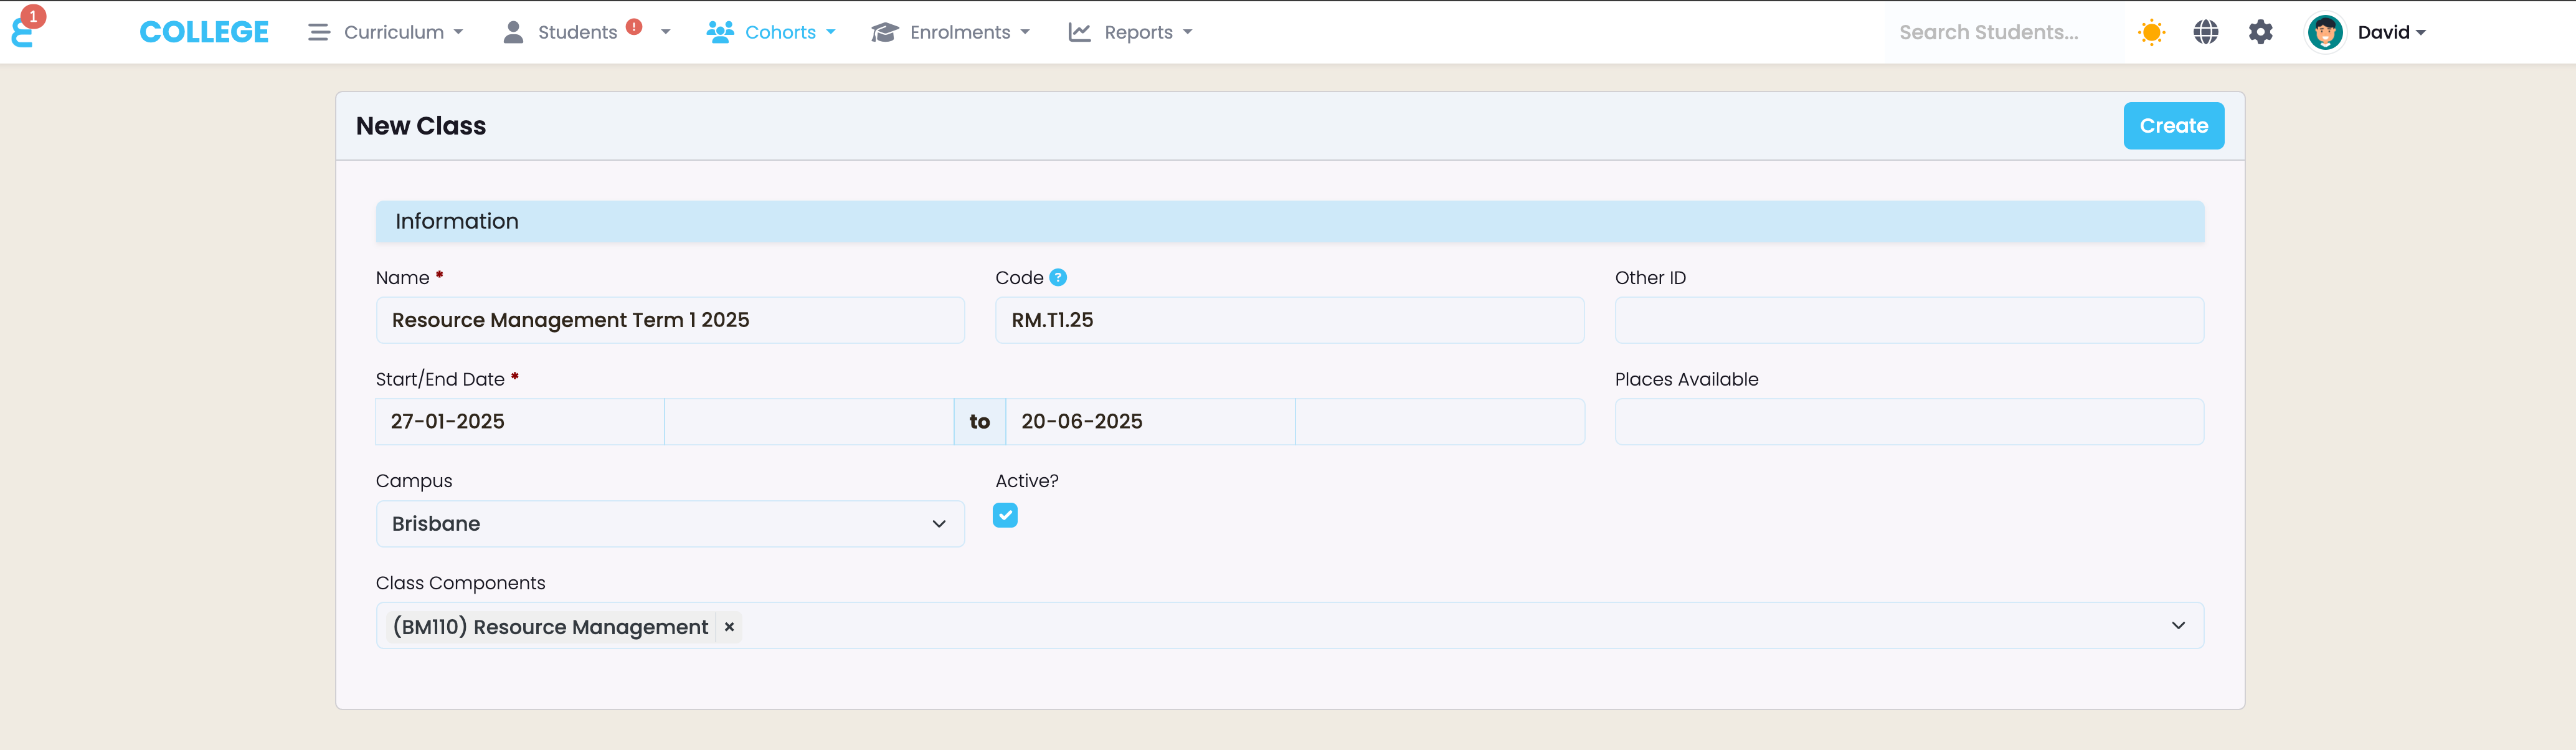
The class components define which components are taught in a class. You may lave this field empty, but it will mean that a staff member (Teacher) linked to the class will be able to manage and grade all components of all students in the class. If you narrow the components down to the component the Teacher is teaching, they will only see and manage the selected components here. Click “Create” to create the class.
Once the class is created, you can tag it, set maximum available places etc. by editing the class. You may now want to assign a teacher to the class. For this, click on the function button in the Staff card of the class view:
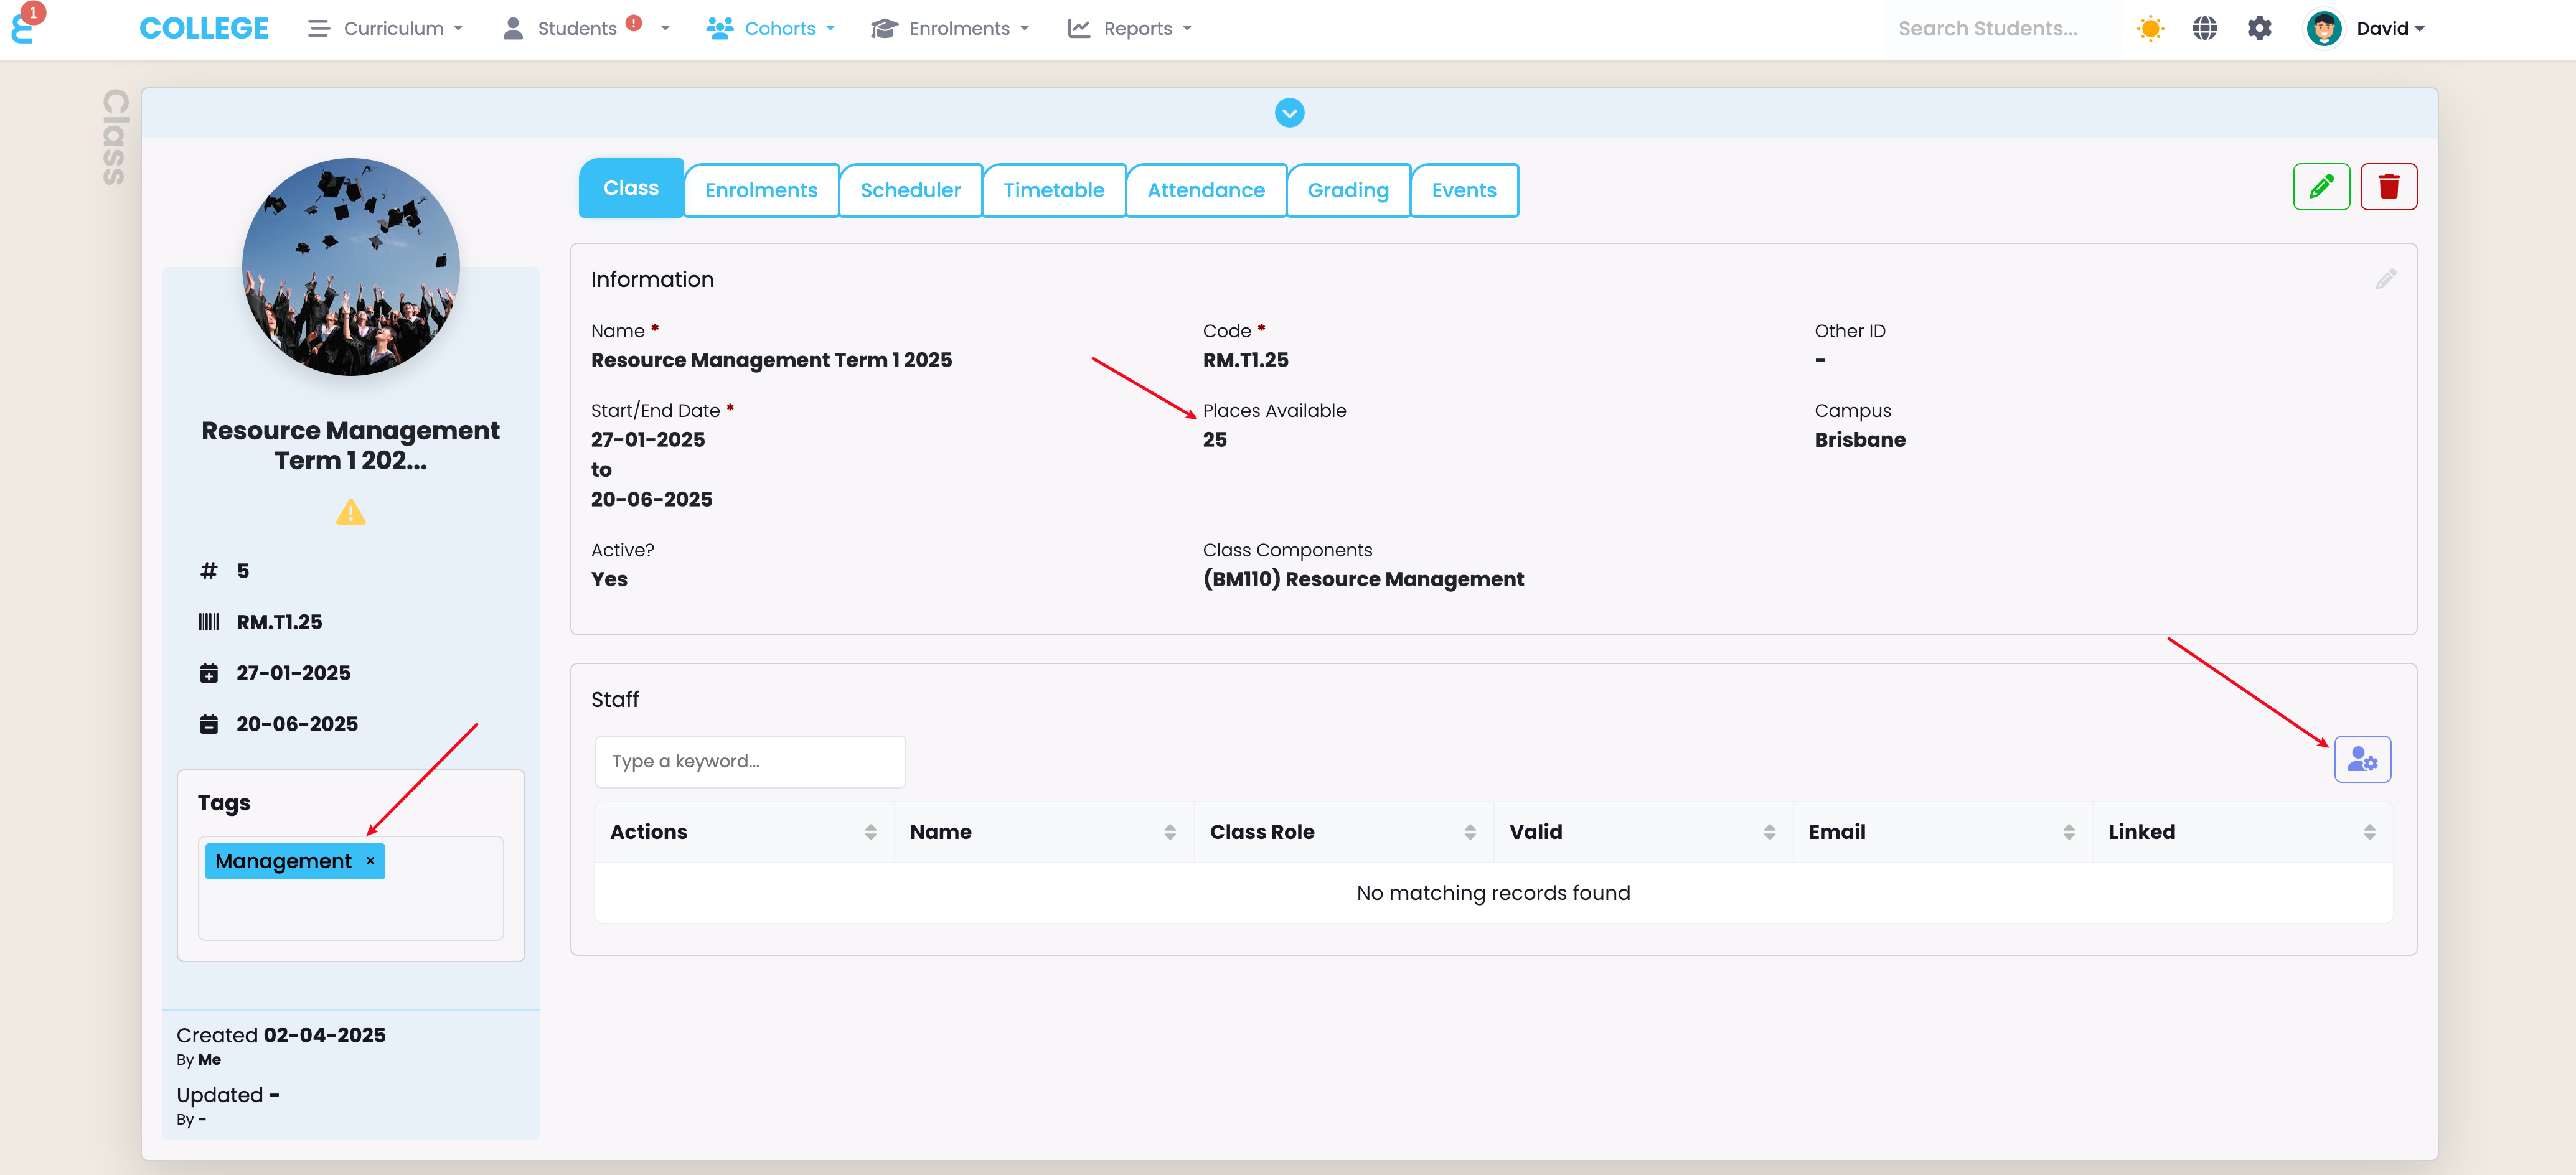
You can add any type of staff member to a class, it might be the teacher, a substitute, a pastoral care office etc.
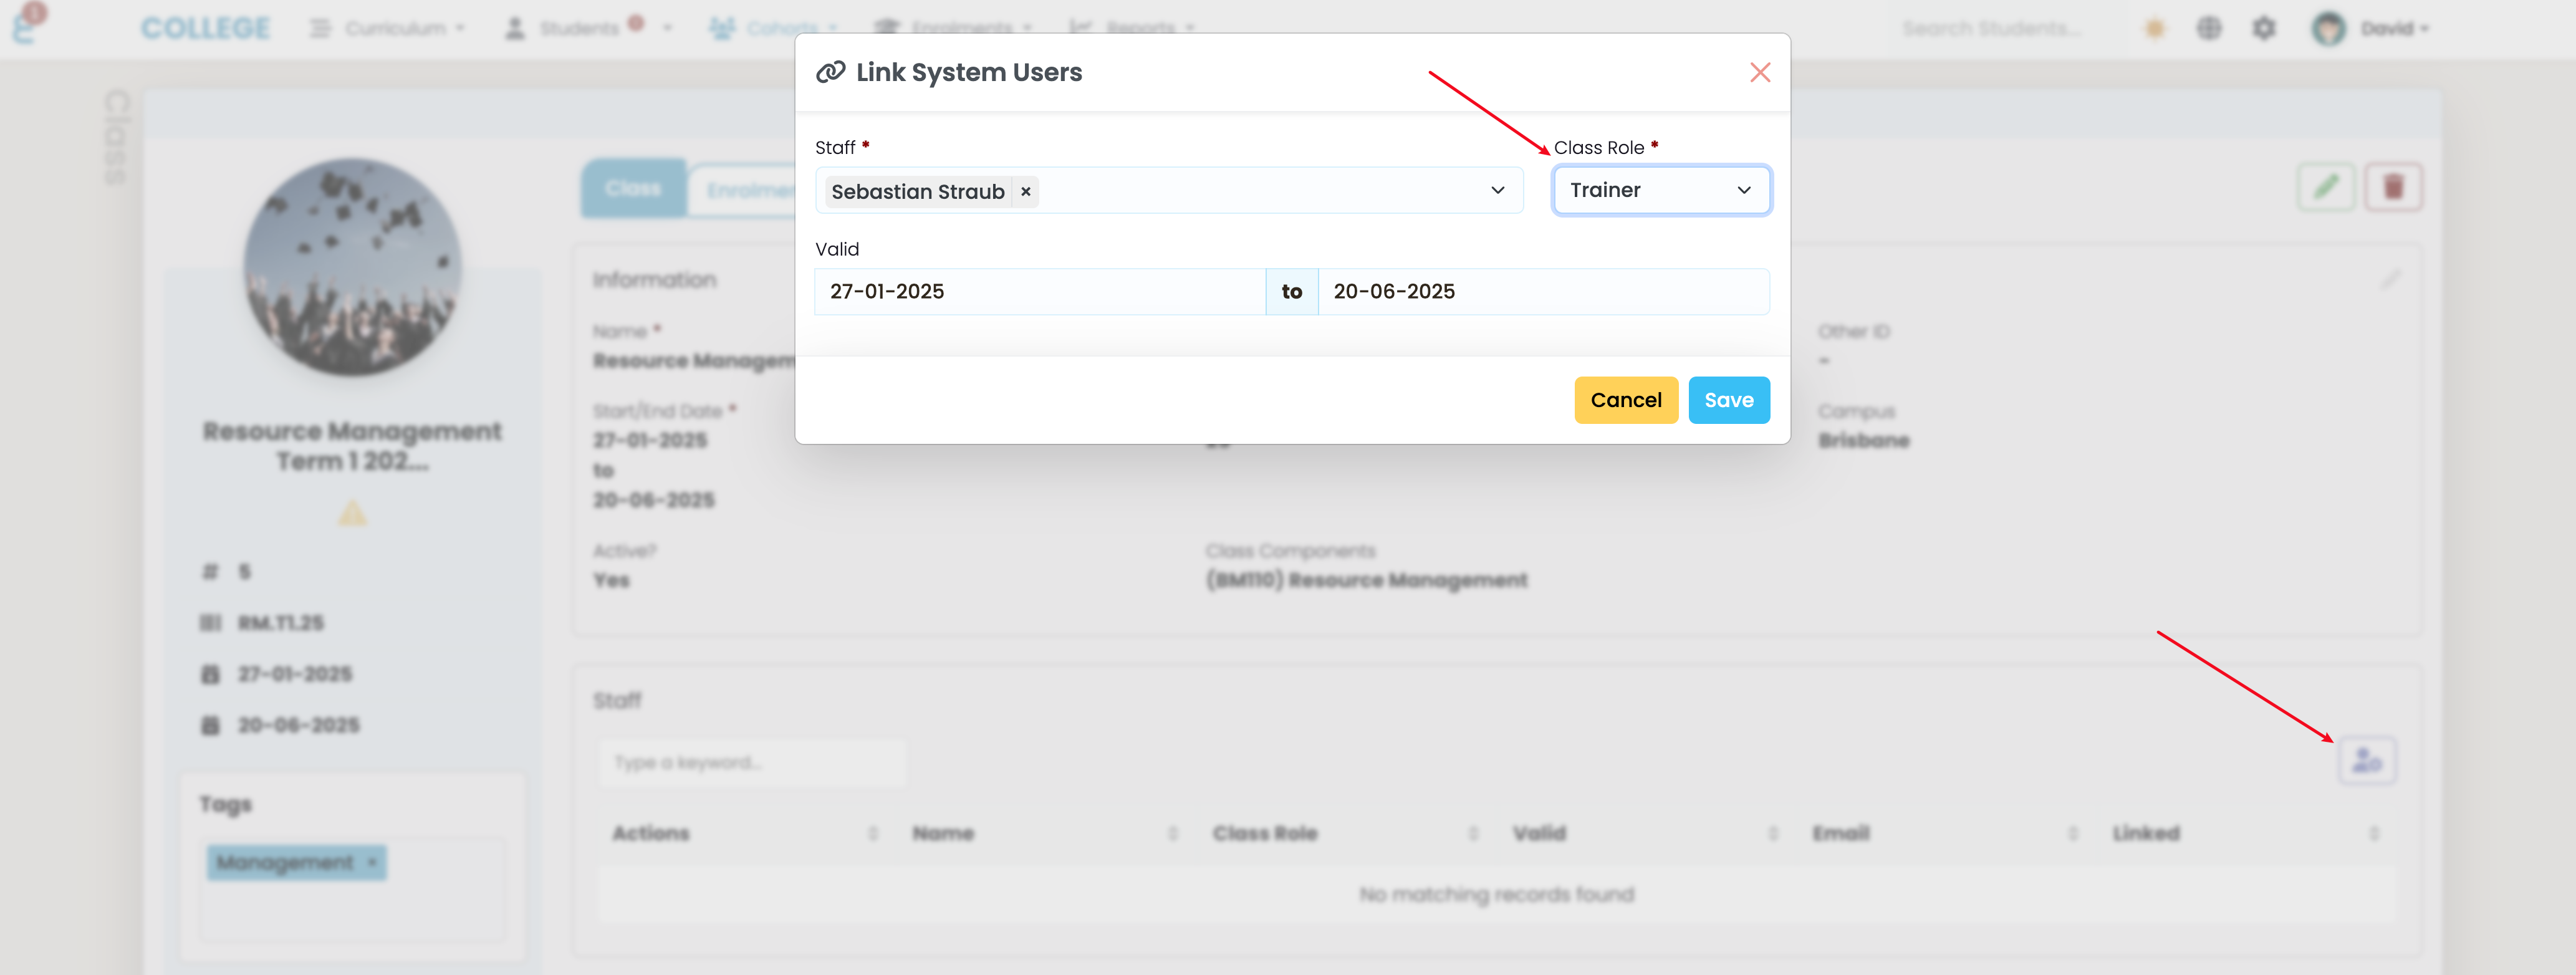
The role the Staff member has in the class is defined in the “Class Role”. Further class roles can be added in the Lookup Data section of this manual.
Once a staff member is added, they will see the class on their dashboard (if they have the class widget), they will have the class duration added as full day events to their calendar, and they will gain access to the students in the class if their access permission is restricted to viewing only students that are assigned to them.
Schedule Actions
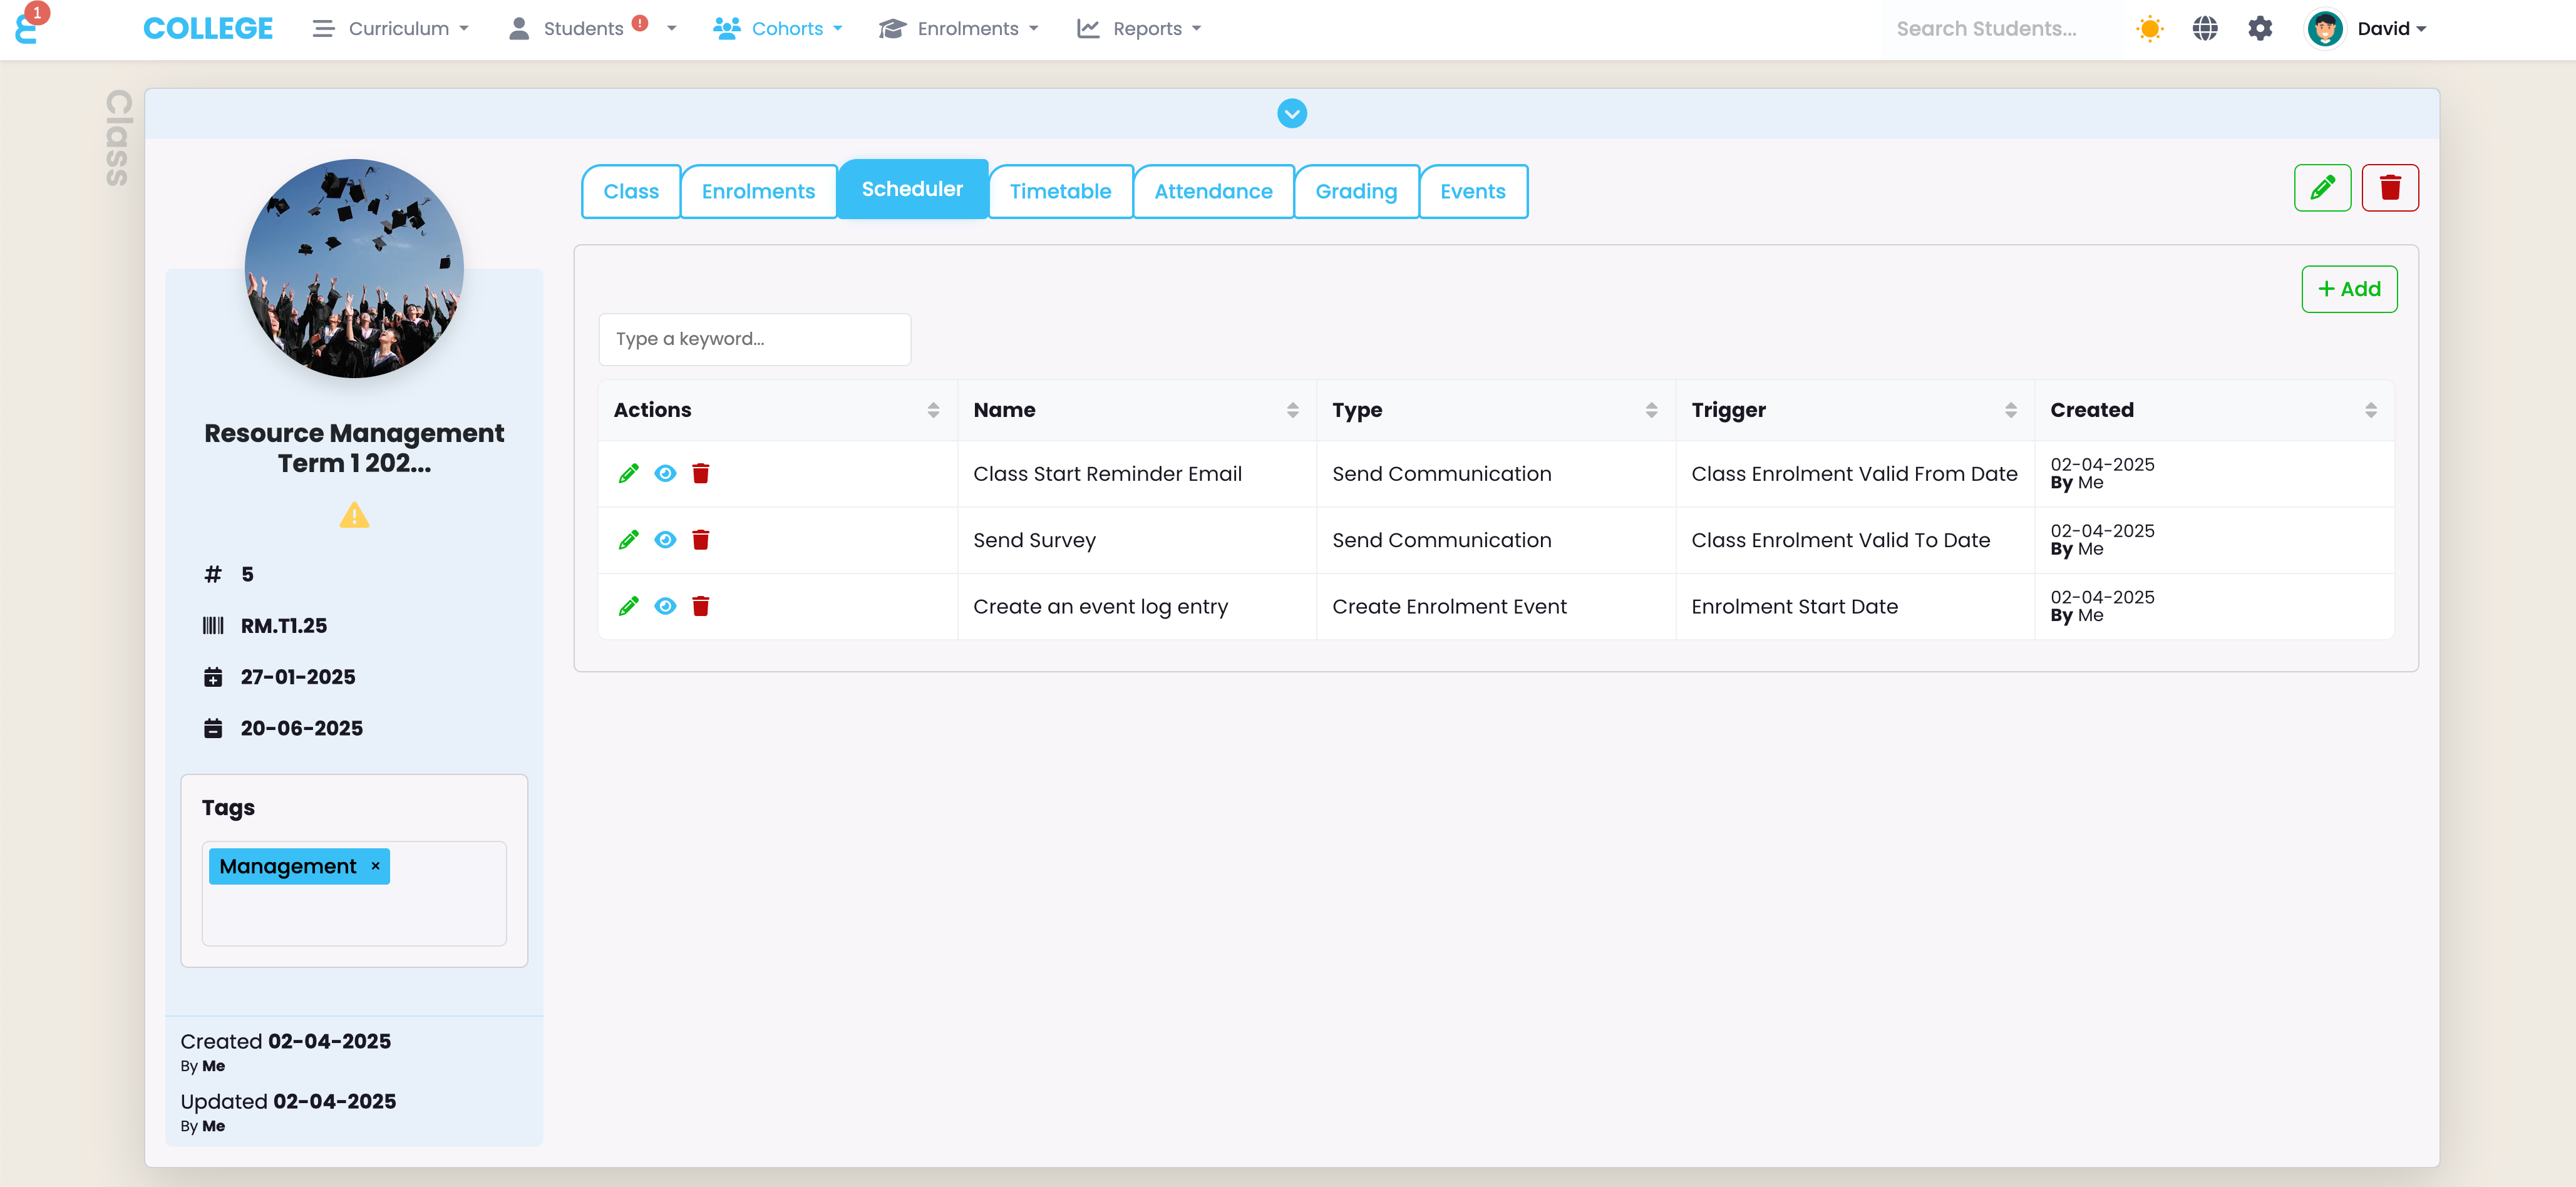
The class scheduler is a function to automate communoication or event creation for all students in the class. A typical example is an email reminder sent to the class a day before the class starts. To add a schedule action, go to the “Scheduler” tab and use the +Add button:

A form for a new scheduled action will pop up. In the below form, the defined action is to send an email, one day before the class starts, and the “Class Start Reminder” communication template will be sent to all students:
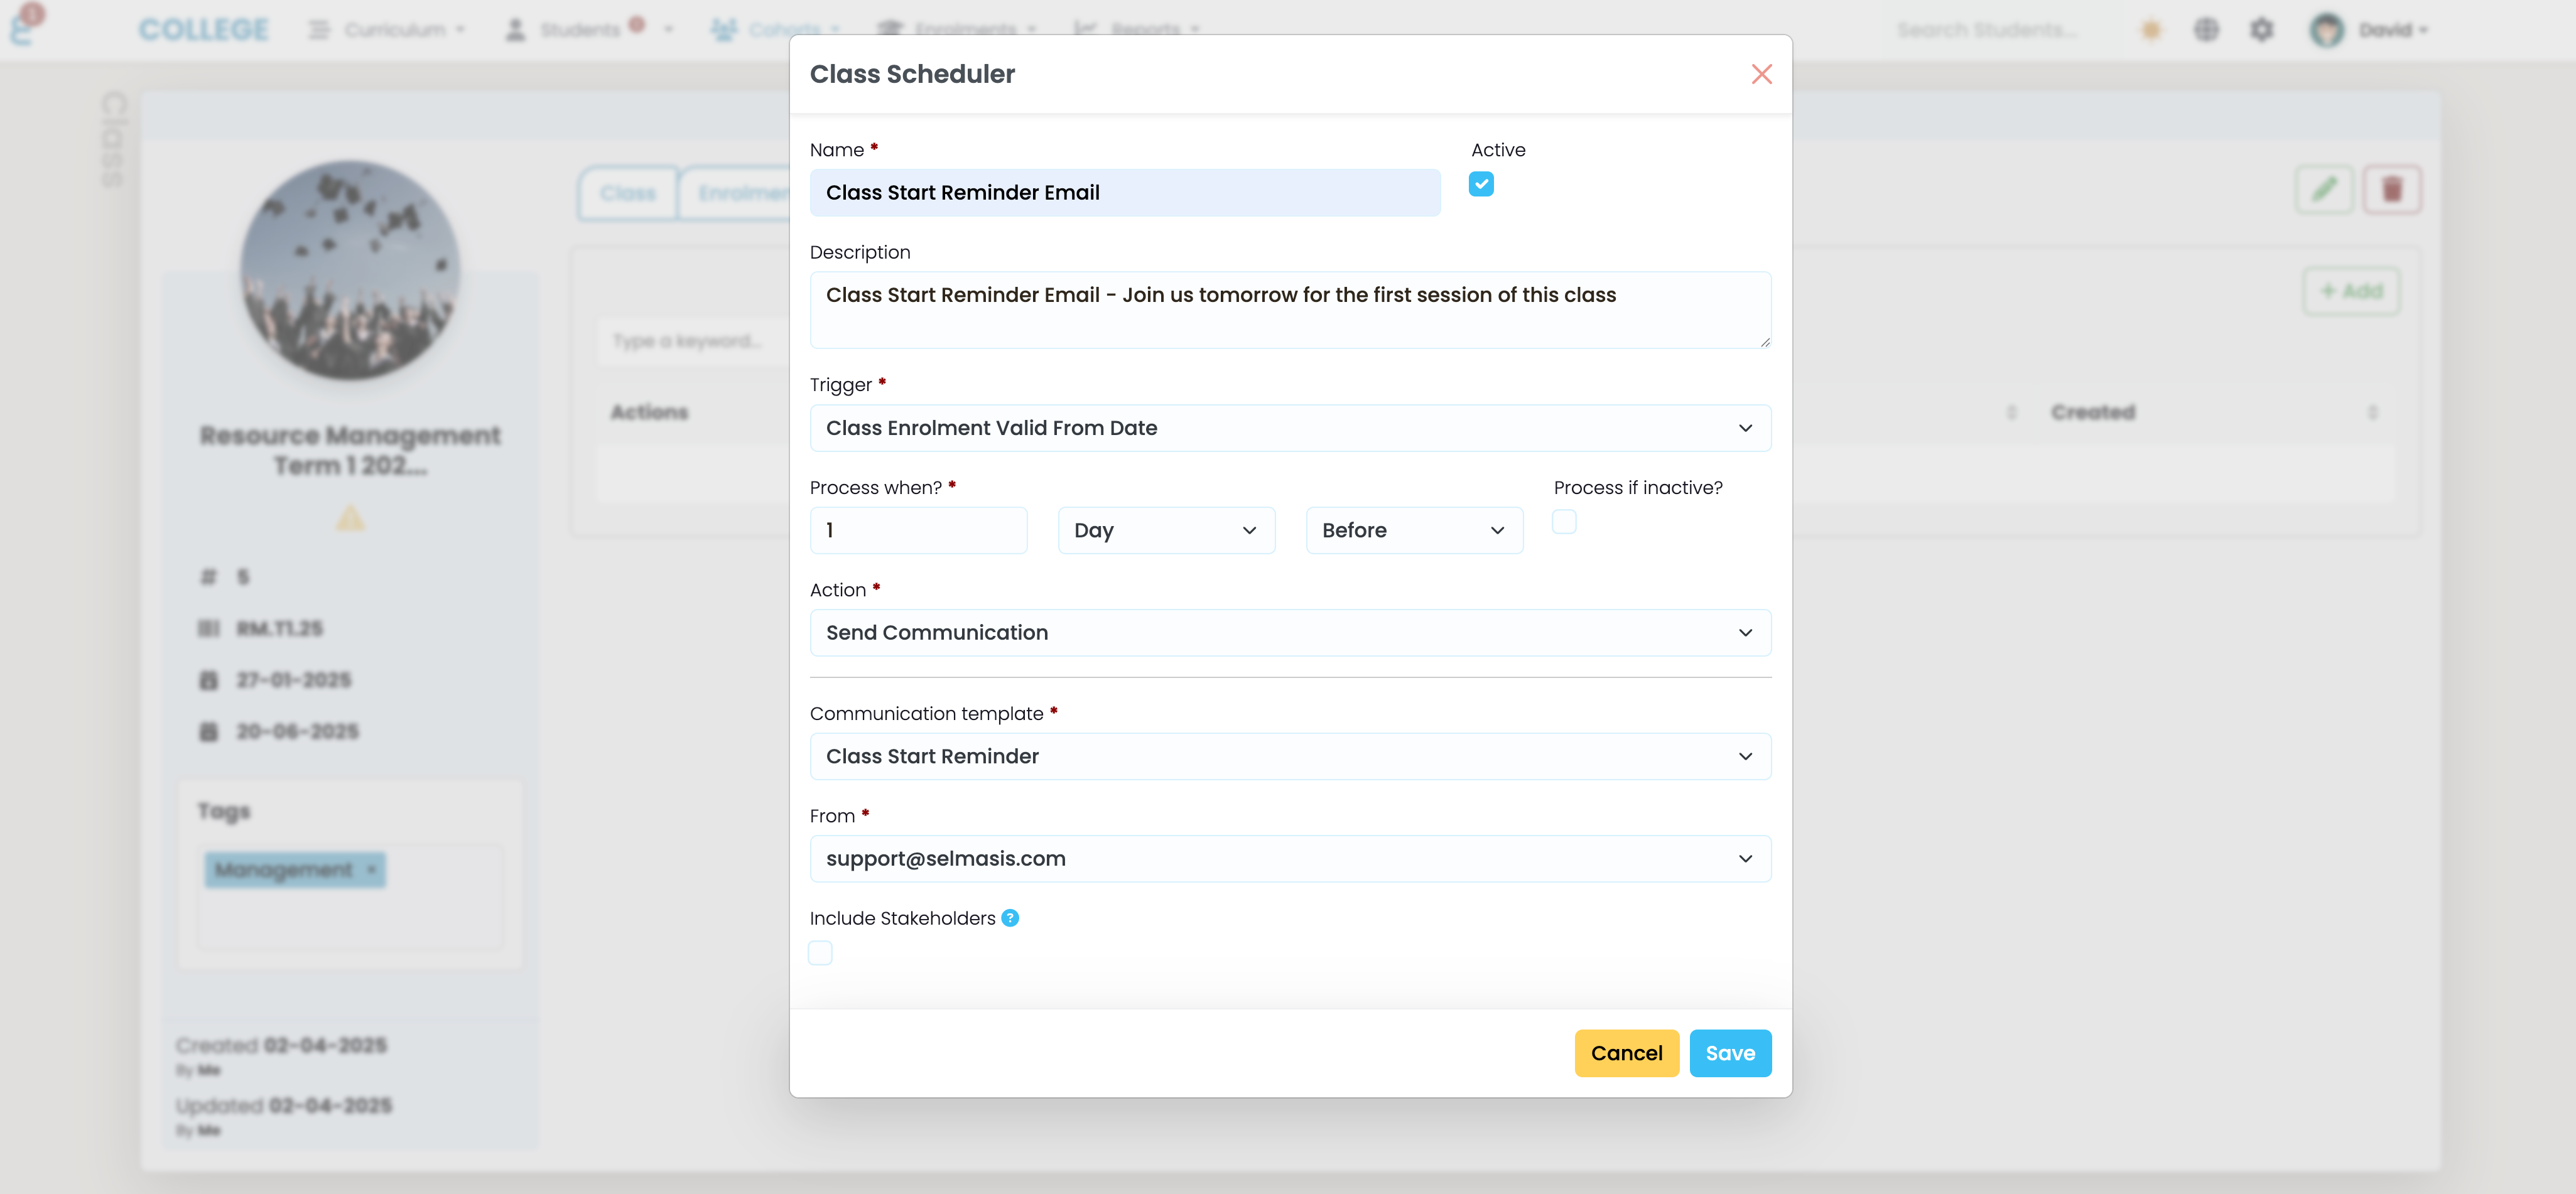
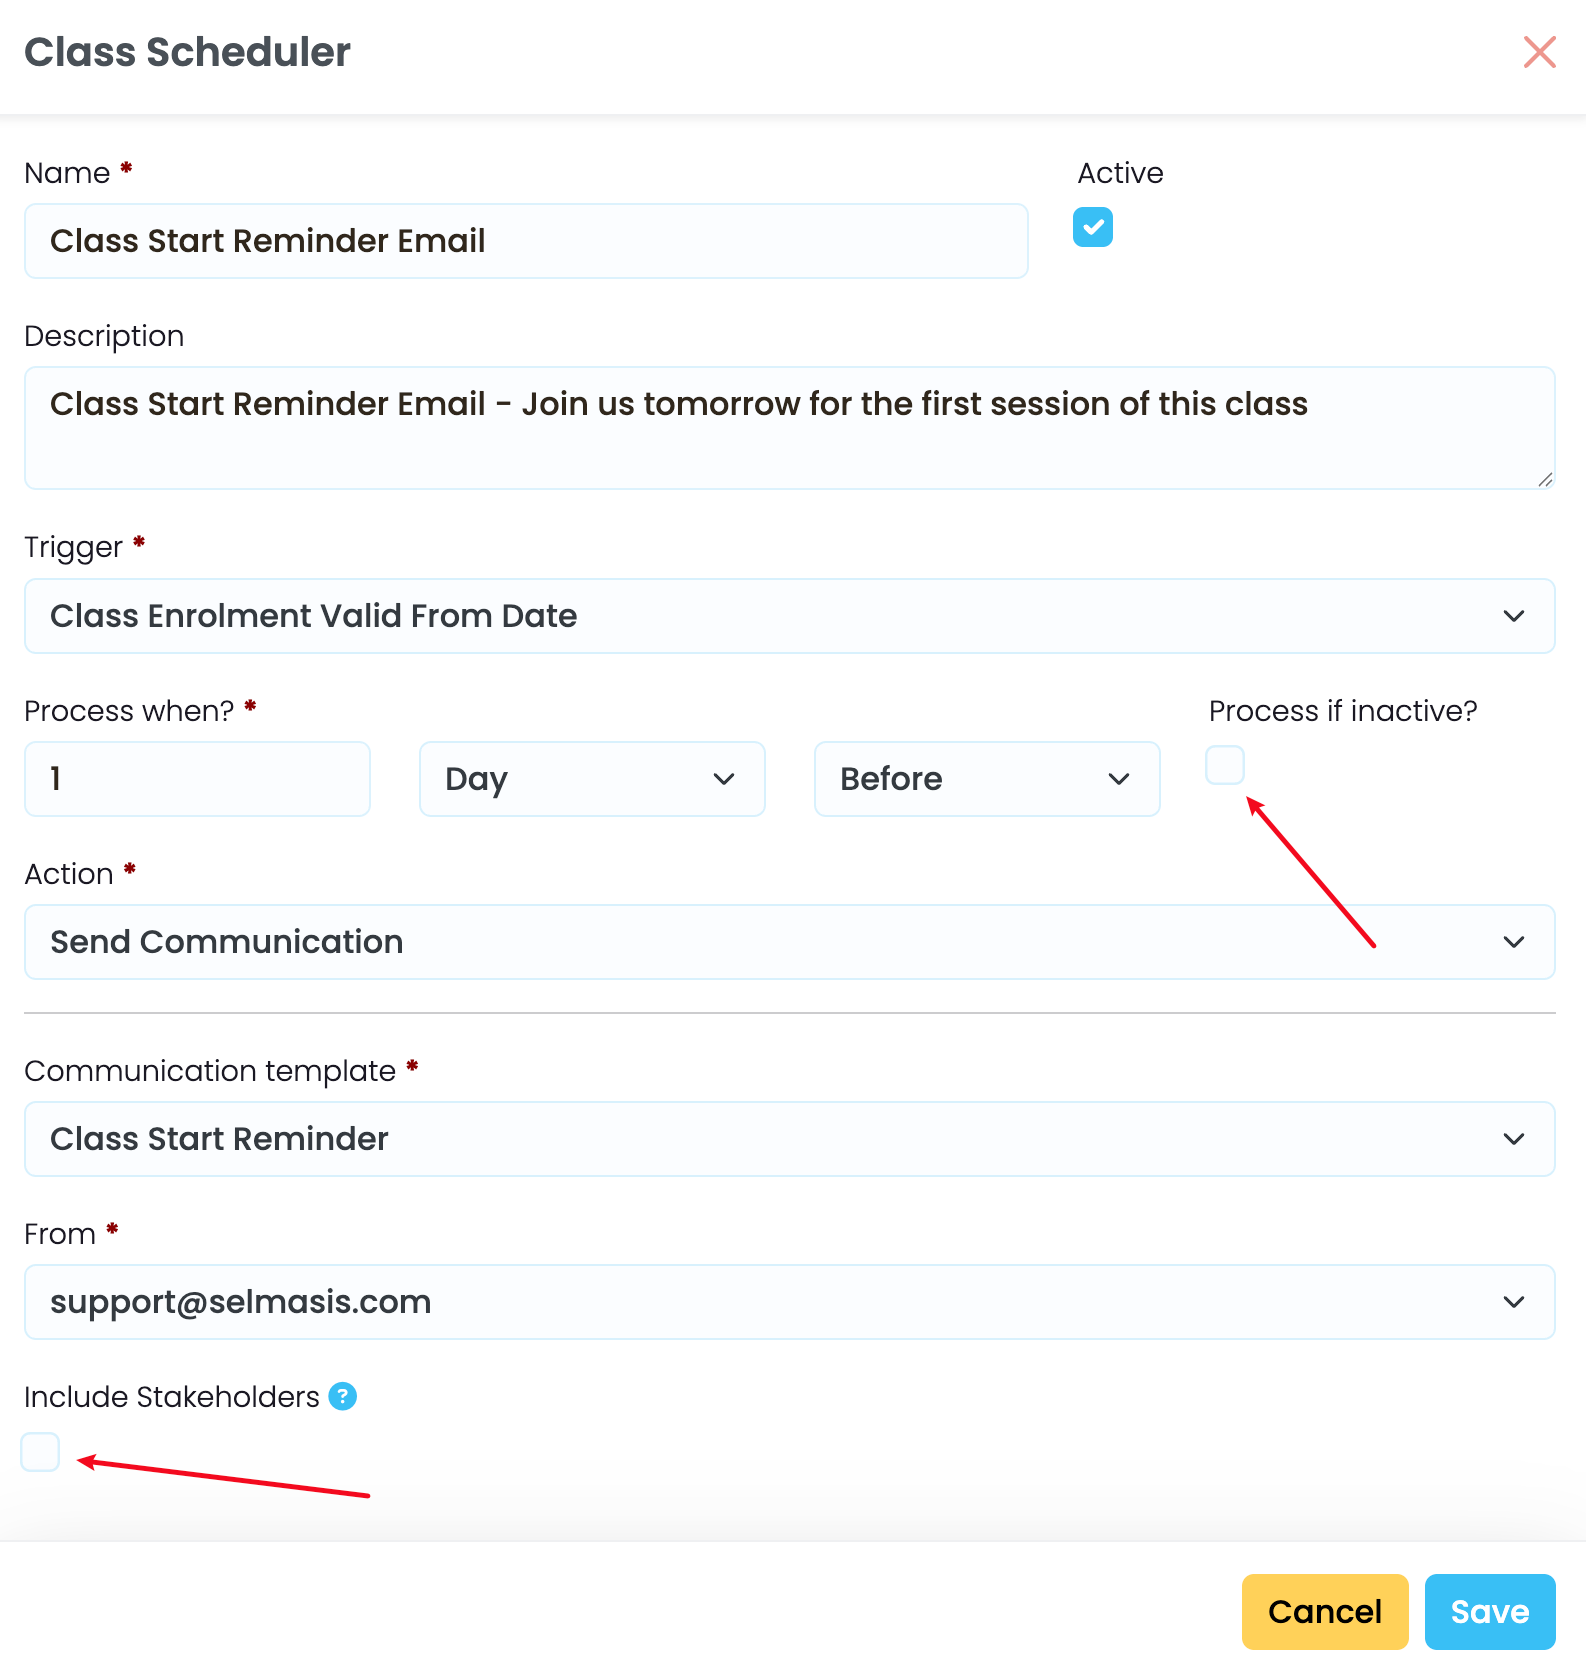
You may also choose to send the email regardless of the enrolment status of the student (by default comms are only sent to “Active” students), and you can choose to include stakeholders (cc’d) if an email is sent:
Once the scheduled action is saved, it will show up under the “Scheduler” tab. Their might be multiple scheduled actions on a class:
Timetable
You can view and manage the timetable of a class on the Timetable tab. The manual on how to manage timetables is here
Attendance
You can view and mark attendance of a class on the Attendance tab. The manual on how to mark attendance is here
Events
Like on many other objects, you can create event lot entries for the class. Please note that these entries are not visible to the students. The event log on the class is reserved for the Admins and Teachers to manage and track events on the class e.g. where the left off in the last lesson etc. Please find the manual on how to manage events here.
Grading
Components linked to a class can be graded right on the class. This is particularly convenient for teachers managing their own classes. Read the article on grading classes here to learn more.