In this section:
Getting Started
The SELMA dashboard can be personalised between each System User and is navigated easily once you are familiar with recurring elements.
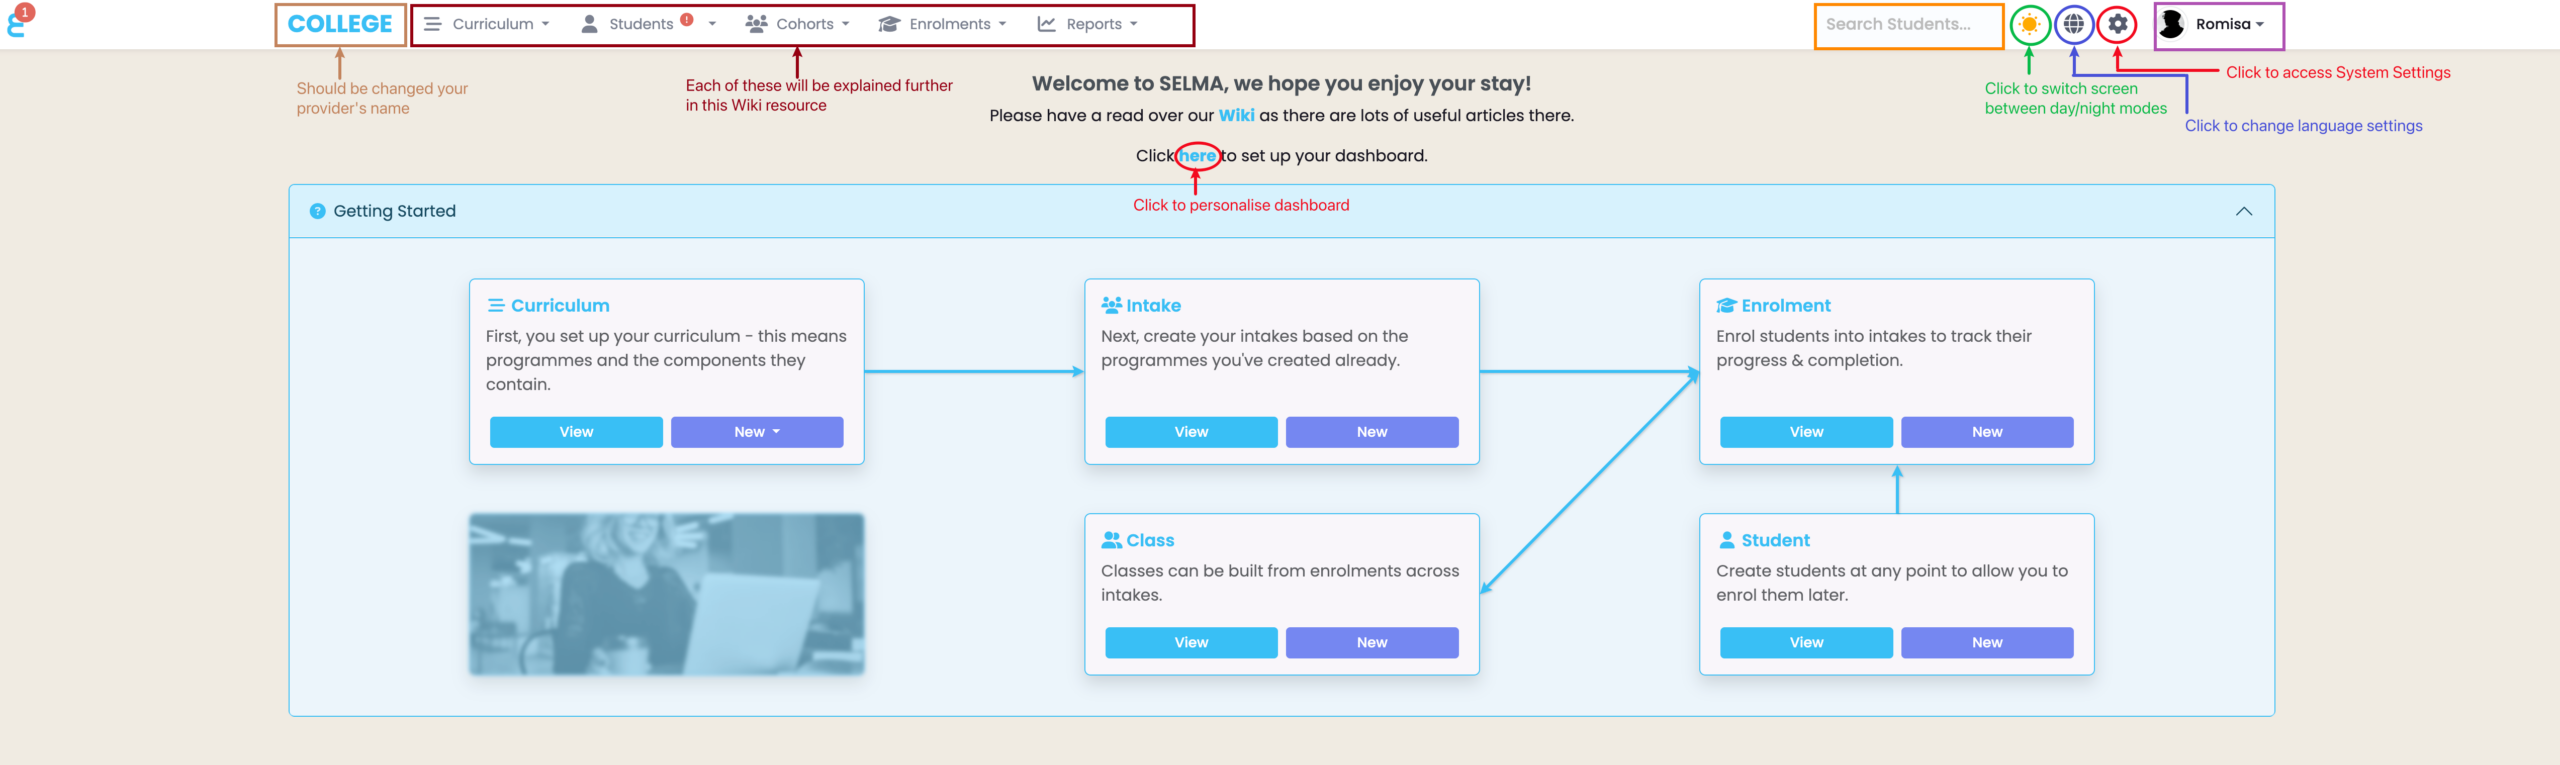
The Home Page
Click the set-up hyperlink on the homepage to personalise your dashboard (Figure 1.).
The System name can be customised to your provider’s name by navigating from Settings > Account. Please refer to System Settings – Accounts in this resource for more information.
Note: For a complete description of the navigation bar, please refer to SELMA 101 – Tips and Tricks for Using SELMA Productively in this resource.
Figure 1. To personalise your dashboard, click the set-up hyperlink (red). Recurring features in the navigation bar include that in burgundy, which feature in later articles in this resource, the Student Search to look for a Student (orange), personal account settings (purple), language settings (blue) and screen display settings (green).
Dashboard Elements
Charts and Graphs
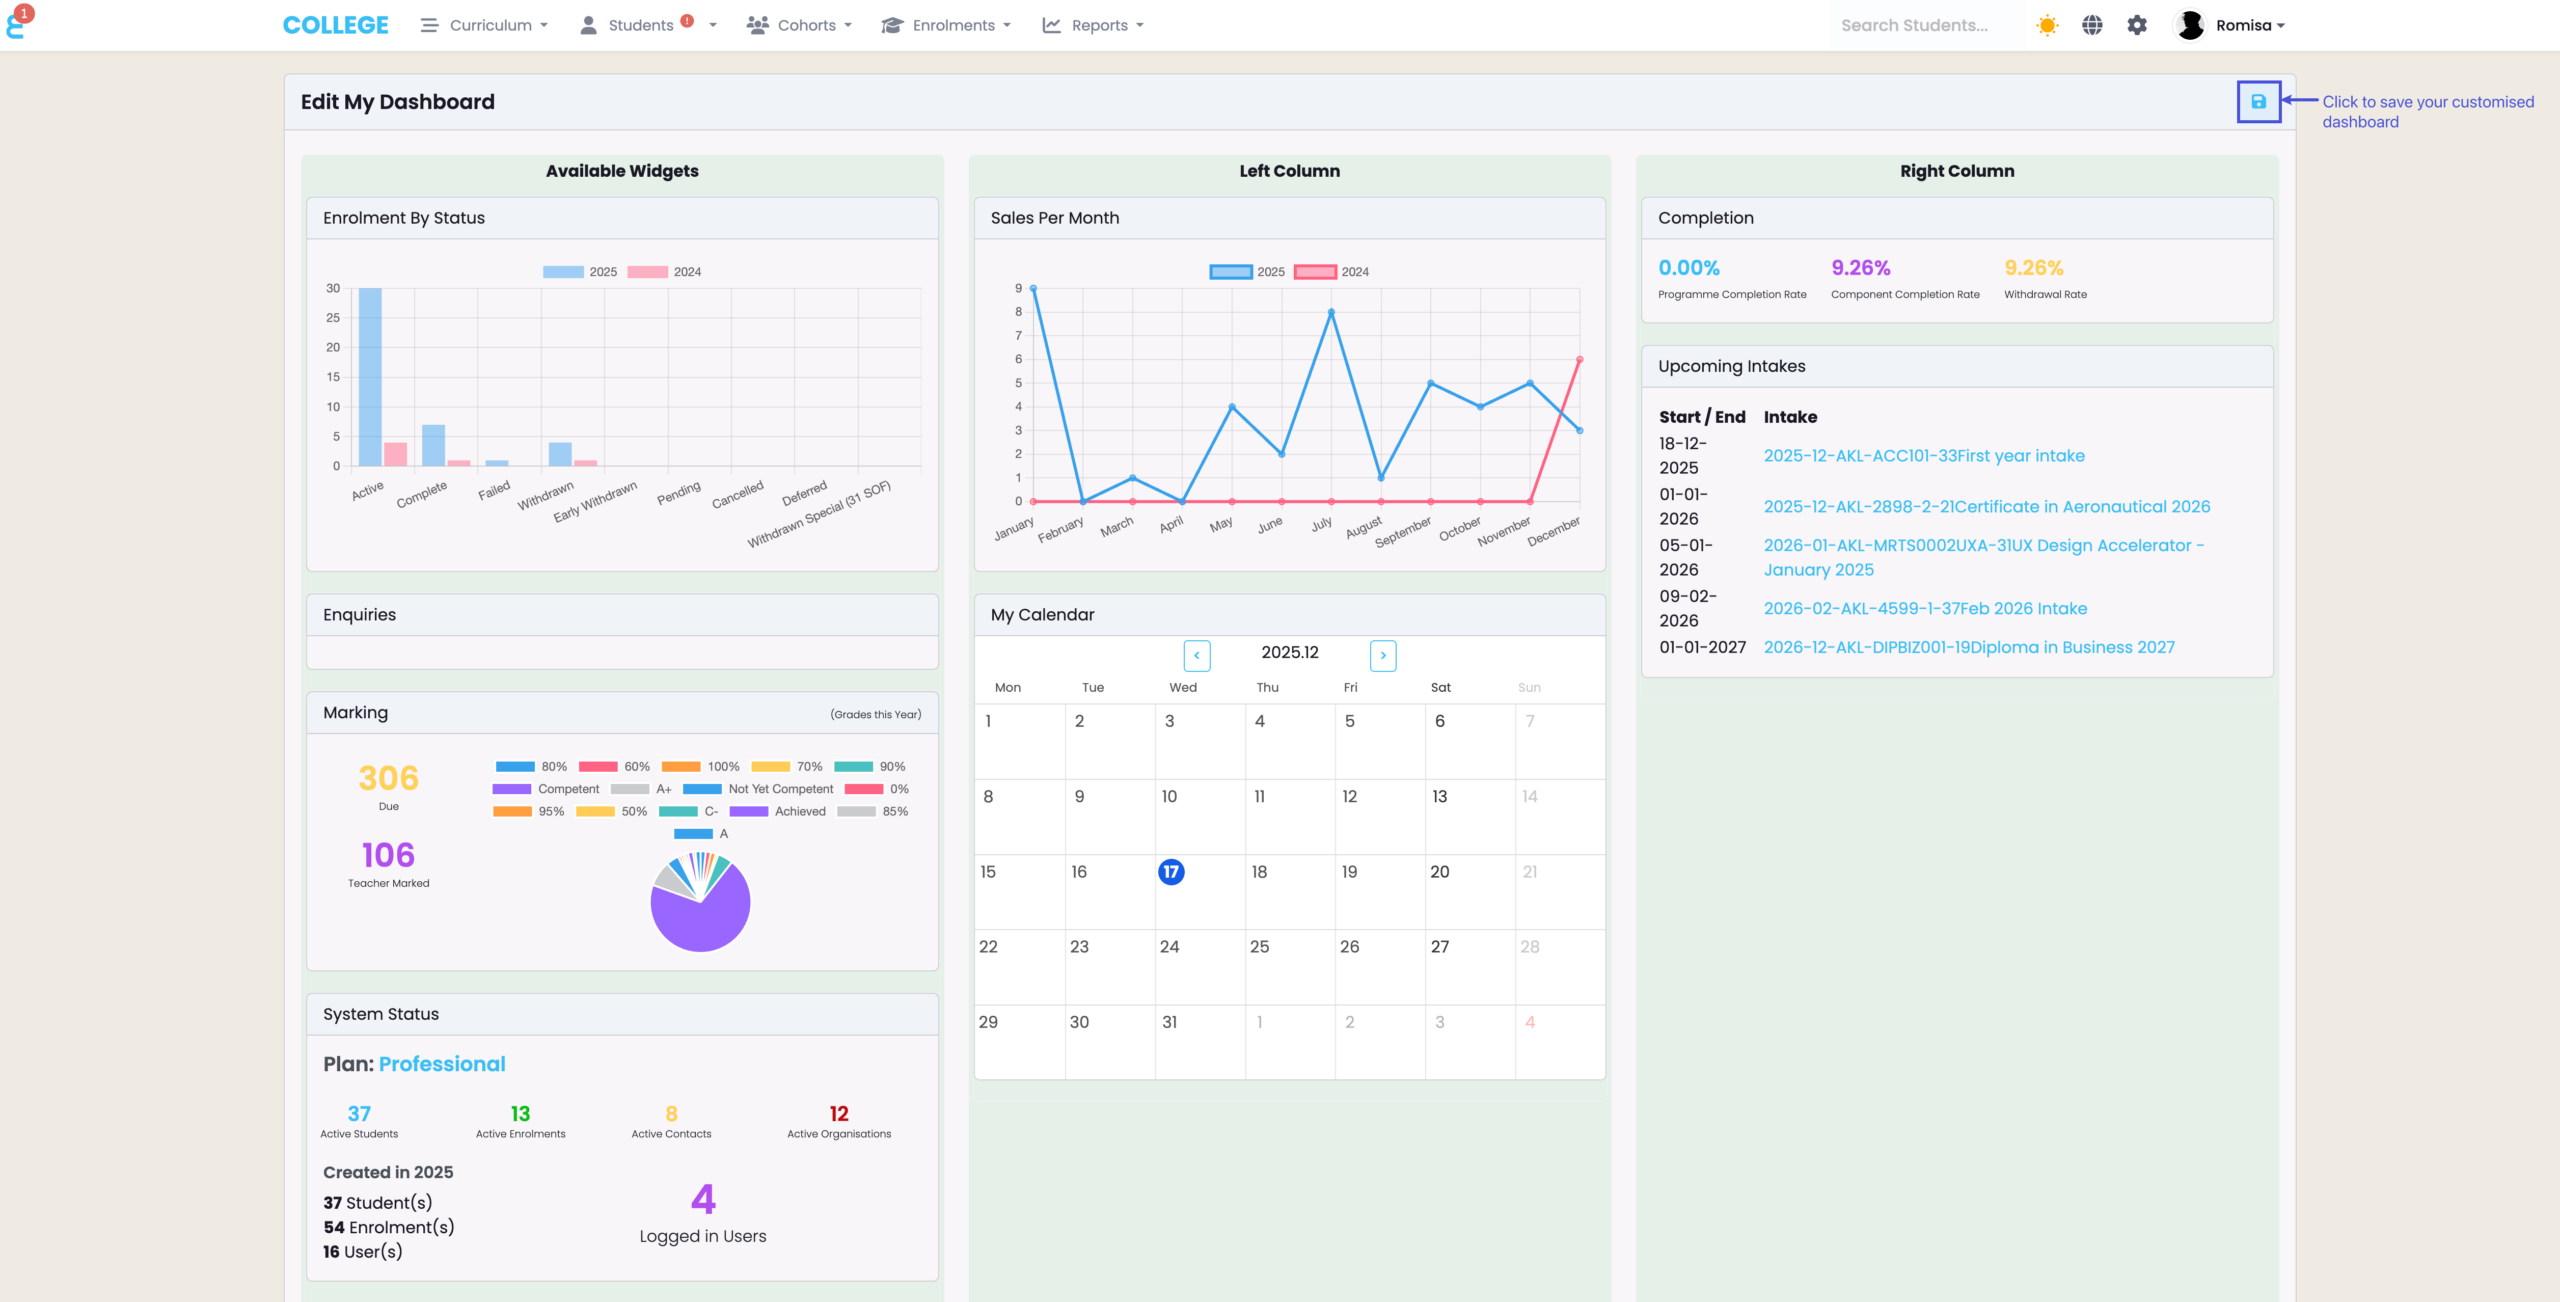
When you have accessed the hyperlink to set-up your dashboard, you will be shown “Available widgets” which you can drag-and-drop into the Left and Right columns that form your final dashboard screen.
Reorder widgets within the columns, or return them to the available section if no longer needed (Figure 2.).
Note: If you want more personalised widgets, please contact SELMA Support.
Figure 2. Widgets should be drag-and-dropped from the “Available Widgets” to the Left Column or Right Column, which will together form your final dashboard screen. You may re-order widgets within columns or remove them by moving them back to “Available Widgets”. Click the icon indicated in blue to save your dashboard.
Notification System
Notifications are a way for users to communicate with one another, and can be viewed by clicking on the icon in the left corner of the navigation bar (Figure 3.).
Click the cross icon to remove a notification from the notification panel (Figure 4.).
Figure 3. Access the notification panel from the navigation bar.
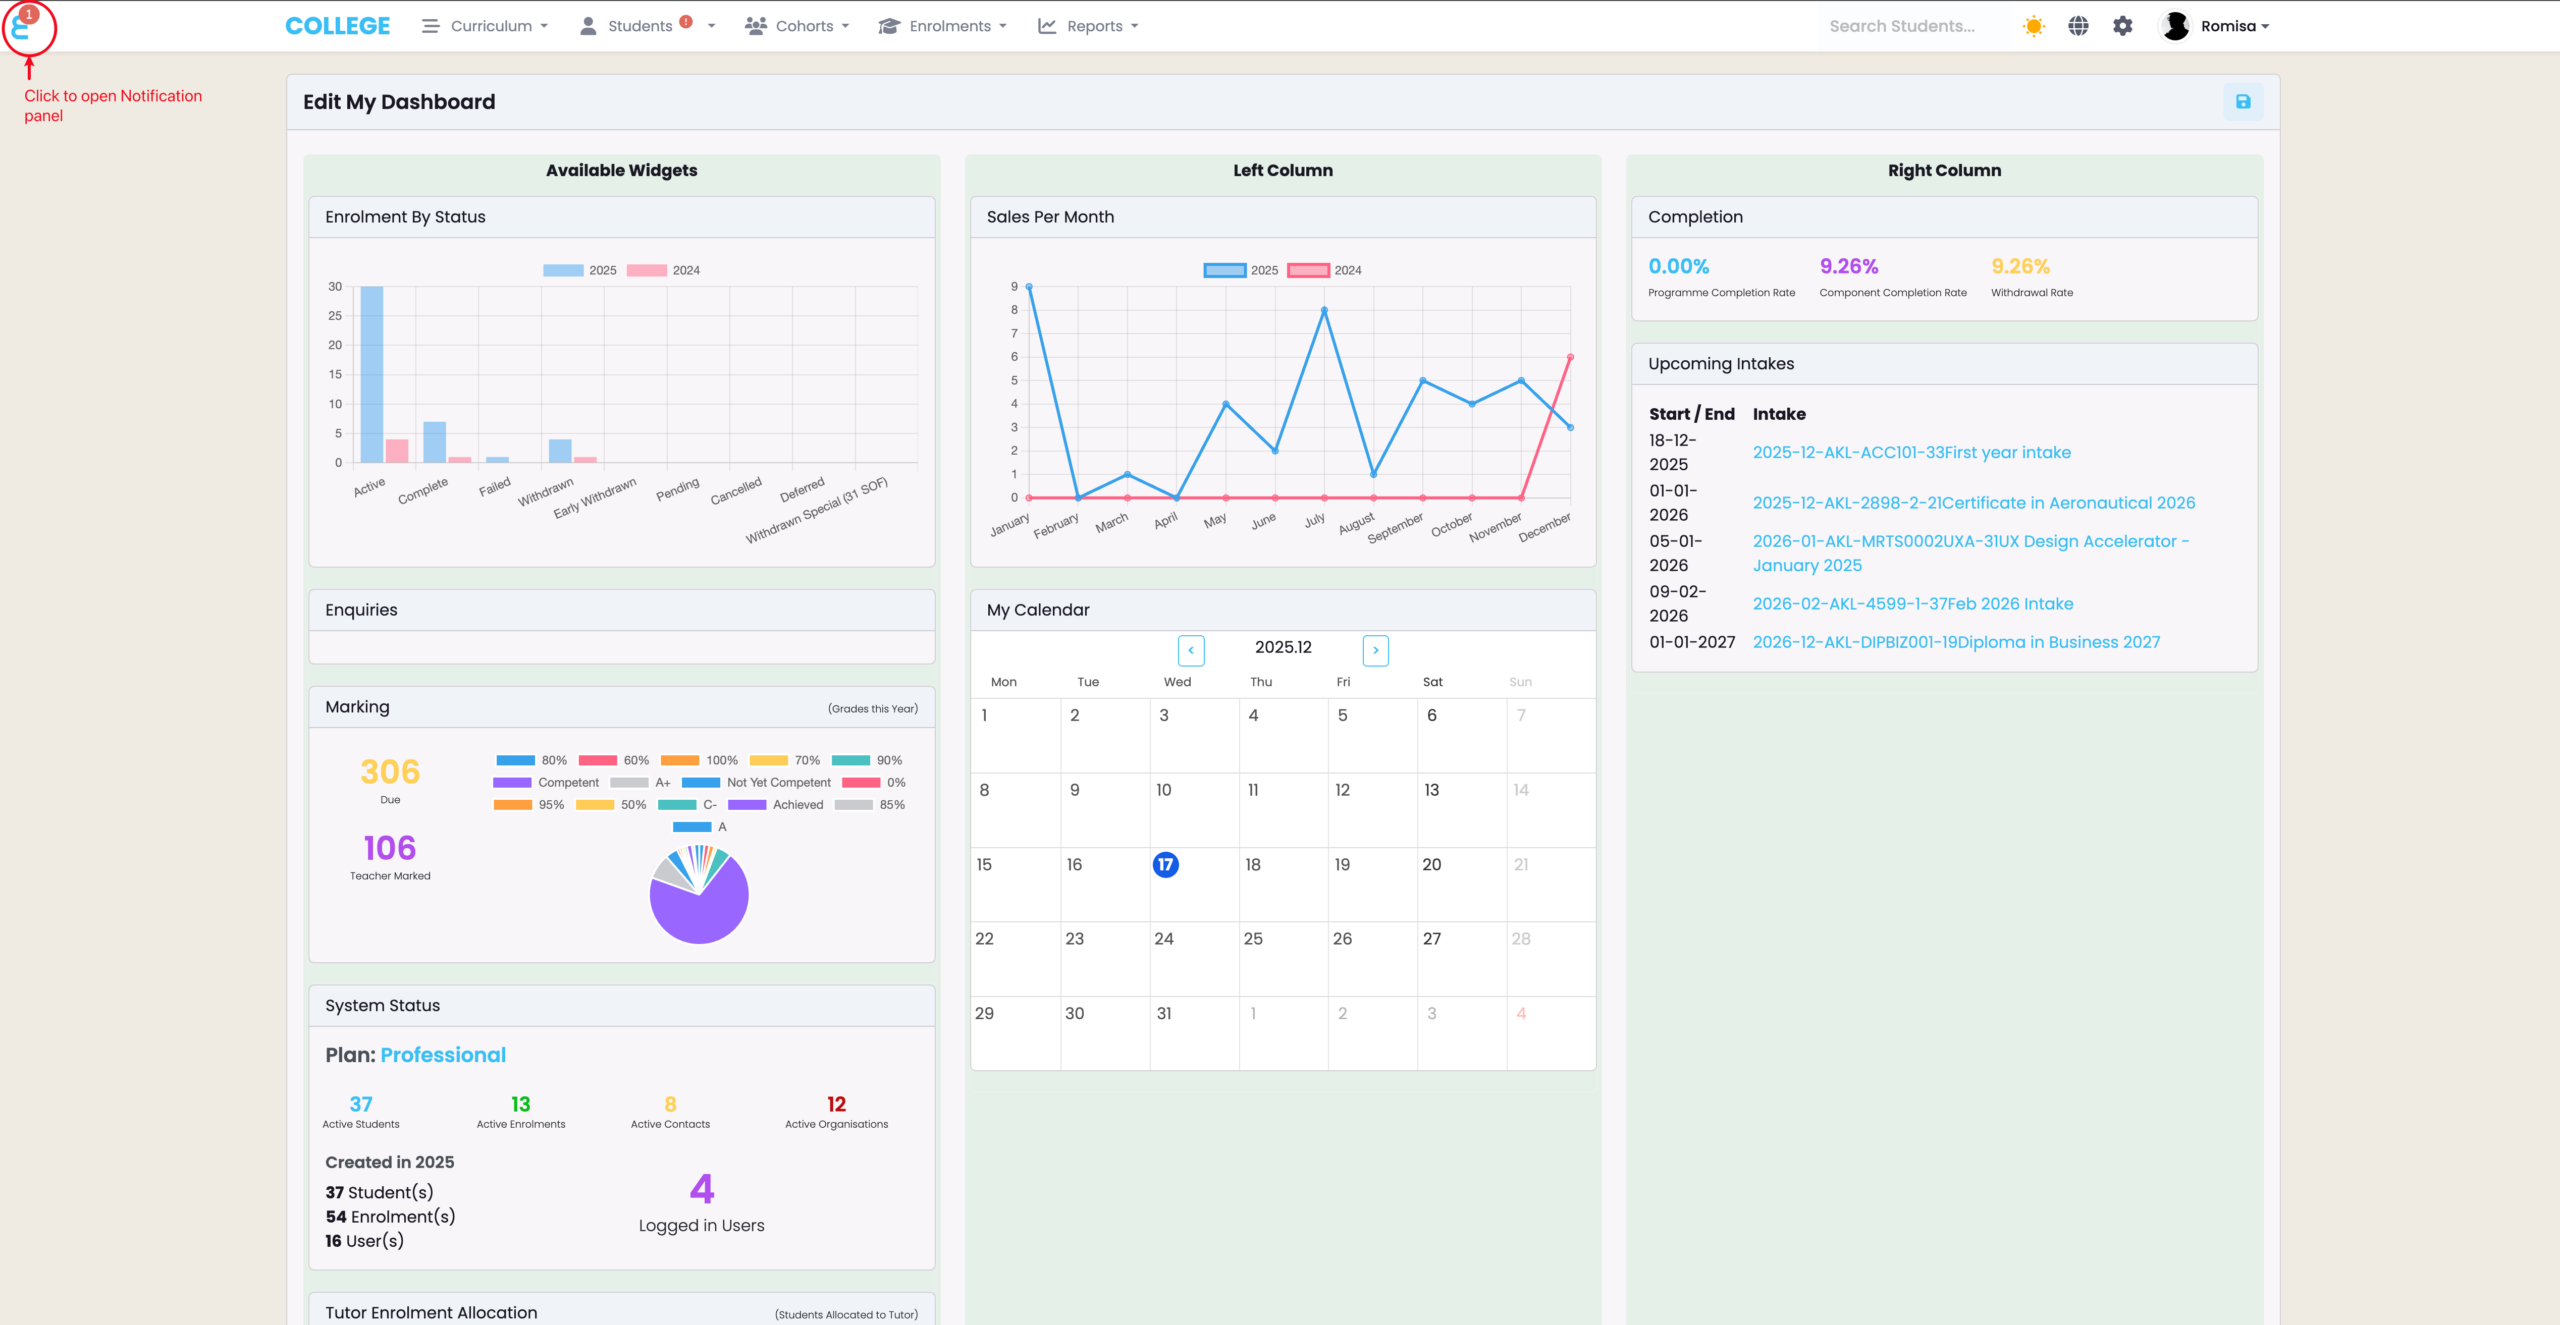
Figure 4. View the Notification panel and close some notifications.

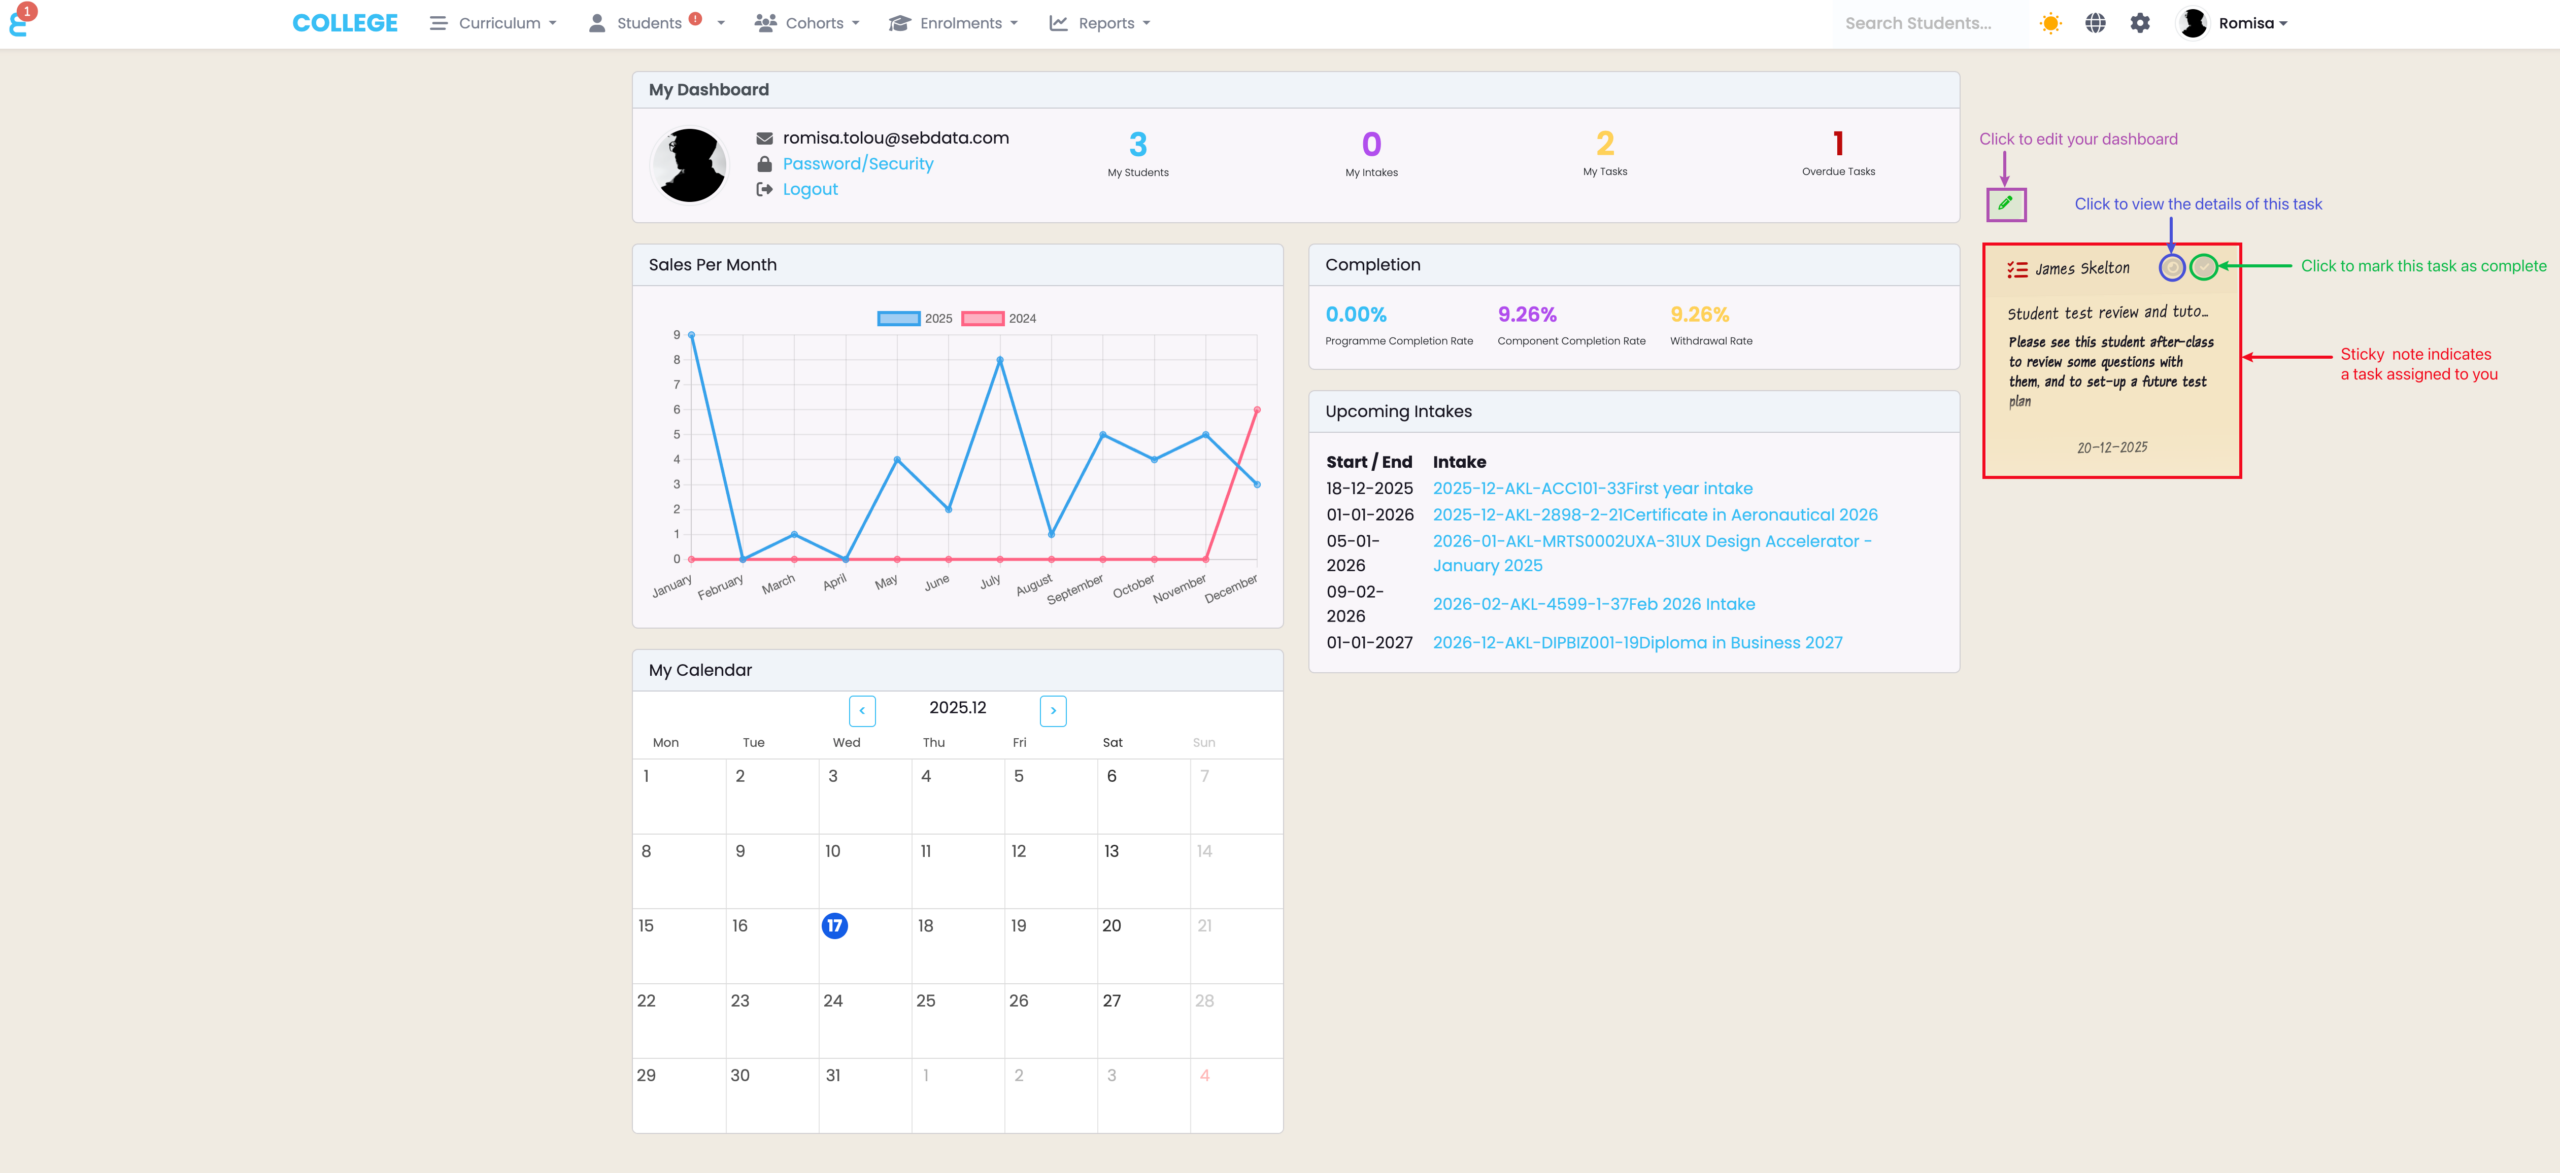
Dashboard Tasks
You will see sticky notes on your dashboard, when a task has been assigned to you (Figure 5.).
Note: Marking a task as complete removes the note from your dashboard and marks it as completed, where the task was made e.g. the Events tab of a Student Profile.
For more on setting-up events, such as a task, please see Events – The SELMA Event Log in this resource.
Figure 5. The pencil icon (purple) can be clicked to edit your dashboard. The sticky note details are task details as related to you. Click the eye icon (blue) to view the details, and click the tick icon (green) to mark the task as complete.