
Enabling the Google Integration in SELMA lets your organisation’s users use their Gmail mailbox for emailing directly in SELMA. As such, emails sent from within SELMA are stored in the user’s Gmail ‘sent’ folder as well (and replies will go to the user’s inbox).
Note: The below instructions serve as a guide only – please ask your IT Team/Provider about what’s best for your organisation.
Google Cloud Console Setup
For this to work we need to create an OAuth 2.0 application in Google Cloud Console.
1. Create/Select Project
Please go to https://console.cloud.google.com and either create a new project or select an existing one for your organisation.
2. Enable Required APIs
Navigate to “APIs & Services” > “Library” and enable the following API:
- Gmail API (required for sending emails)
3. Configure OAuth Consent Screen
⚠️ Important: If this is your first OAuth application, you’ll need to configure the consent screen first.
- Go to “APIs & Services” > “OAuth consent screen”
- Choose “Internal” if you’re using Google Workspace (recommended), or “External” for personal Gmail accounts
- External apps require verification – please refer to Google documentation if you need this option.
- Fill in the required application information:
- App name: Something like “SELMA User-Level Email Integration”
- User support email: Your support email
- Developer contact information: Your contact email
- Save and continue through the remaining steps
4. Create OAuth 2.0 Credentials
- Go to “APIs & Services” > “Credentials”
- Click “Create Credentials” > “OAuth Client ID”
- Select “Web application” as the application type
- Give it a name like “SELMA User-Level Email Integration”
- NB. In the “Authorized redirect URIs” section, copy & add the “Redirect URL” from SELMA. You can find it in the integration configuration screen as per Step 6 below
- Click “Create”
Once created, note the following details:
- Client ID
- Client Secret (copy this immediately as it won’t be shown again)
5. Configure API Scopes
The OAuth application needs permission to send emails on behalf of users:
- Go to “APIs & Services” > “OAuth consent screen”
- Navigate to the “Data Access” section
- Click “Add or Remove Scopes”
- Add the following scopes:
https://www.googleapis.com/auth/gmail.send(Send email on your behalf)https://www.googleapis.com/auth/userinfo.email(View your email address)
- Save and continue
SELMA Configuration
6. Configure Integration in SELMA
- Go to SELMA Settings (cog top-right) → Integrations
- Find the Google integration and click “Configure”
- Expand the “User-Level Configuration” section
- Fill in & save the following fields:
- User Client ID: The Client ID from earlier
- User Client Secret: The Client Secret from earlier
9. Link Your Gmail Account
Now, for any user to use their Gmail email address within SELMA:
- Go to your SELMA profile
- Look for the “Link Google Account” button
- Click it and you’ll be redirected to Google’s login screen
- Sign in with your Gmail account
- Grant permission to SELMA to send emails on your behalf
- You’ll be redirected back to SELMA with a success message
10. Test the Integration
- Navigate to any email function in SELMA (e.g. student, enrolment, etc)
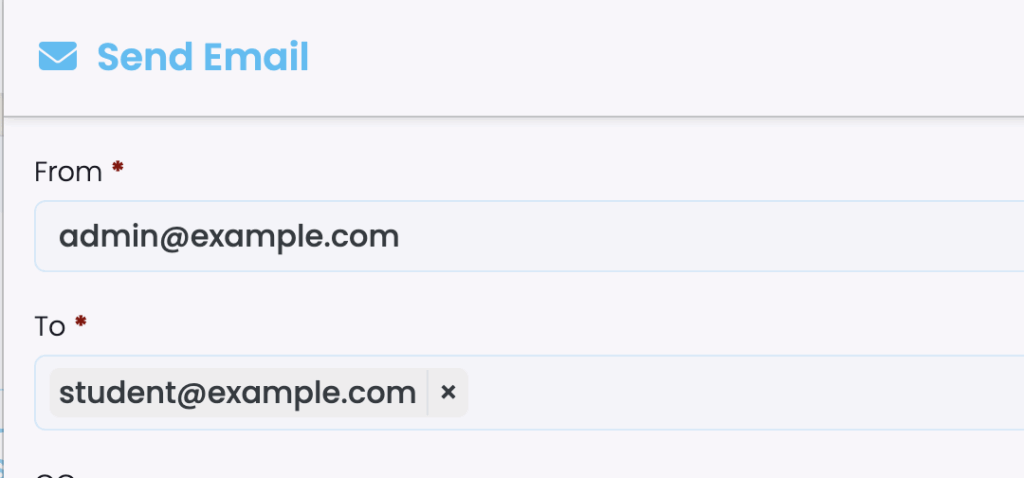
- Look for the new “From” dropdown field when sending an email
- Your Gmail address should appear as an option
- Send a test email to verify functionality
Important Notes
- Individuals’ Gmail: Each user must individually link their Gmail account through their SELMA profile
- Consent required: Users will see Google’s permission screen when linking their account
- Token management: SELMA automatically handles token refresh – users shouldn’t need to re-authorise frequently
- Sent items: Emails sent through SELMA will appear in the user’s Gmail “Sent” folder, as emails are sent using their Gmail account
Done! ✅
The integration is now fully set up and users can link their Gmail accounts. Once linked, they’ll have a new ‘From’ field wherever emails can be sent from in SELMA with their Gmail address as an option.
Troubleshooting
- “Authorisation error”: Check that redirect URI in Google Cloud Console exactly matches the one in SELMA
- “Access denied”: Verify that required scopes are added to the OAuth consent screen
- “Invalid client”: Ensure Client ID and Secret are correctly entered in SELMA
- Users can’t see “Link Google Account”: Verify the integration is enabled in SELMA