
Enabling the Google Integration in SELMA allows you to use your organisation’s Google mailbox(es) for emailing directly in SELMA. As such, emails sent from within SELMA are stored in the mailbox’s ‘sent’ folder as well.
Note: The below instructions serve as a guide only – please ask your IT Team/Provider about what’s best for your organisation.
Google Cloud Console Setup
For this to work we need to create a service account and configure domain-wide delegation in Google Cloud Console.
1. Create/Select Project
Please go to https://console.cloud.google.com and either create a new project or select an existing one for your organisation.
2. Enable Required APIs
Navigate to “APIs & Services” > “Library” and enable the following API:
- Gmail API (required for sending emails)
3. Create Service Account
- Go to “APIs & Services” > “Credentials”
- Click “Create Credentials” > “Service Account”
- Fill in the service account details:
- Service account name: Something like “SELMA Email Integration”
- Service account ID: Will be auto-generated
- Description: Optional description for identification
- Click “Create and Continue”
- Skip the optional steps (roles and user access) and click “Done”
4. Generate Service Account Key
⚠️ Important: Service account keys are sensitive credentials. Store them securely and rotate them regularly.
- Click on the newly created service account name
- Go to the “Keys” tab
- Click “Add Key” > “Create new key”
- Select “JSON” format
- Click “Create” – the JSON file will download automatically
- You may be prompted to enable service account keys at this point – follow the steps provided by Google to do so
- Save this file securely – you’ll need to add it’s contents to SELMA later
5. Prepare to Enable Domain-Wide Delegation
- Still in the service account settings, go to the “Details” tab
- Note/copy the “Unique ID”/Client ID (numeric value) – you’ll need this for the next step
Google Workspace Admin Setup
⚠️ Prerequisites: You must be a Google Workspace administrator to complete these steps.
6. Authorise Service Account for Domain-Wide Delegation
- Go to Google Workspace Admin Console
- Navigate to “Security” > “Access and data control” > “API Controls” > “Domain-wide Delegation”
- Click “Add new”
- Enter the Client ID from step 5 above
- Add the following OAuth scopes:
https://www.googleapis.com/auth/gmail.readonlyhttps://www.googleapis.com/auth/gmail.send
- Click “Authorise”
SELMA Configuration
7. Configure Integration in SELMA
- Go to SELMA Settings (cog top-right) → Integrations
- Find the Google integration and click “Configure”
- Expand the “Account-Level Configuration” section
- Fill in the following fields:
- Service Account JSON: Paste the content from the JSON file from earlier in here exactly as-is
8. Configure Email Addresses
- In the “Email Setup” section, add the email addresses you want to send from
- These should be valid email addresses in your Google Workspace domain
- Click “Validate” to ensure access to the mailboxes
- Save the configuration
9. Test the Integration
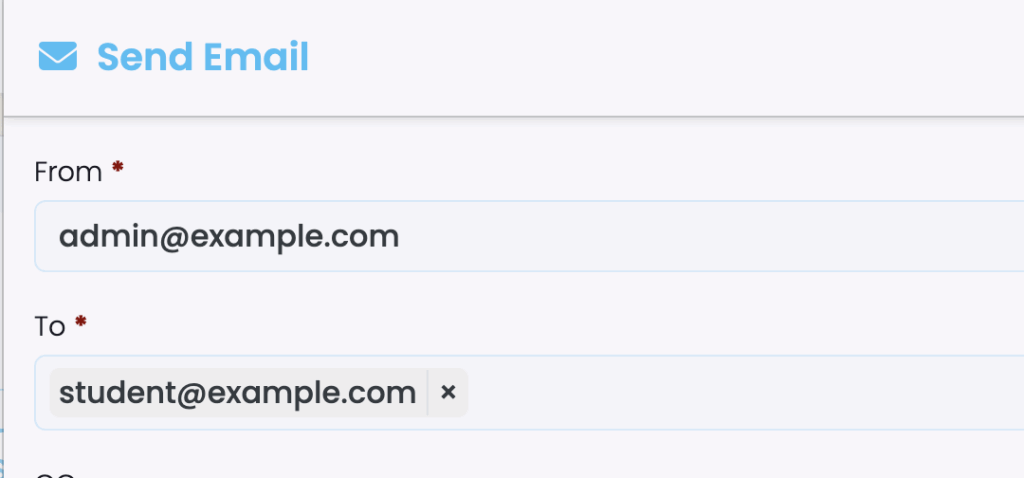
- Navigate to any email function in SELMA (e.g. student communication)
- Look for the new “From” dropdown field
- Select one of your configured email addresses
- Send a test email to verify functionality
Important Notes
- Security: Service account keys provide powerful access. Store them securely and rotate regularly
- Domain-wide delegation: This gives the service account access to send emails on behalf of any user in your domain
- Email validation: SELMA will test each configured email address to ensure the service account can access it
- Sent items: Emails sent through SELMA will appear in the sender’s Gmail “Sent” folder
Done! ✅
The integration is now fully set up and you’ll have a new ‘From’ field wherever emails can be sent from in SELMA with your organisation’s email addresses as options.
Troubleshooting
- “Access denied” errors: Verify domain-wide delegation is configured correctly
- “Invalid credentials” errors: Check that the service account JSON is valid and uploaded correctly
- Email validation fails: Ensure the email addresses exist in your Google Workspace domain