
In this Article
Link existing contact to a student
Linking an active contact to a student in SELMA is straightforward.
As long as the contact has been added to the system and its status is set to Active, it can be linked to a student without any issues.
On the student profile page, navigate to Stakeholders tab. From here you will see two groups – Related Contacts and Related Organisations
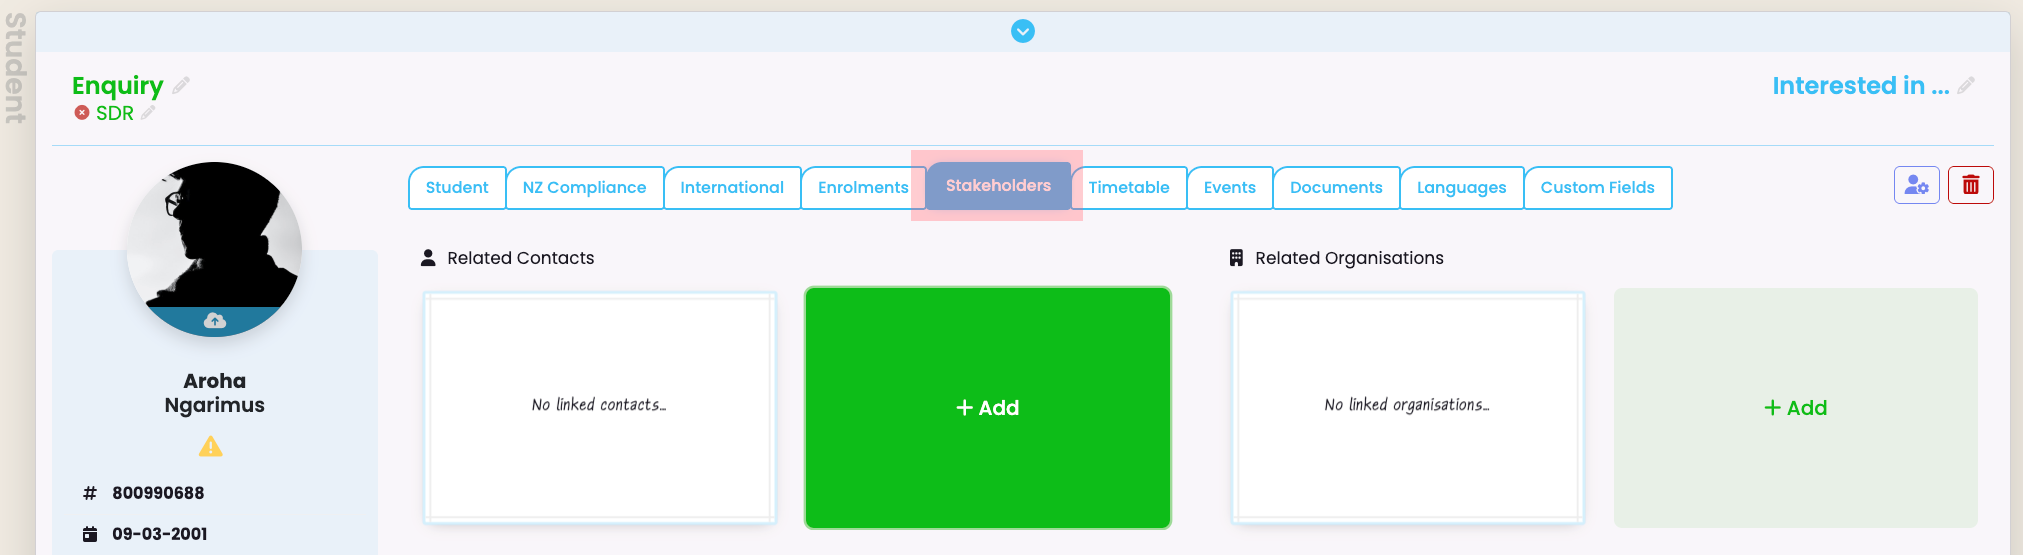
In the Related Contacts area, click the green Add box. A pop-up will come up:

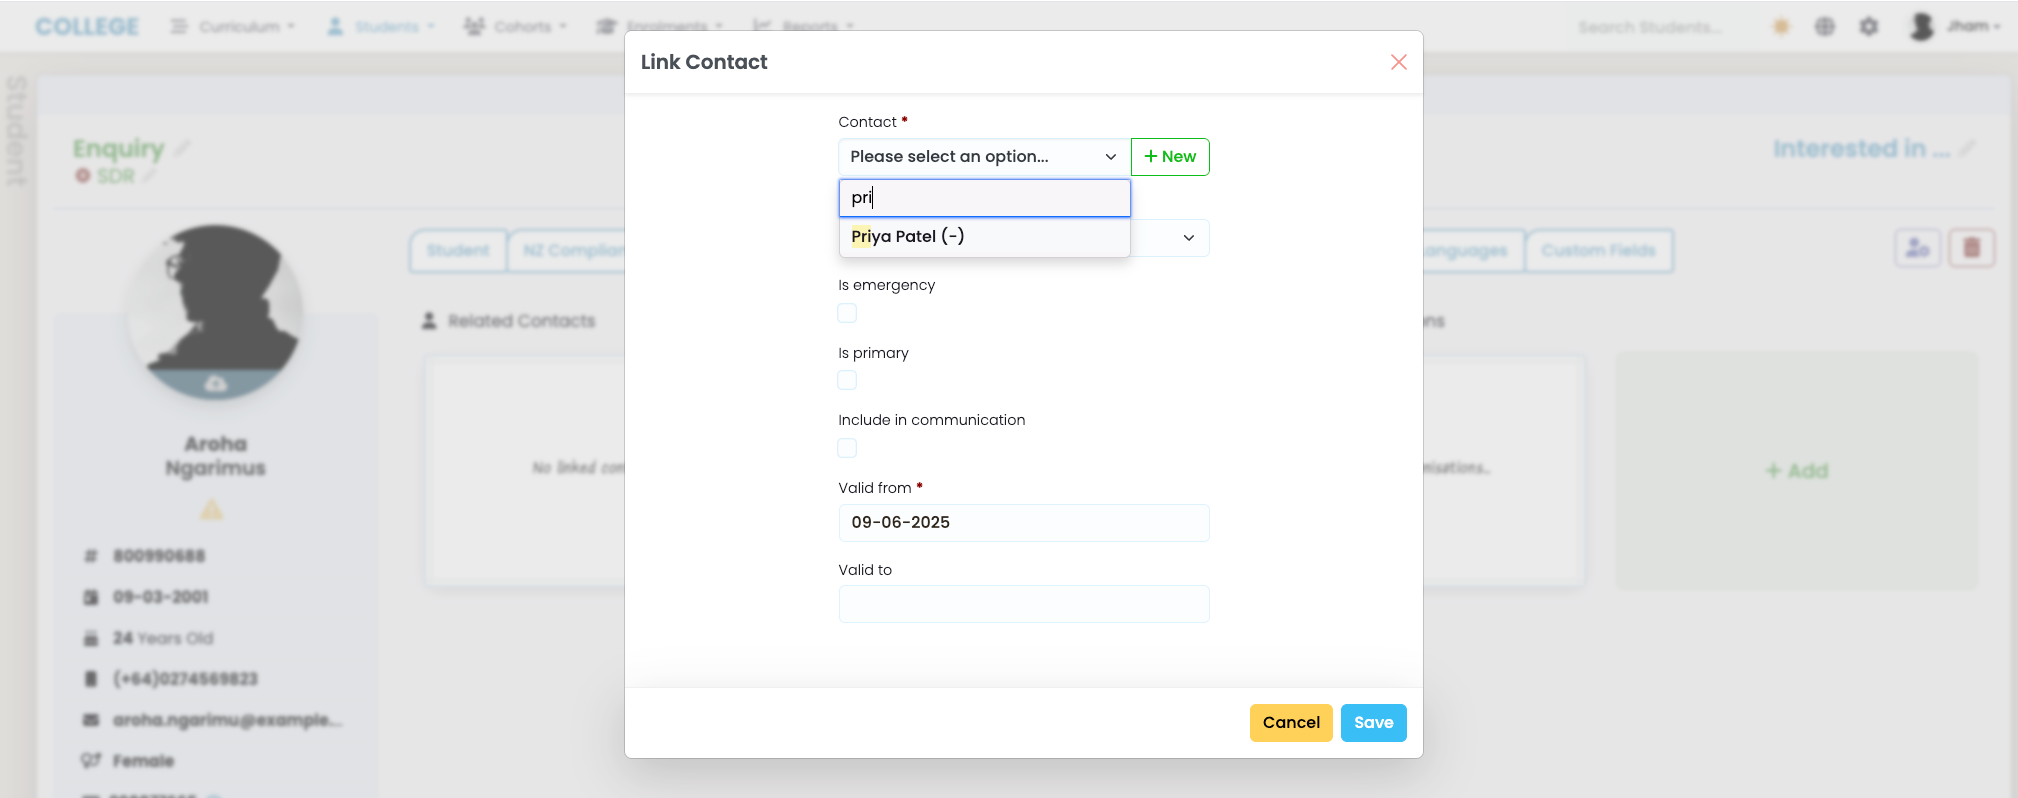
In the Contact field, only active contact will be visible.
The list is limited by default, so to find a specific contact, start typing their name. The system will then display all matching active contacts based on your input:
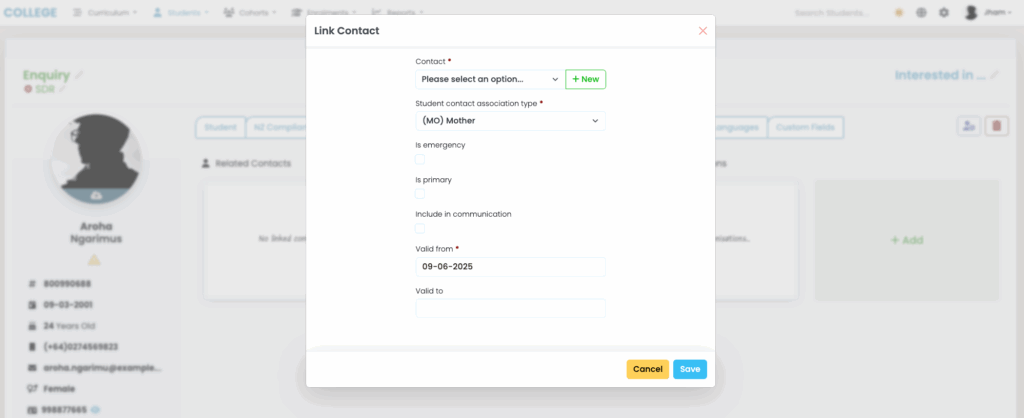
In the Student contact association type field, you can select the most appropriate relationship type between the student and the contact. If the specific relationship type you need doesn’t exist, please refer to the Adding New Association Type section to create a new one.
The Is Emergency field should only be ticked if this is the student’s emergency contact.
The Primary field should only be ticked if this is the student’s primary contact.
If Include in Communication is ticked, the contact will always be included in all communications sent to the student.
The Valid From date is mandatory and indicates when the student was linked to the contact.
The Valid To date can be left blank and updated later when the student is no longer associated with the contact.
Click Save once you’re satisfied with the information. The pop-up will disappear and you will see the contact linked. The purple star icon indicates the contact being the primary contact. The red ambulance icon symbolises that this contact is the emergency contact.

Link new contact to a student
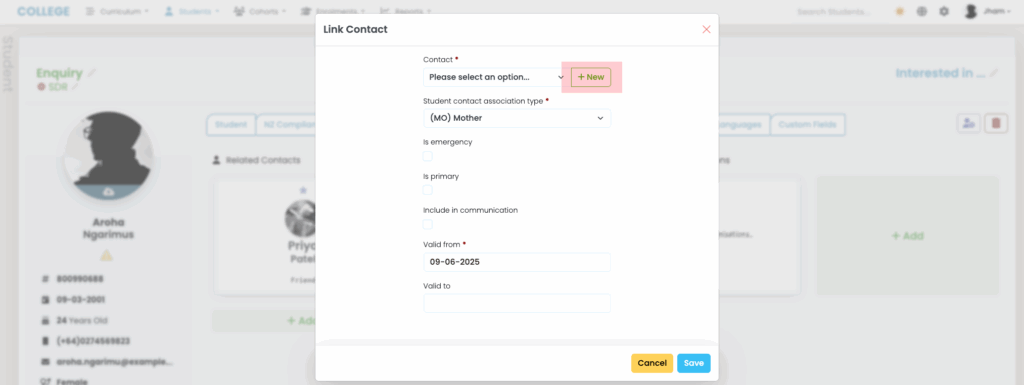
If the contact you want to link to the student does not exist, you can either create a new contact by navigating to the Contact Index, or simply by clicking the green New button next to the Contact field:
You will be prompted to set the most basic information related to the new contact. Once you have finished adding the basic information, you can ‘Save’ the contact and the contact will be automatically linked to the student.

If you now check the Contact Index, you will see that the newly created contact has been added to the list. From here, you can Edit to add or update additional information for the contact.
Adding new association type
There is no limit to the number of Student Contact Association Types you can add in SELMA.
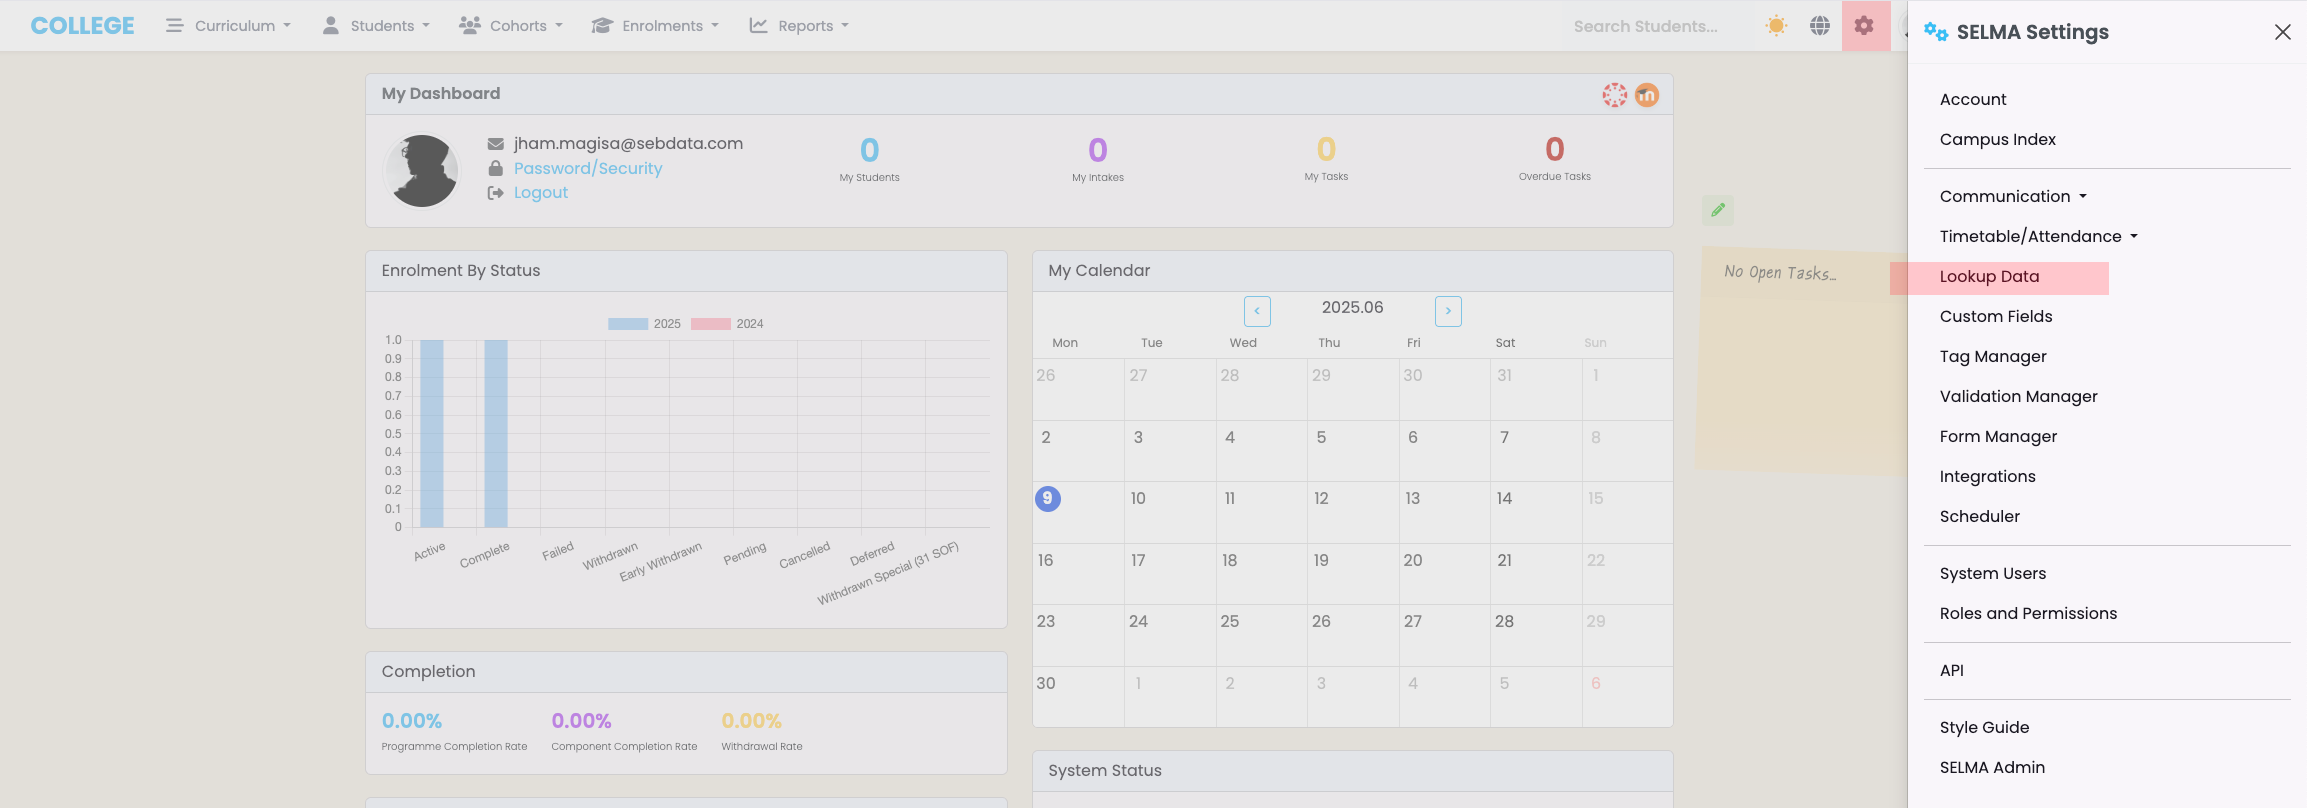
To add a new Student Contact Association Type, click the Settings icon on the navigation bar. This will expand additional options on the side. From there, select Lookup Data:
Find the Student Contact Association Type group and expand the view. You will see some system default values which cannot be edited.
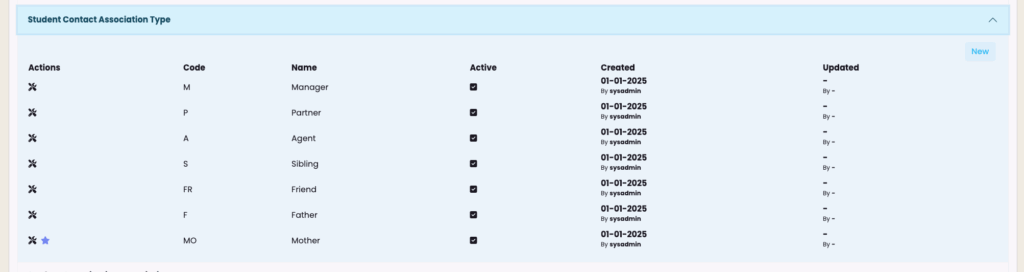
However, you can request us to mark an association type as Inactive, and you can also create a new one by clicking the blue New button.

A pop-up window will appear prompting you to enter a Code and Label for the new type. You can also choose whether to set this new type as Active or Inactive. Please pick a simple code:
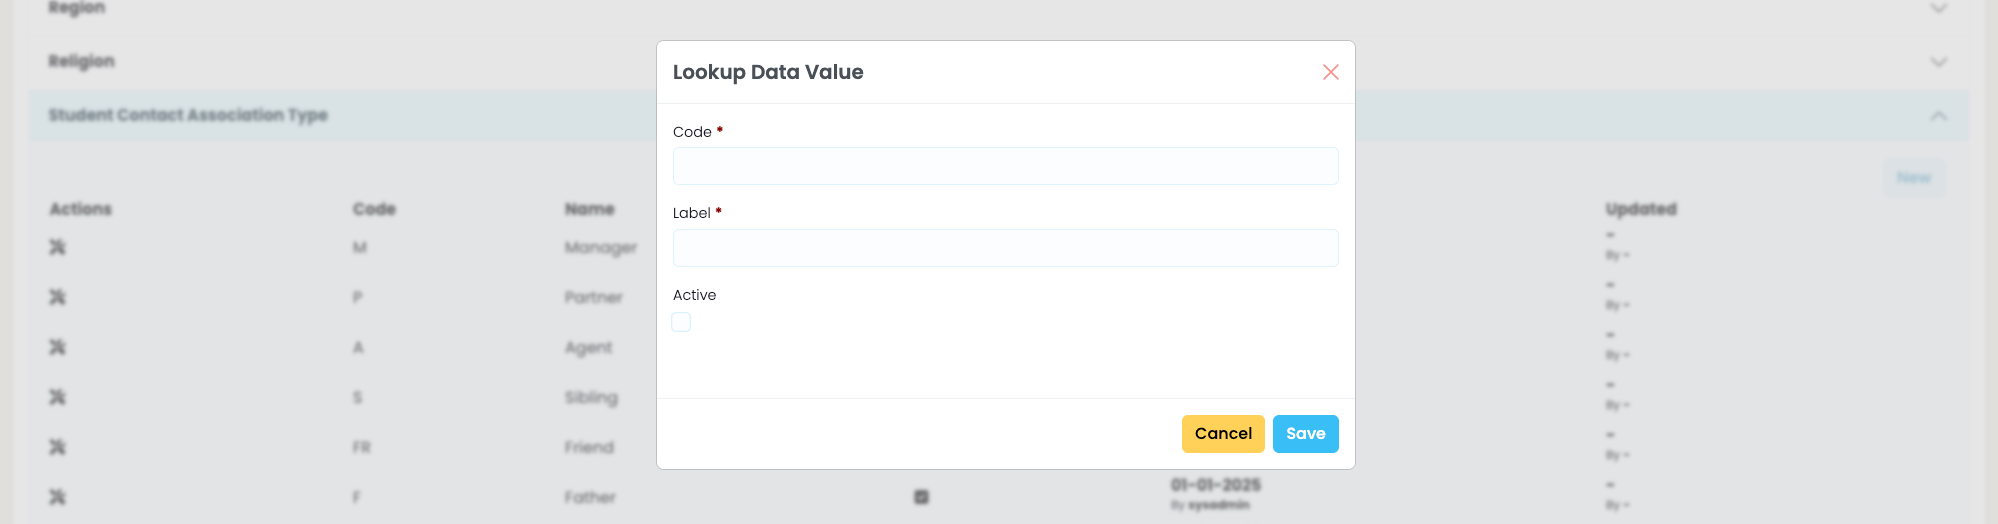
Click Save and the new association type will added to the list. Once created you can edit or delete this type.
Please do not delete any association type without first ensuring that no student contact links are currently using it.