The SELMA-Xero integration enables seamless synchronisation of financial data between SELMA and Xero. This integration allows you to automatically create and manage invoices, sync contacts, and track payments across both systems.
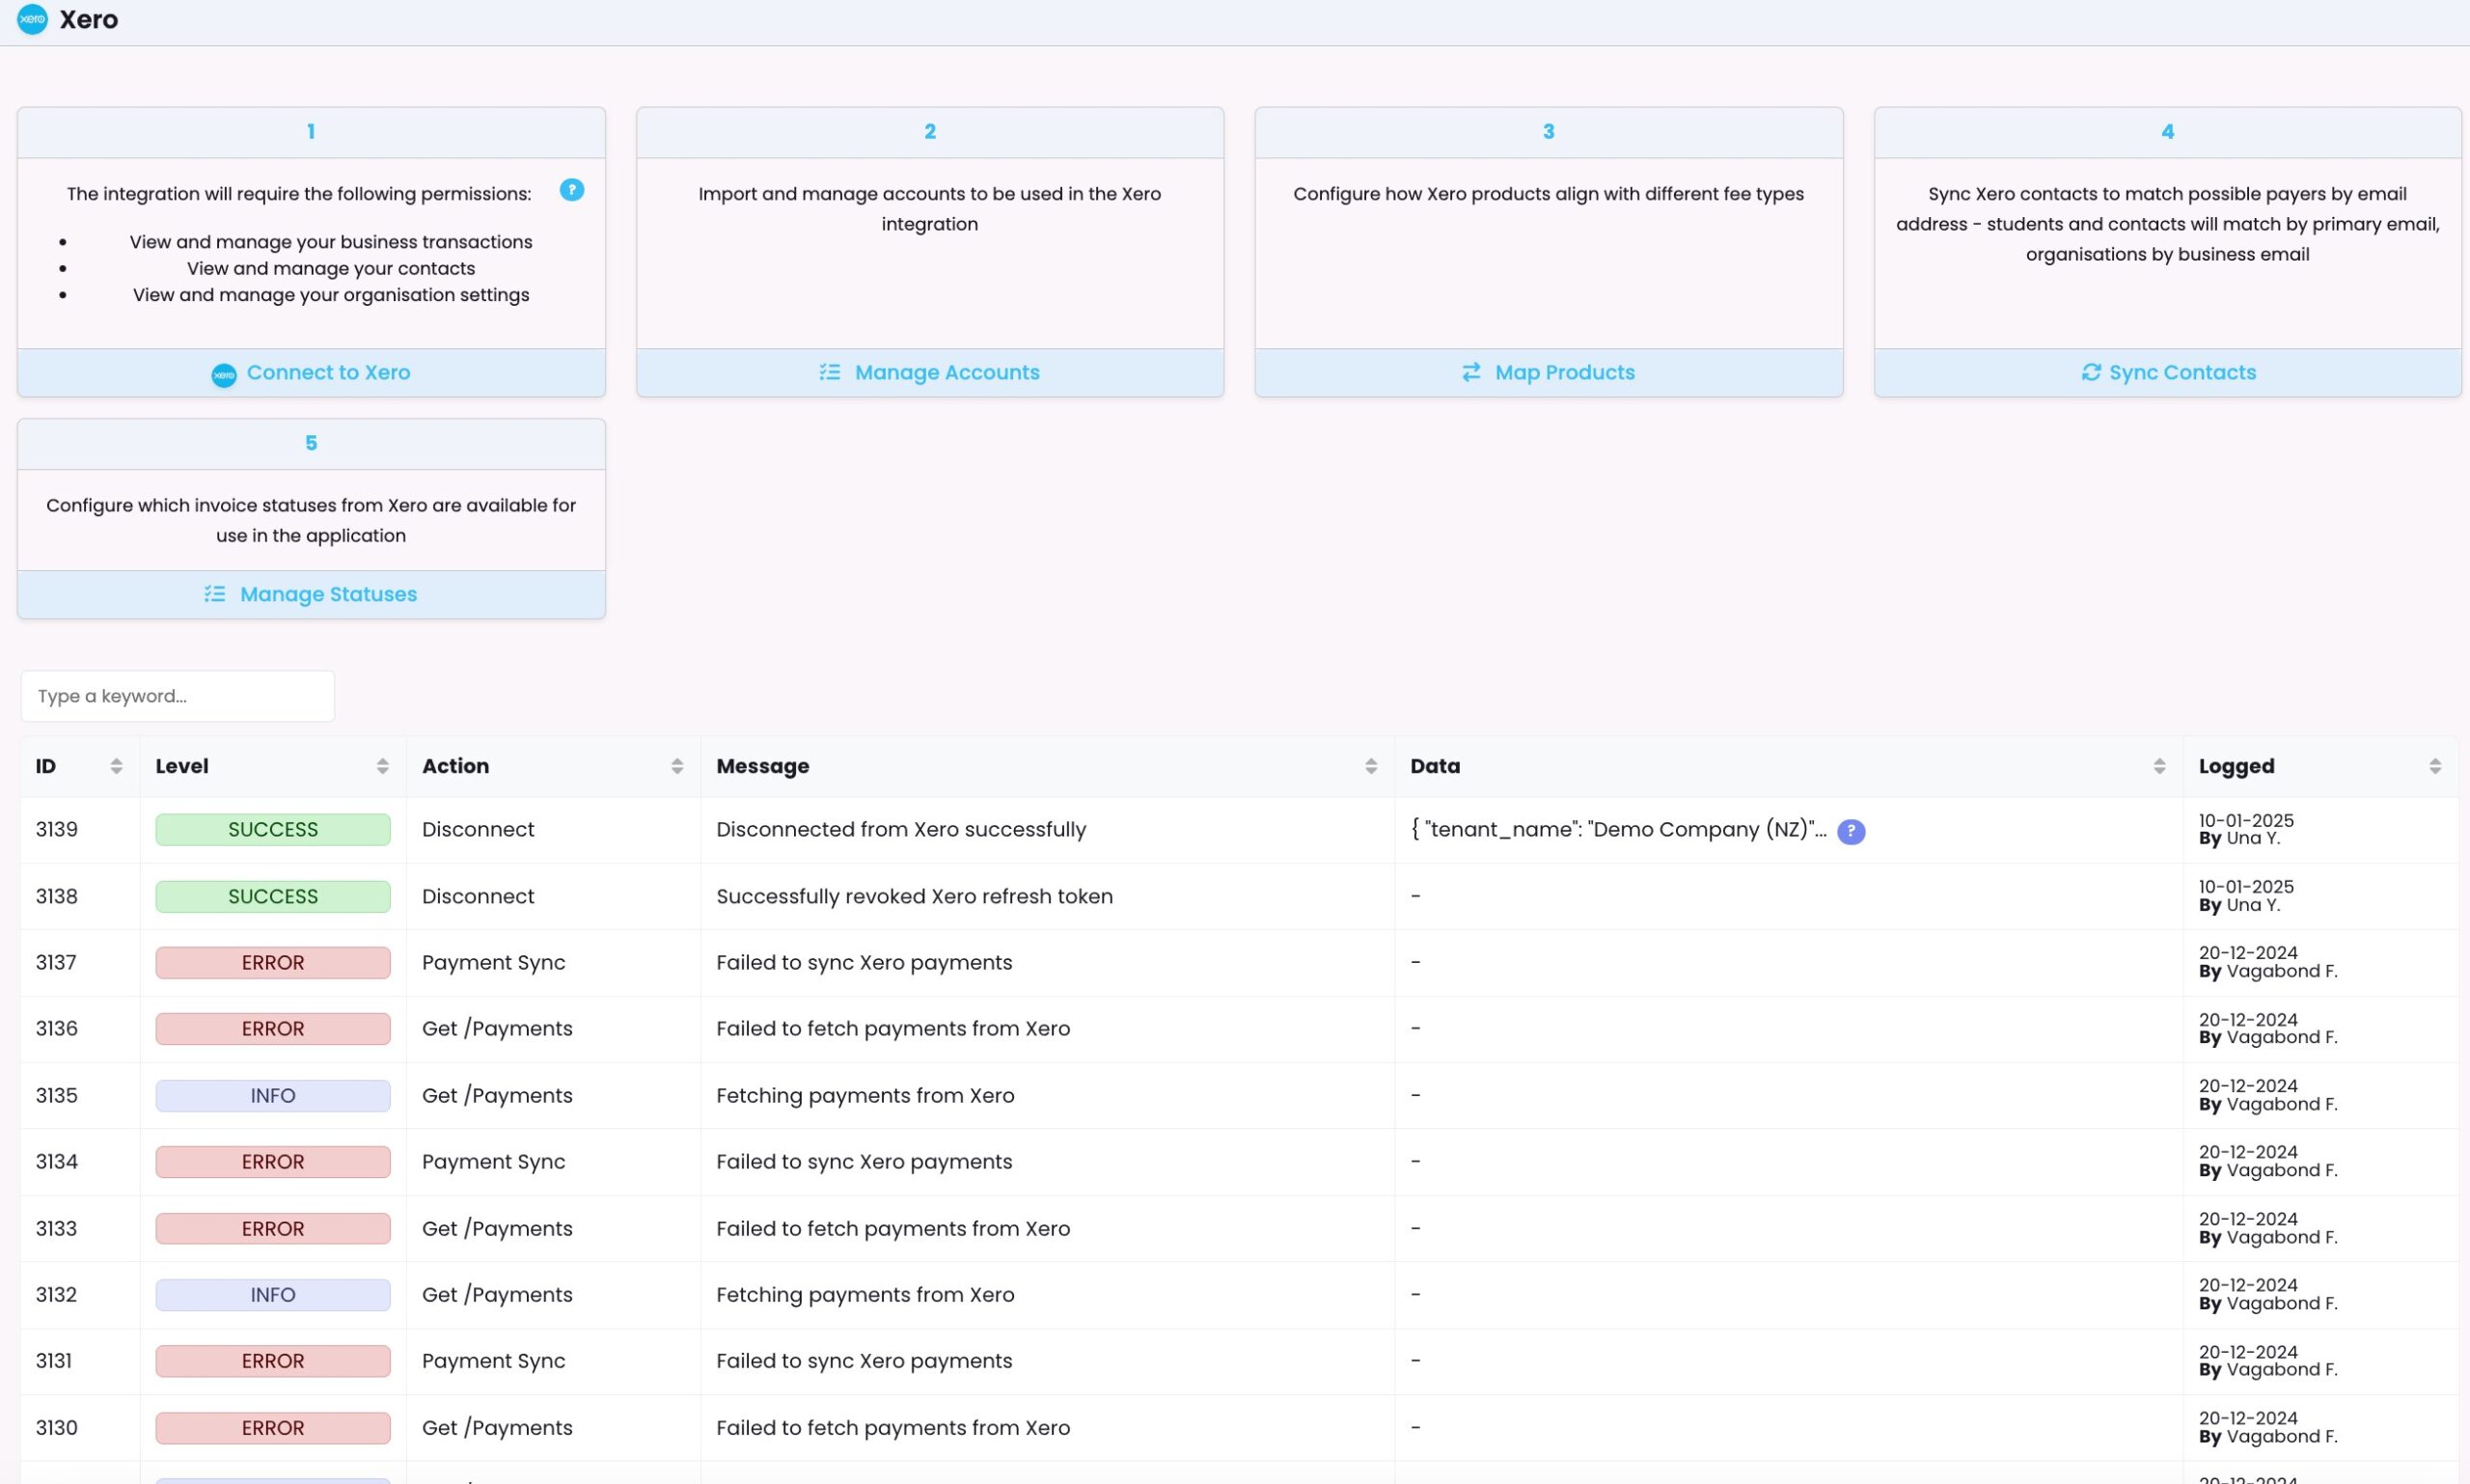
Setup & Configuration
1. Connect to Xero
This is the first step to establish the integration between SELMA and Xero.
1. Click “Connect to Xero” in SELMA’s integration page
2. Log in to your Xero account when prompted
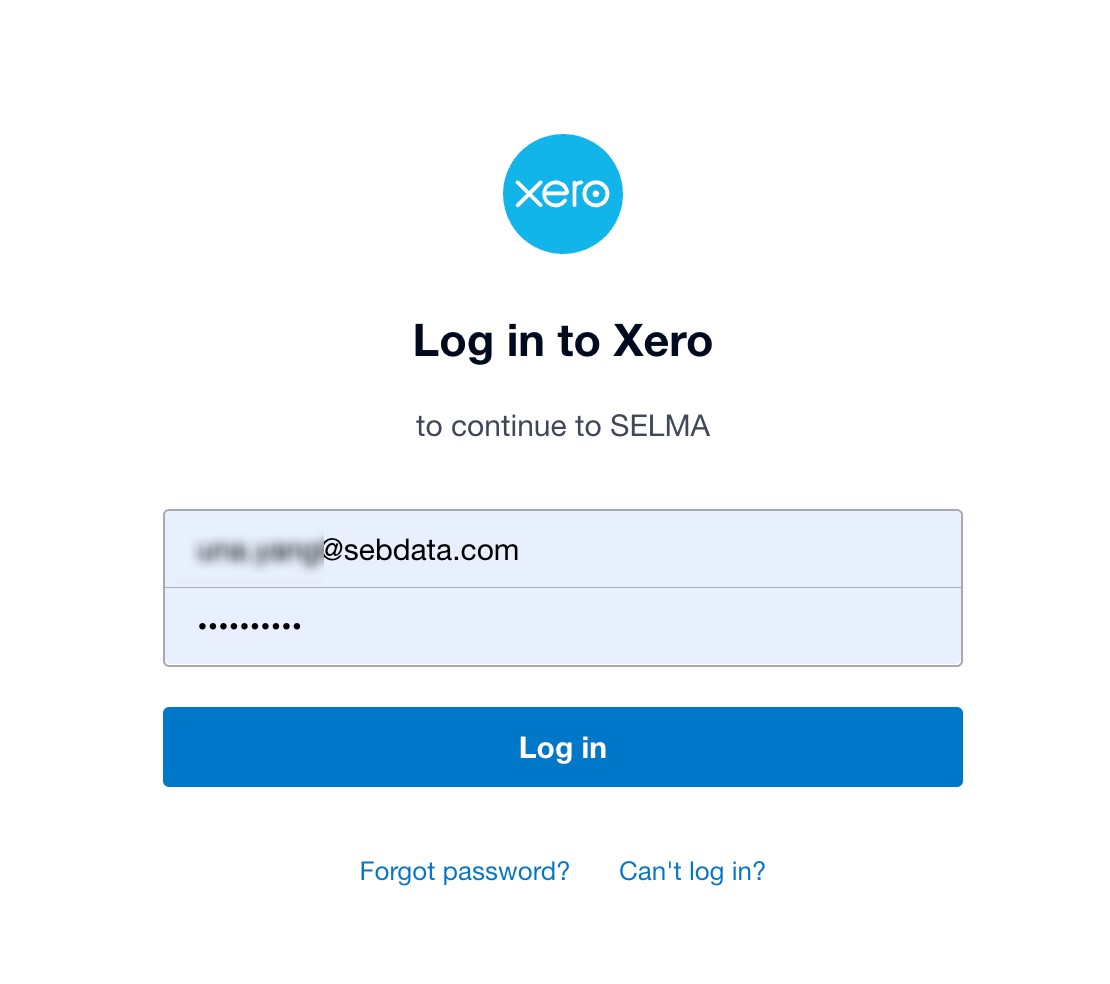
- Note: SELMA never stores your Xero login credentials
3. Authorise the required permissions for SELMA
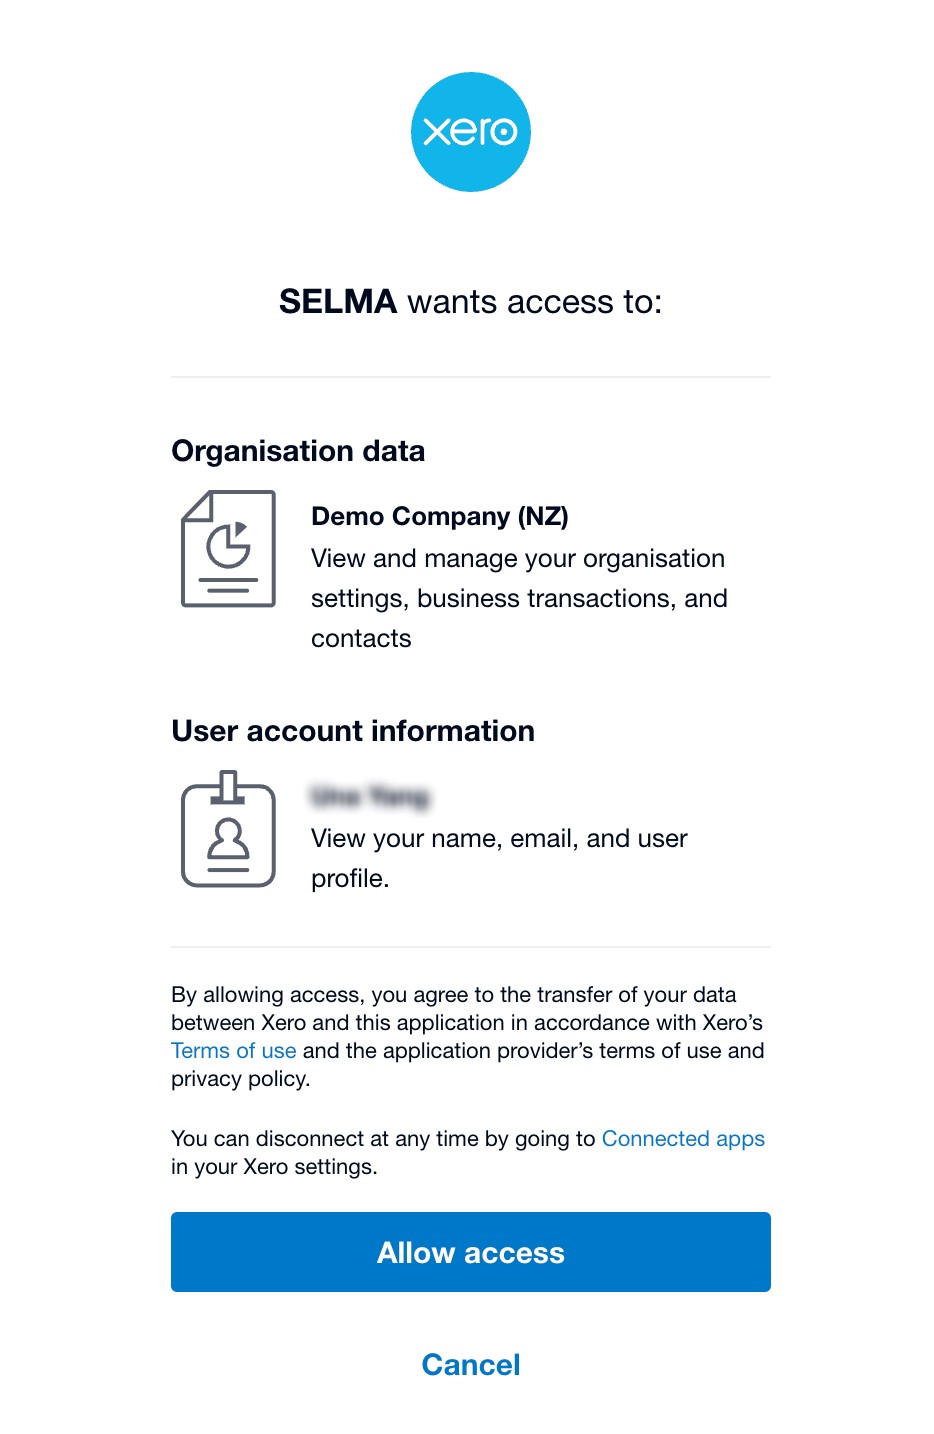
- These are the minimum required permissions for the integration to function properly. For detailed information about Xero API scopes and their implications, please refer to:
https://developer.xero.com/documentation/guides/oauth2/scopes
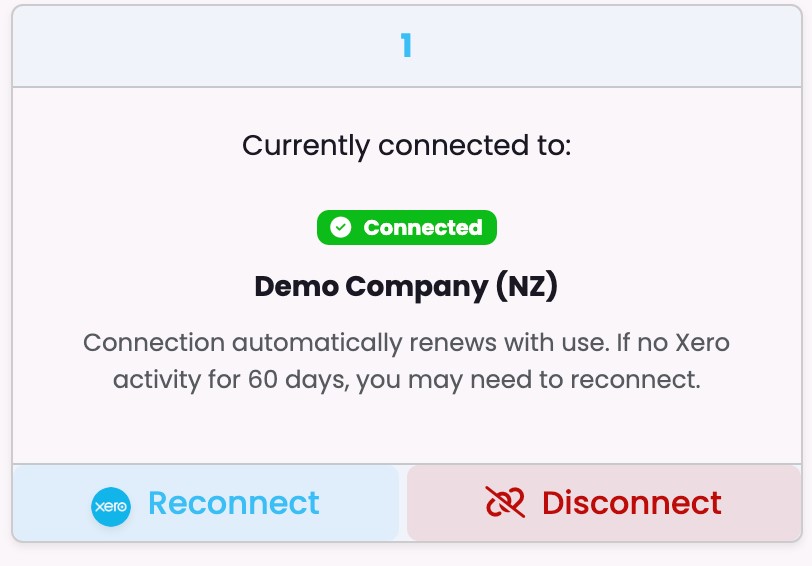
4. Verify successful connection with your Xero organisation
Important Notes:
- Connection automatically renews with regular use
- Reconnection required if inactive for 60 days
- Disconnecting removes all access permissions
2. Accounts Configuration
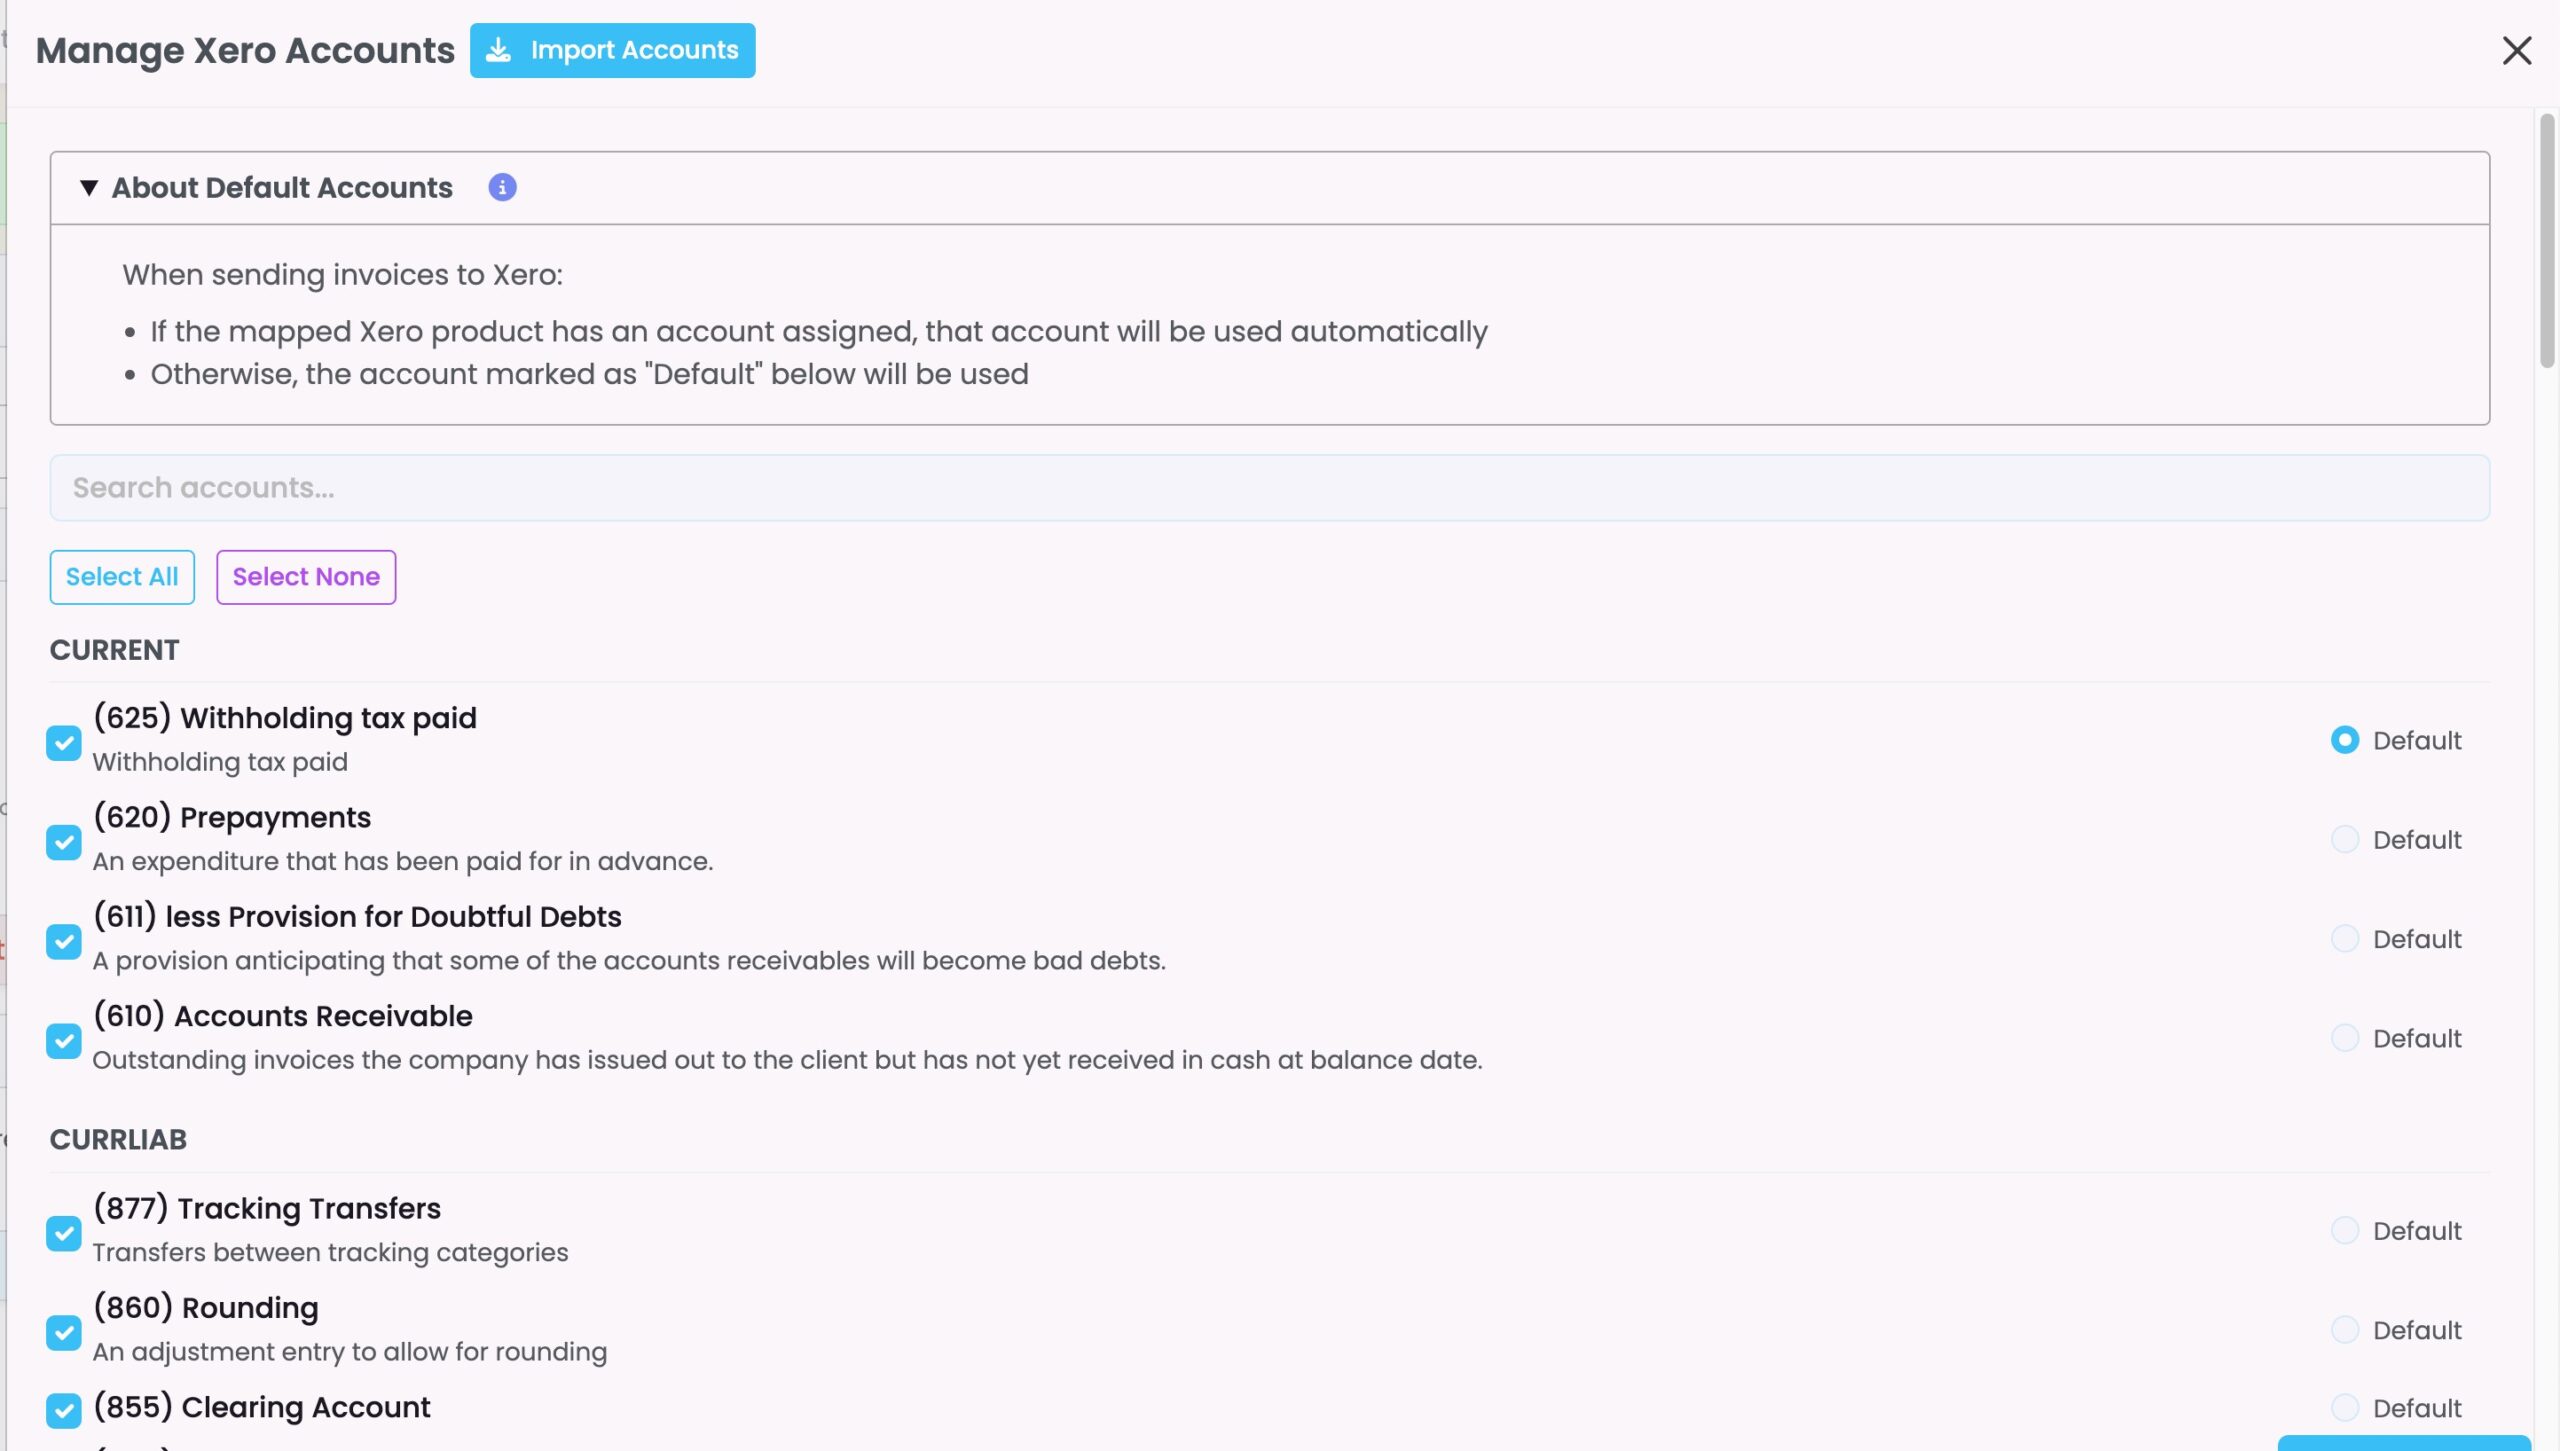
Manage which Xero accounts will be used for invoices in SELMA.
1. Click “Import Accounts” to import all Xero accounts (bank accounts will be excluded) into SELMA.
2. In the accounts management interface:
- Use search bar to find specific accounts
- Enable or disable accounts for use in SELMA
- Set default account to be used
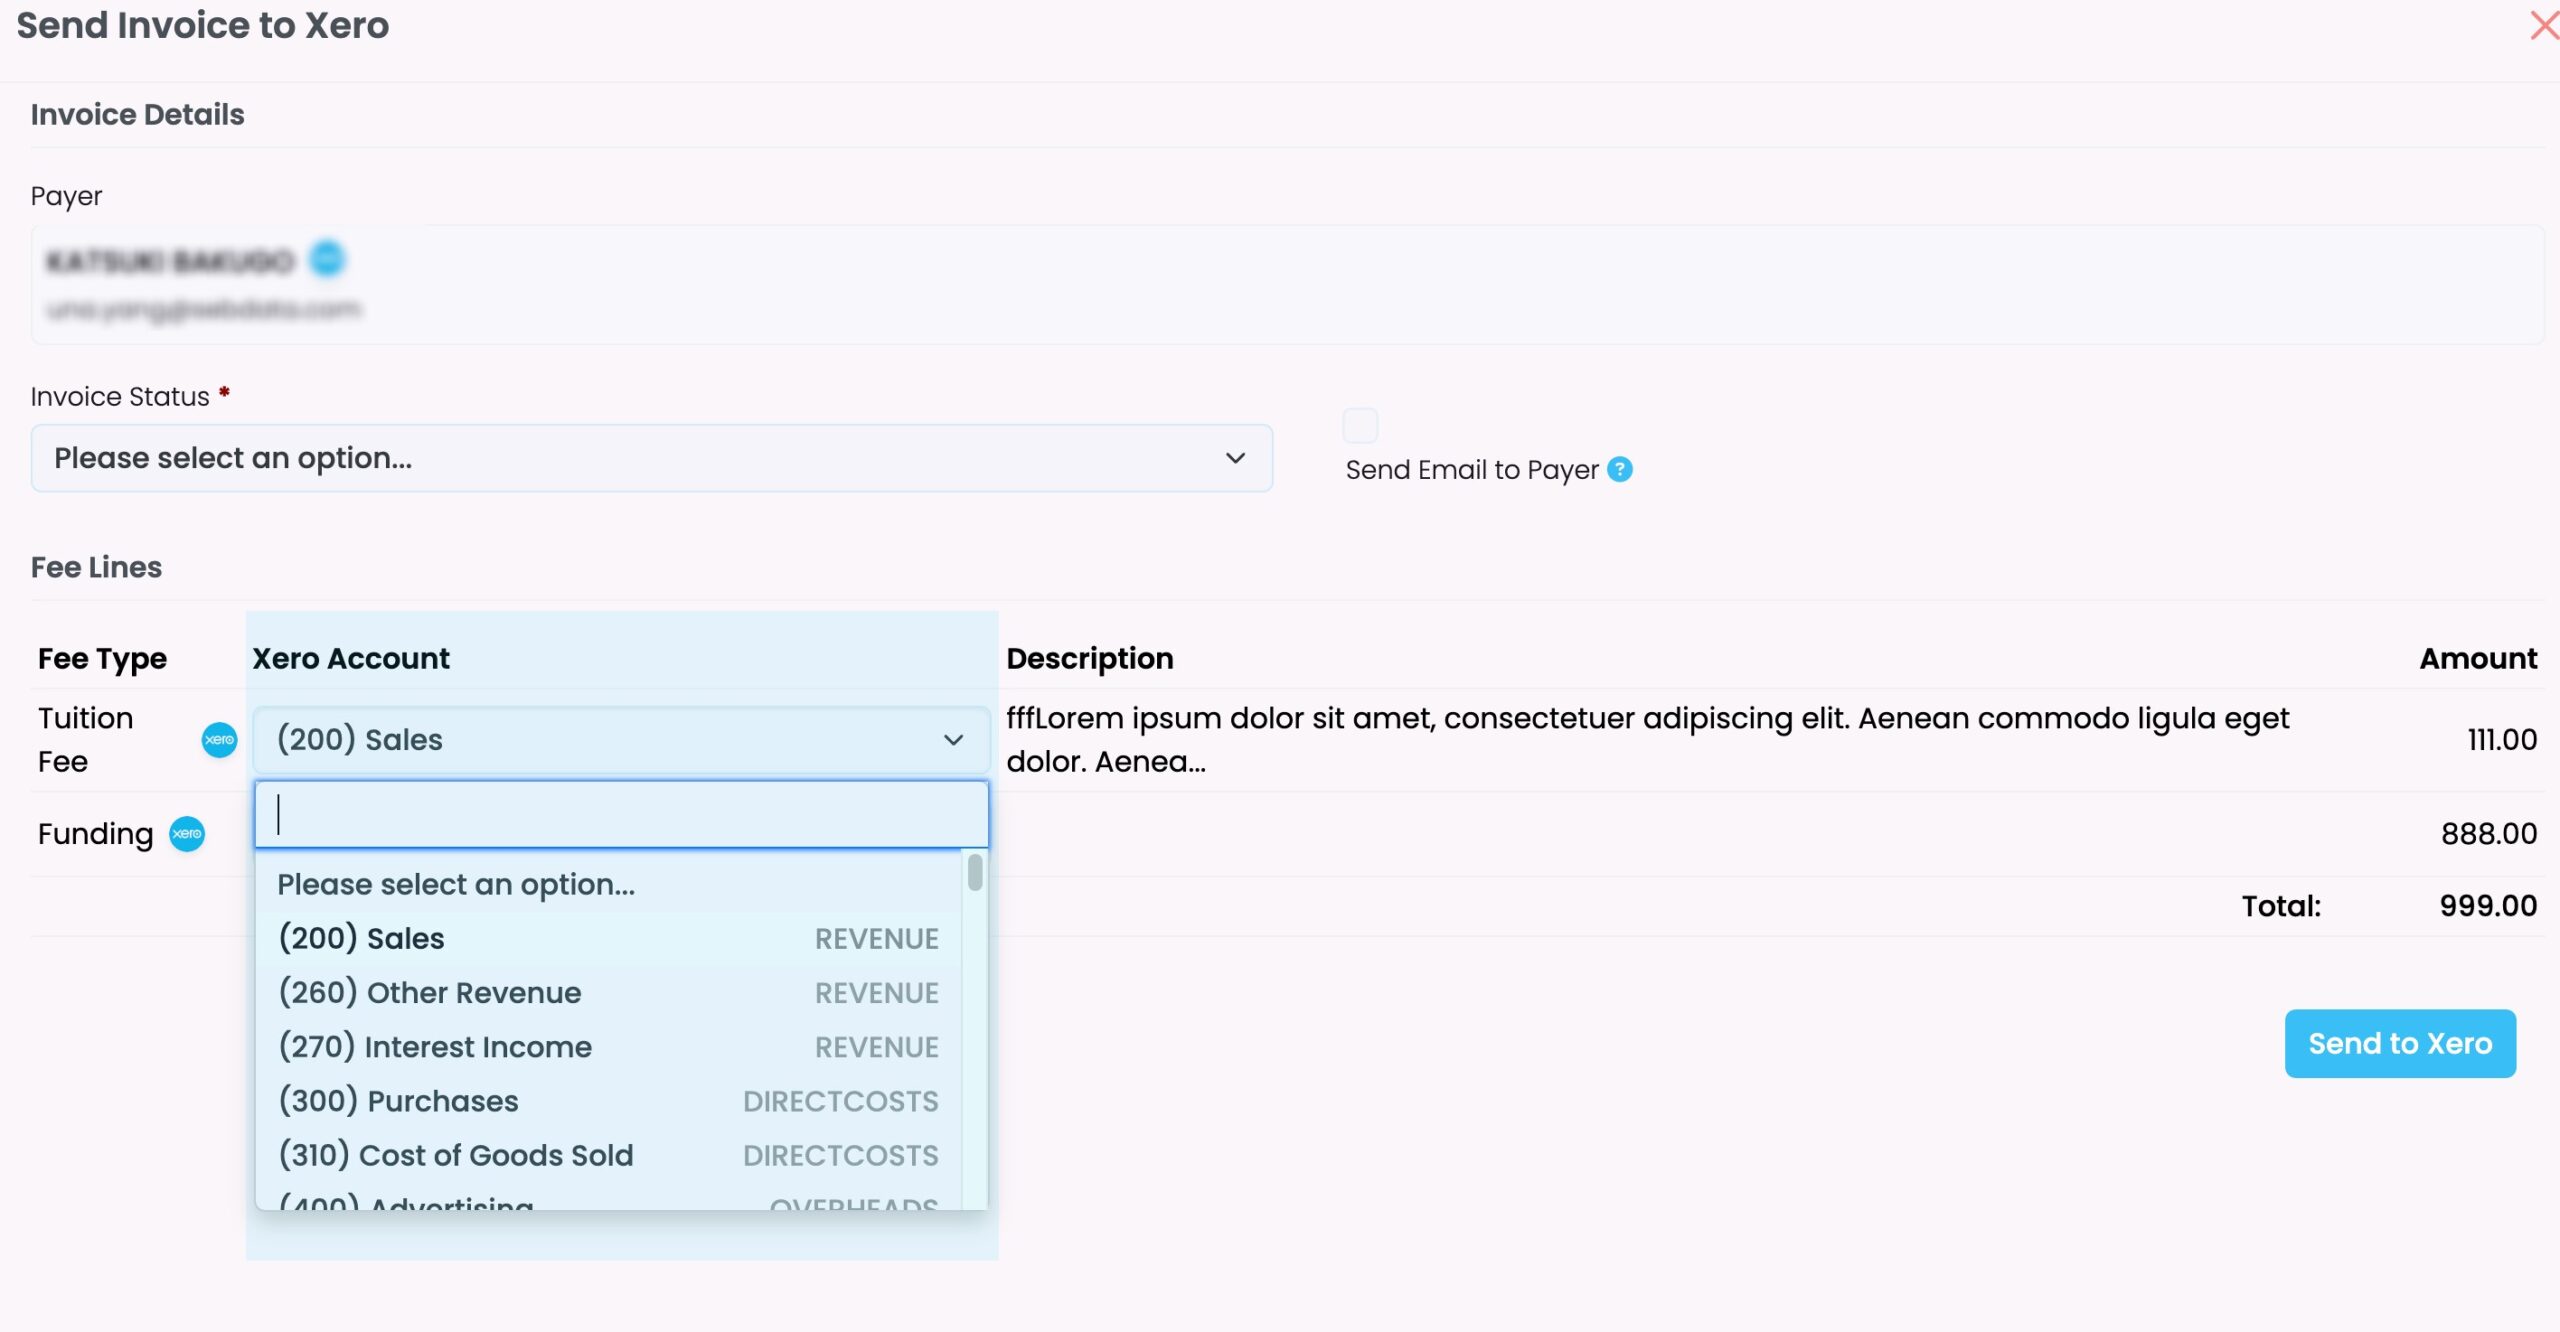
Default Account Behaviour:
- If a Xero product has an associated account, that account will be used as default
- If no product-account association exists, the set default account will be used
- Account selections can be modified when sending invoice to Xero
3. Product Mapping
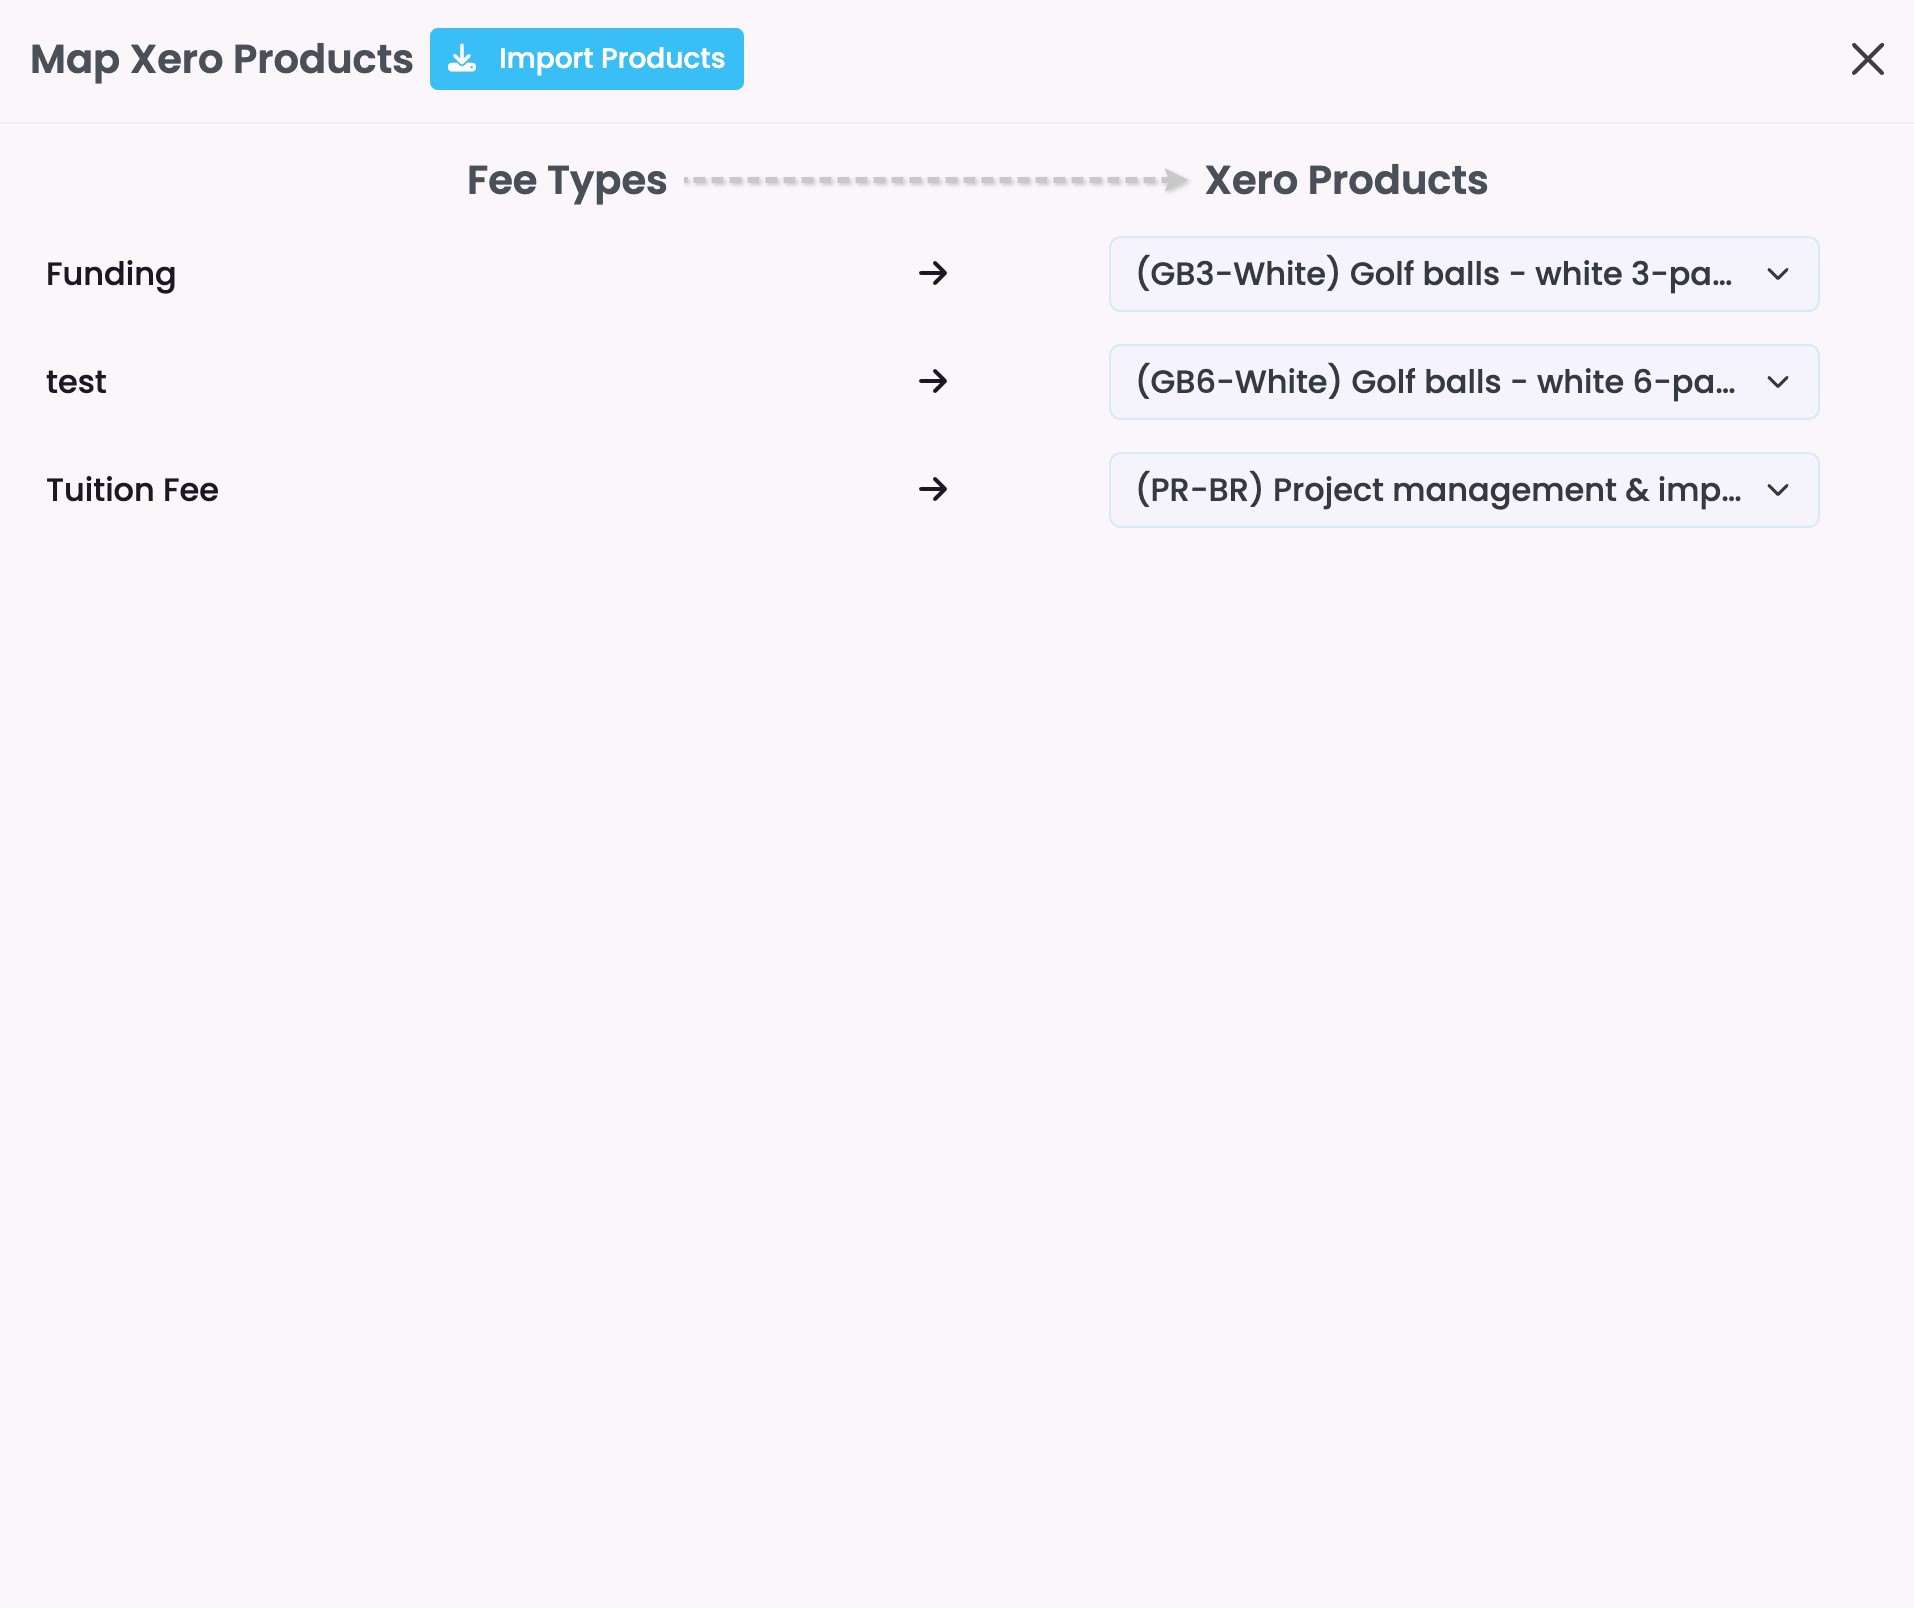
- Click “Import Products” to import all products (items) from Xero.
- In SELMA, fee types can be mapped to Xero products:
- You can manage fee types from Setting → Lookup Data → Fee Types
- Each fee type can only be linked to one Xero product and vice versa
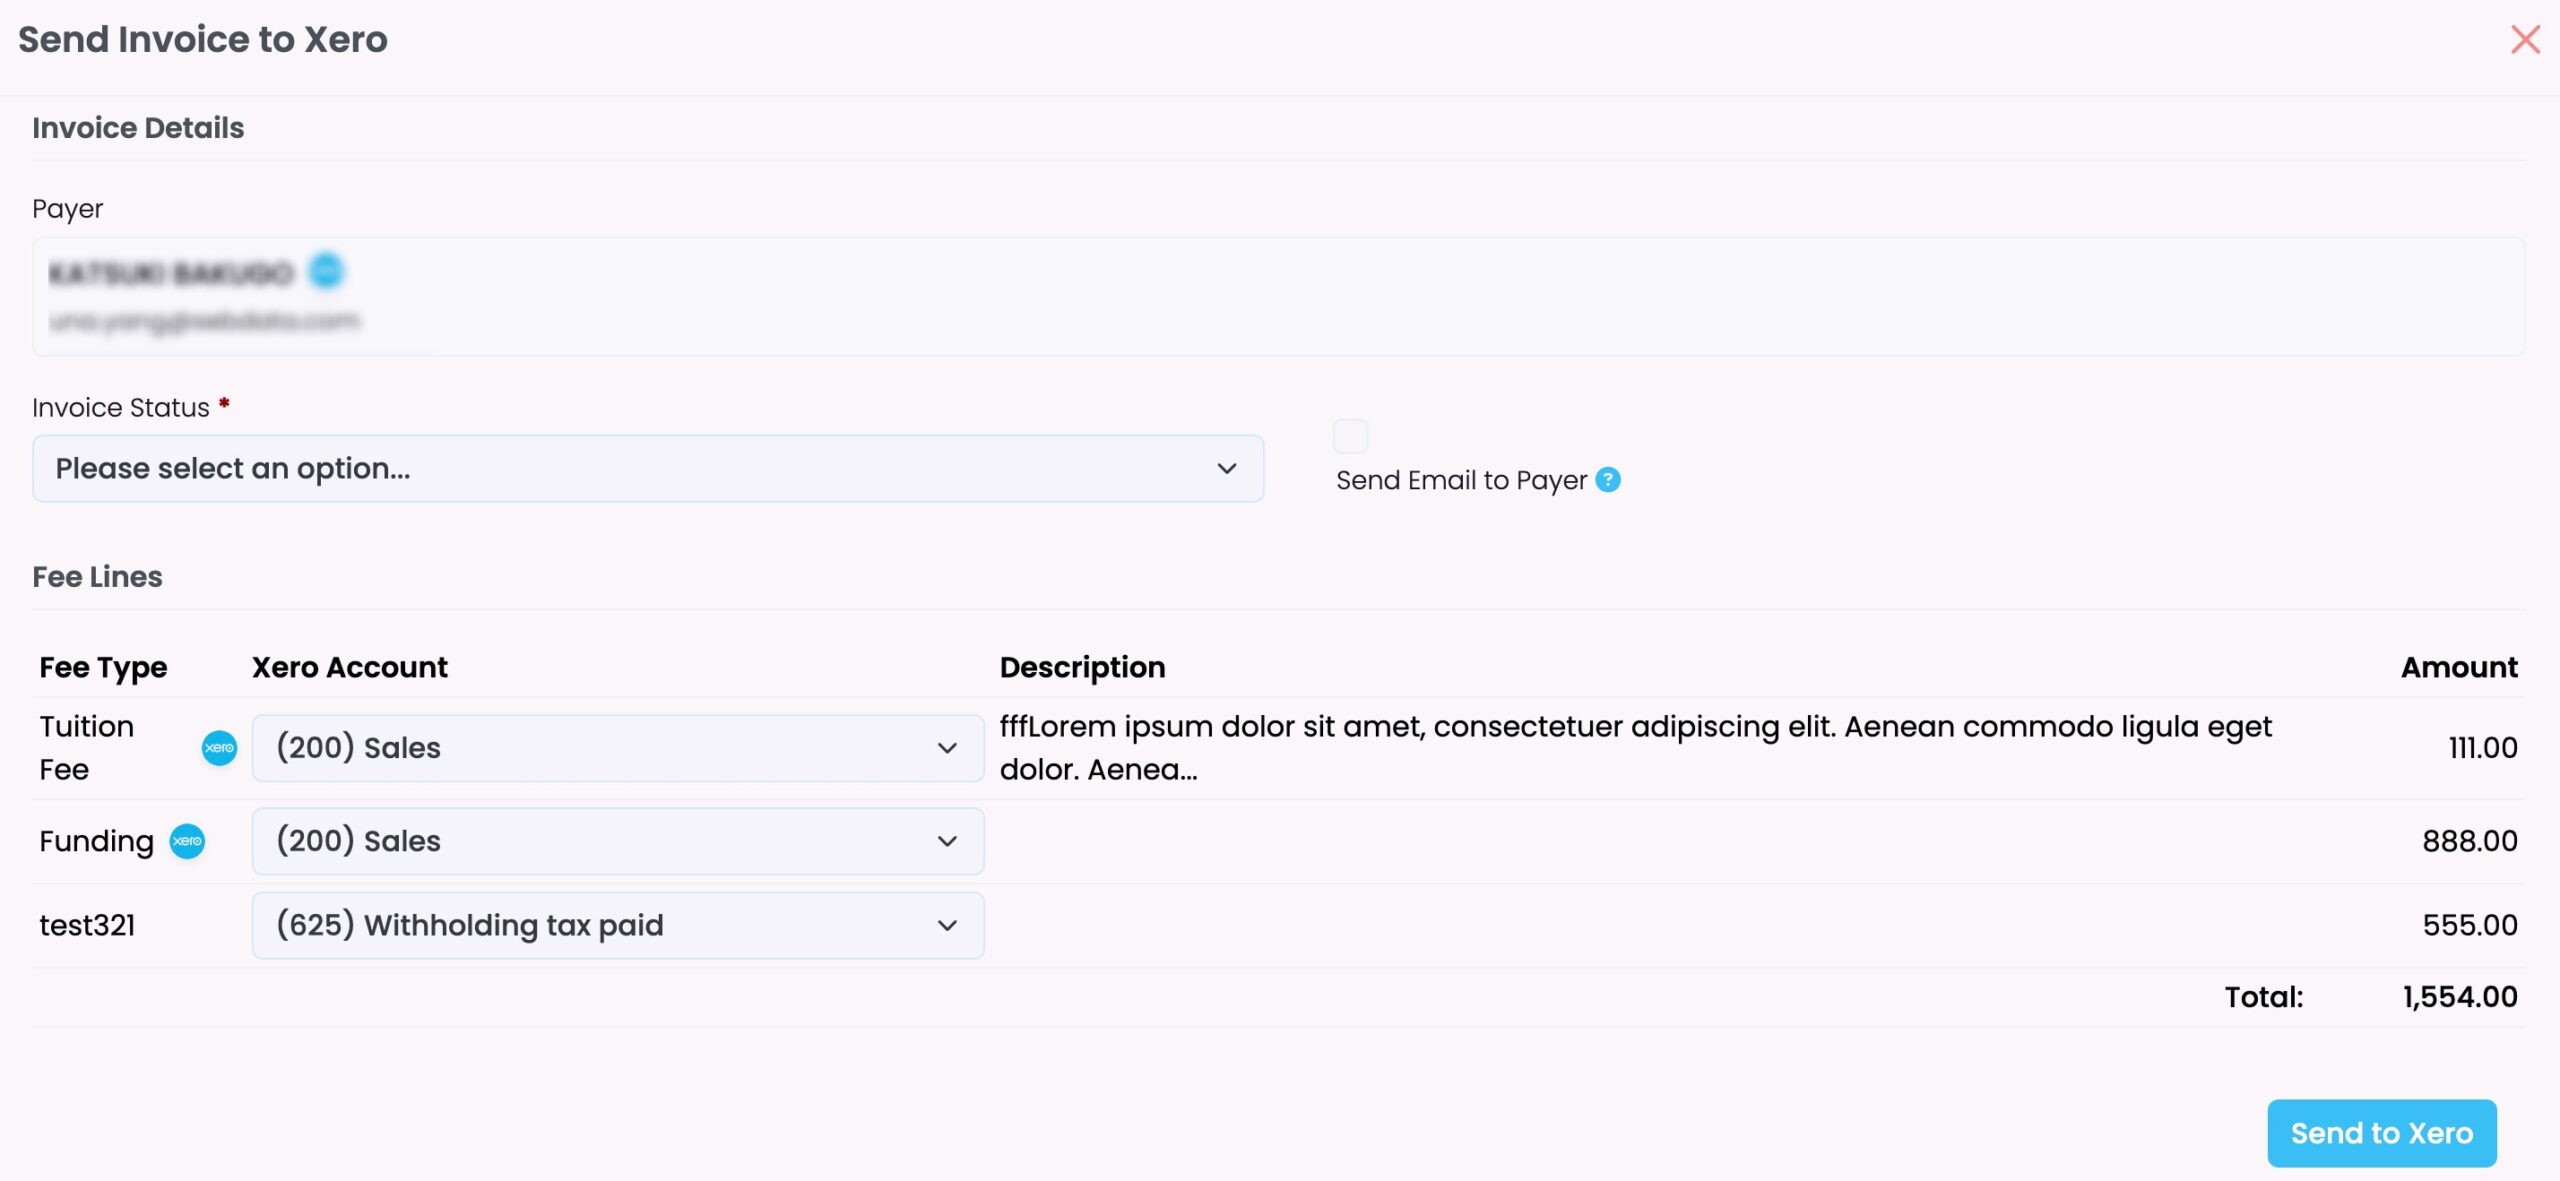
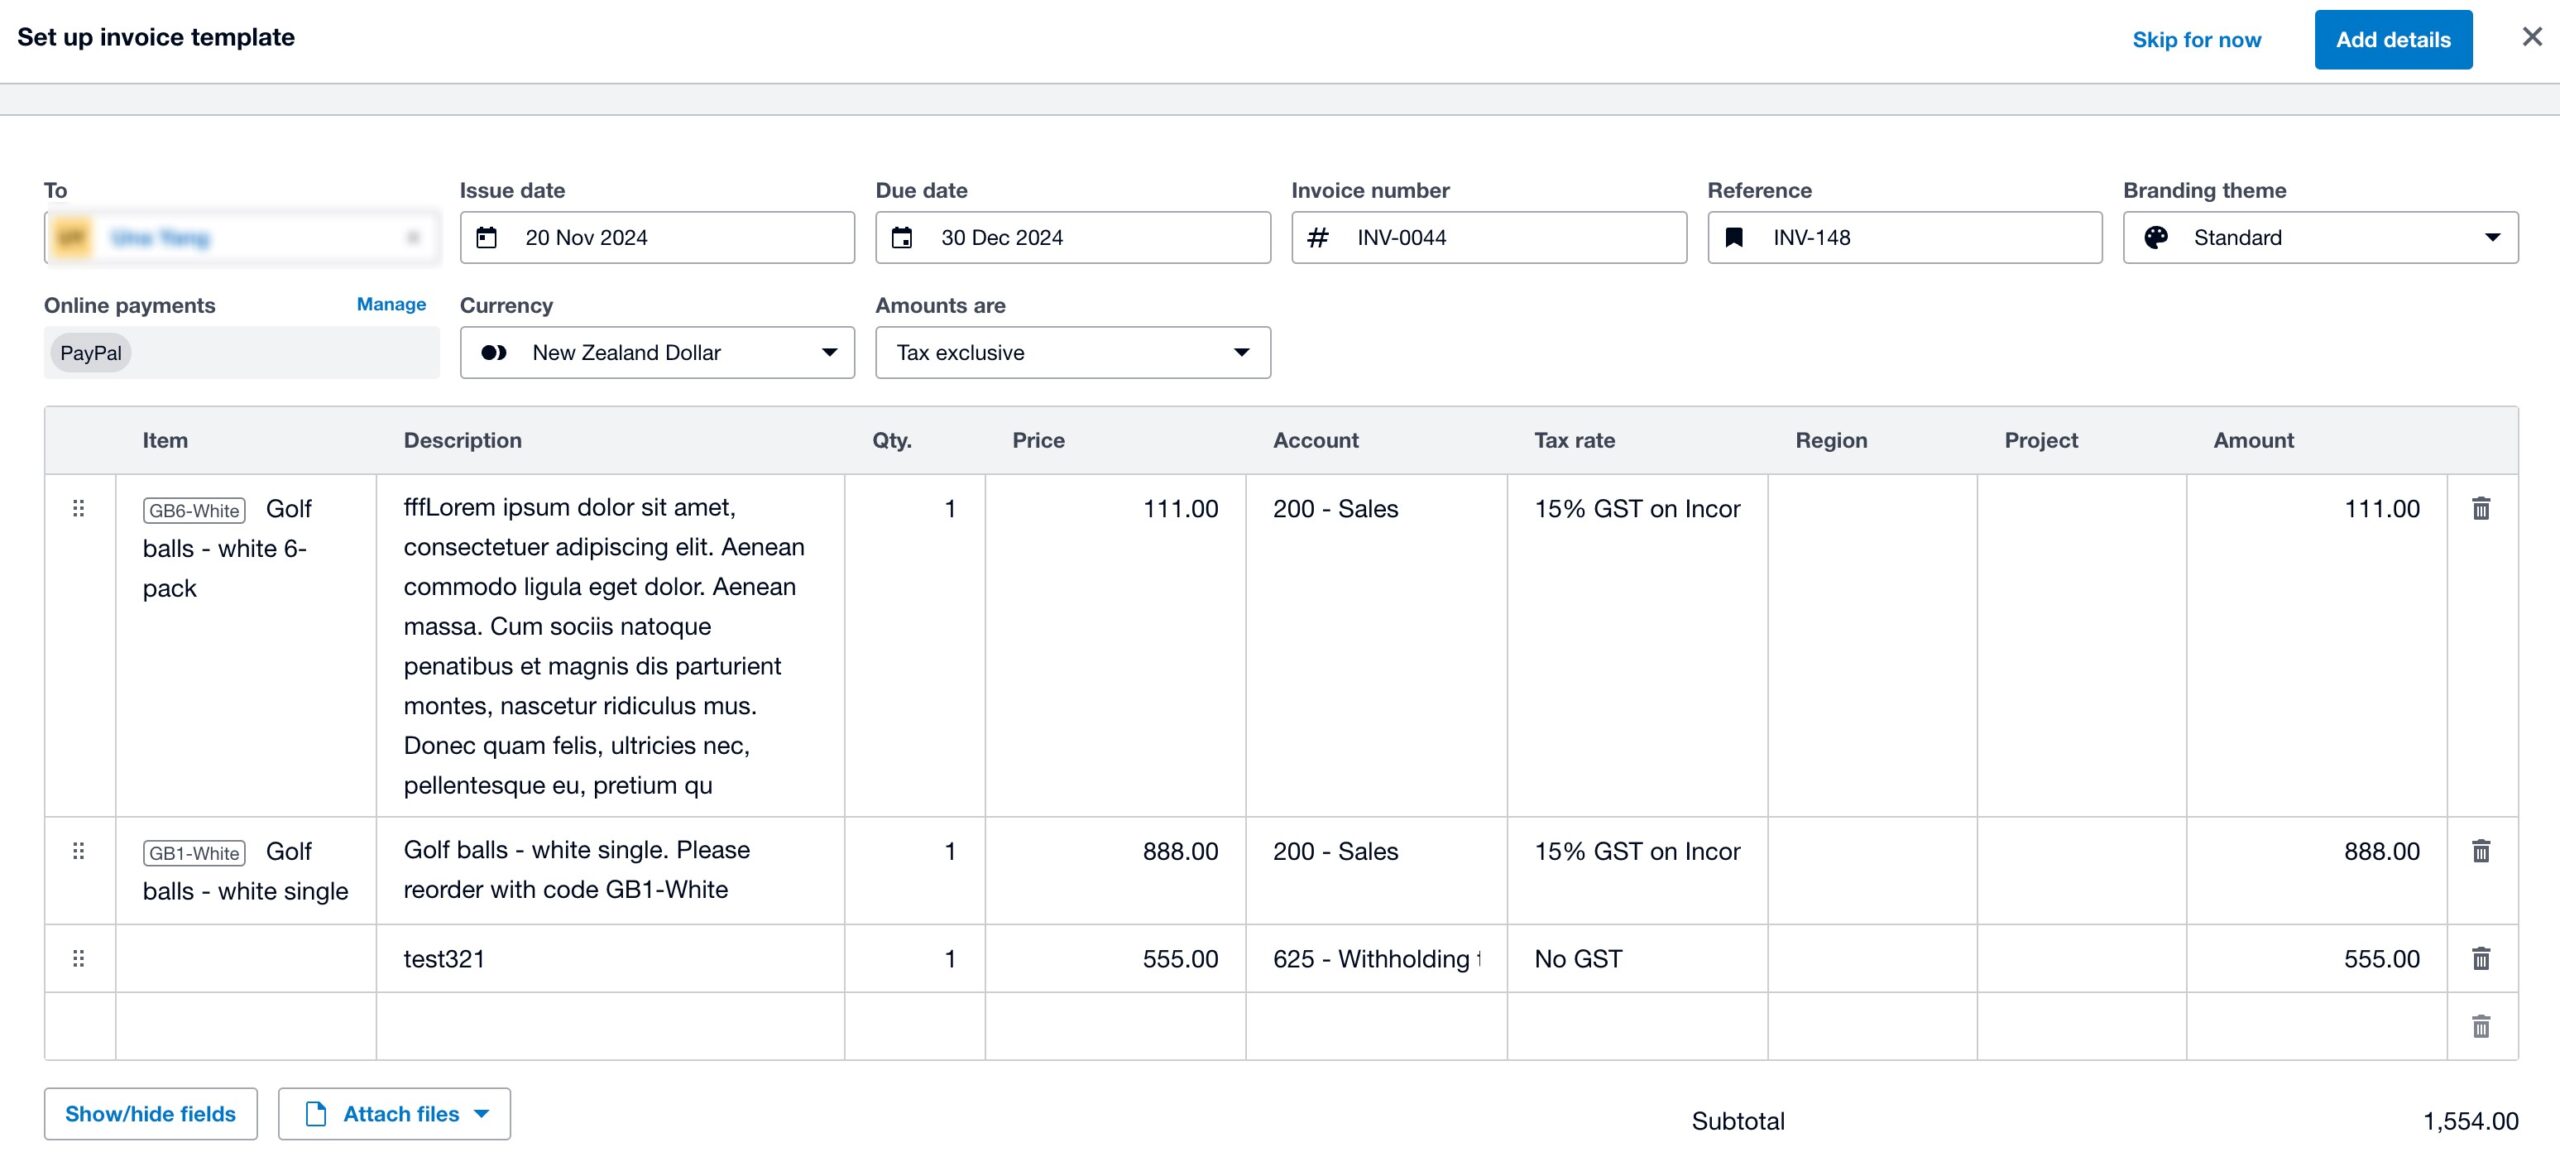
Fee Line Behaviour in Xero:
- If a fee line in SELMA:
- Has mapped to a Xero product & Has description added
- Description of the default Xero product will be overwritten
- Has mapped to a Xero product & Has no description added
- Mapped Xero product default description will be used
- Has not mapped to a Xero product & Has no description added
- Product is empty, description is the fee type name
- Product is empty, description is the fee type name
- Has mapped to a Xero product & Has description added
Tax Handling:
- If fee line has set as no Tax but the selected Xero account has set up tax rate in Xero
- The fee line amount will be sent to Xero as is and Xero will add tax amount on top of it
- Note: Xero invoice will have higher total amount
- If fee line has set as included Tax and the selected Xero account has set up tax rate in Xero
- The fee line amount will be deducted the tax value and the total amount should be the same
- Note: Tax rate can be defined in Setting → Account → Tax Rate
- If no tax rate is defined, the default value (15% for New Zealand, 10% for Australia) will be used.
4. Contact Synchronisation
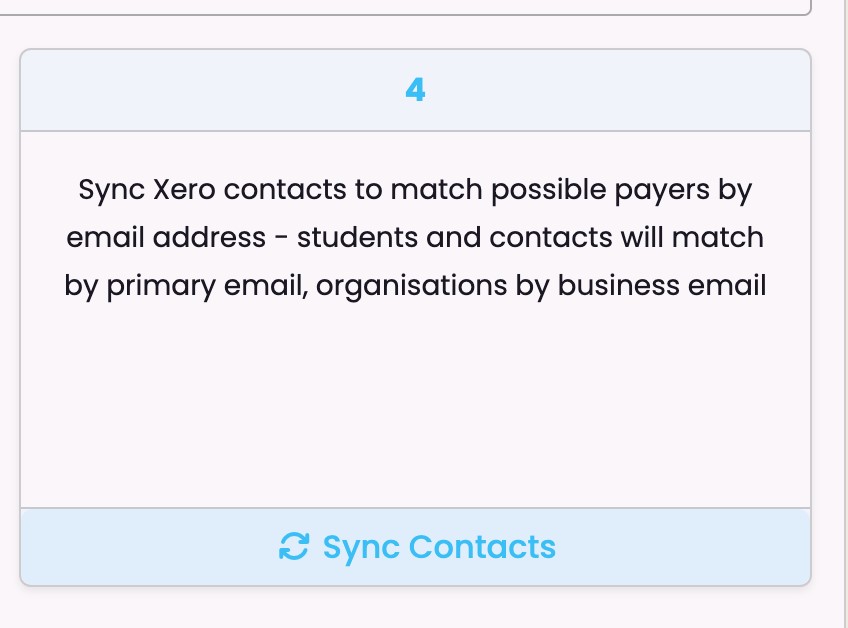
Manage contact mapping between SELMA and Xero.
- Contacts will be mapped by email addresses, if Xero contacts do not have email addresses added, they will be ignored in SELMA.
- If a payer (student/contact/organisation) is linked to a Xero contact, Xero icon will display.
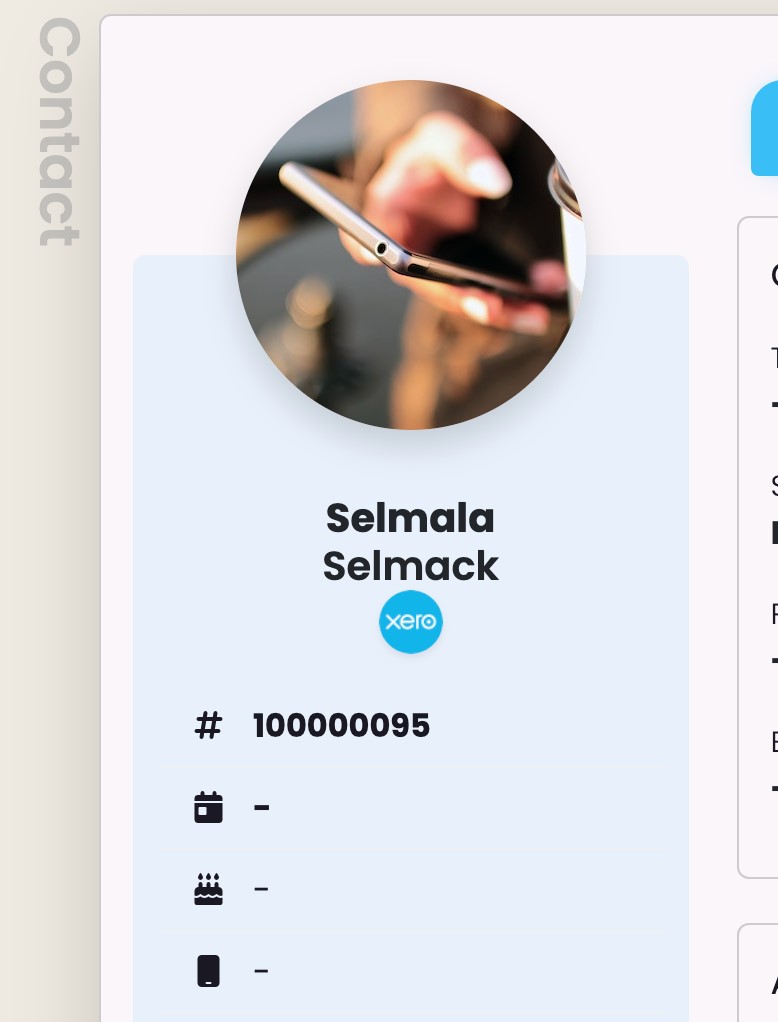
- When clicked, you will see two options:
- View the contact in Xero
- Disconnect this contact from Xero
- This action will only remove the connection between SELMA payer and Xero contact, other information remain as it is and no data will be deleted
- As same email can be added for different contacts in Xero, this functionality helps organise connections in case wrong contact is mapped
5. Manage Invoice Status
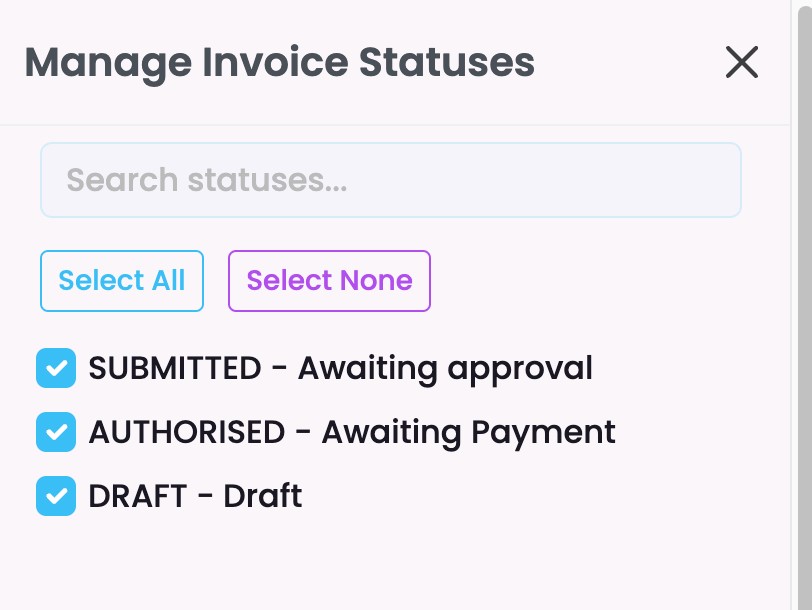
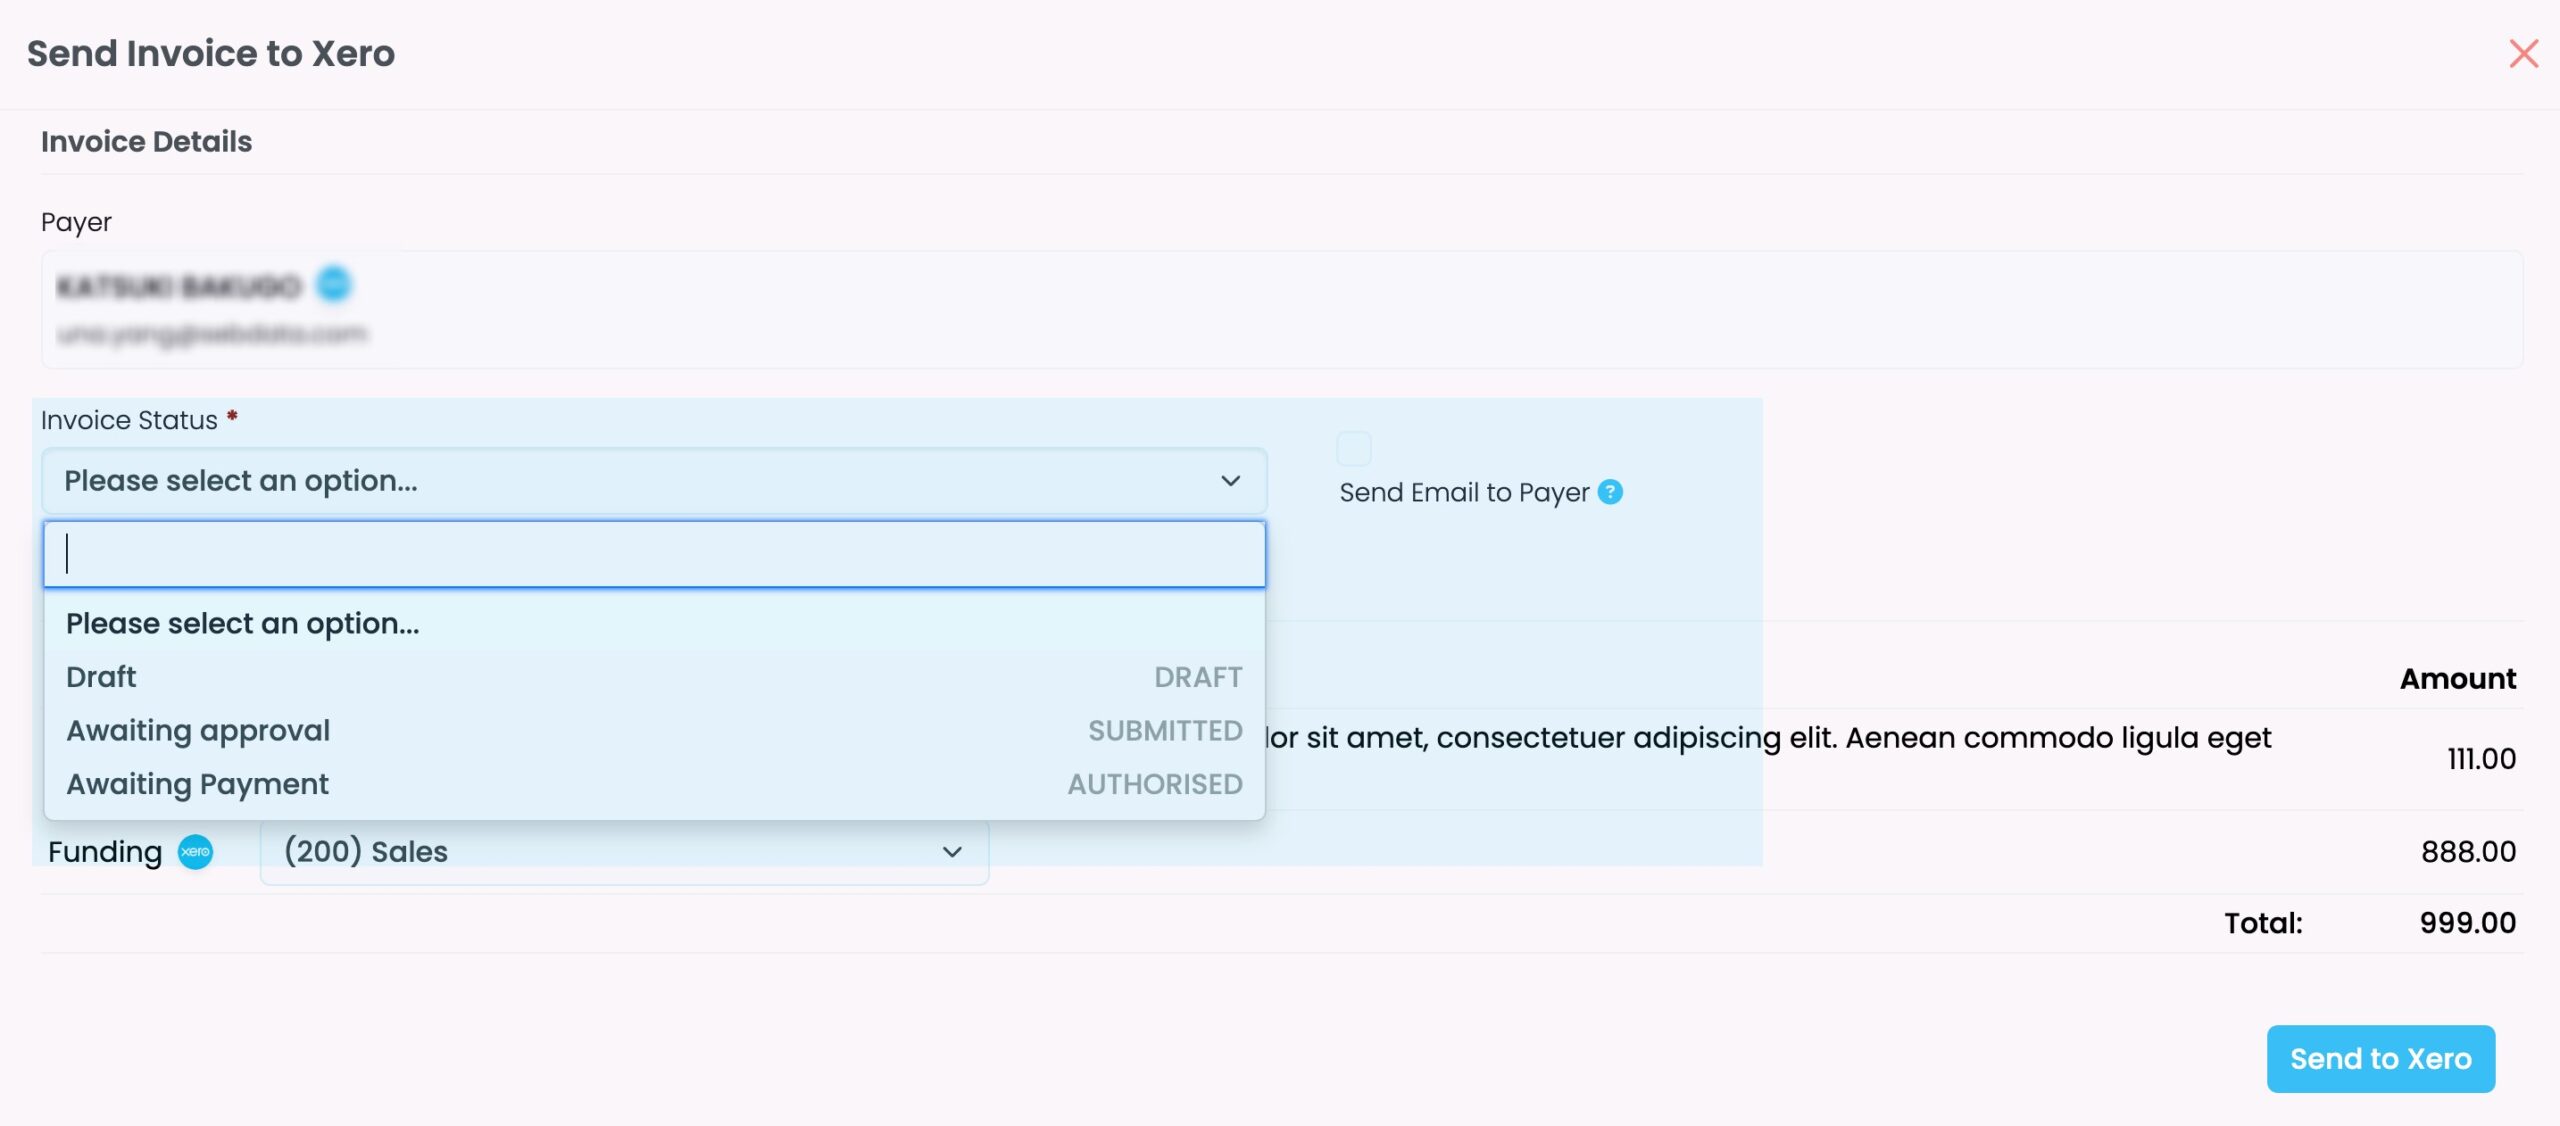
- You can configure which invoice status to be used in the Xero integration
- The active status will be displayed in the ‘Invoice Status’ dropdown when sending invoice to Xero
Monitoring & Maintenance
Logs

- View all Xero integration activities in the integration page
- Each log entry shows:
- Action: Integration actions (e.g., sync contacts, create invoice)
- Message: Result of the action
- Data: Information sent to Xero
- Context: Response from Xero
Payment Synchronisation
- SELMA automatically syncs payments from Xero when:
- Opening the Invoices Index page
- Viewing any enrolment, contact, or organisation details
- For individual invoice:
- Click the Xero icon on the invoice
- Select the sync payments icon from the actions
- Important: Only payments for invoices originally created in SELMA will be synchronised
- Invoices created directly in Xero will not sync to SELMA
- Invoices created directly in Xero will not sync to SELMA
