On this page:
.
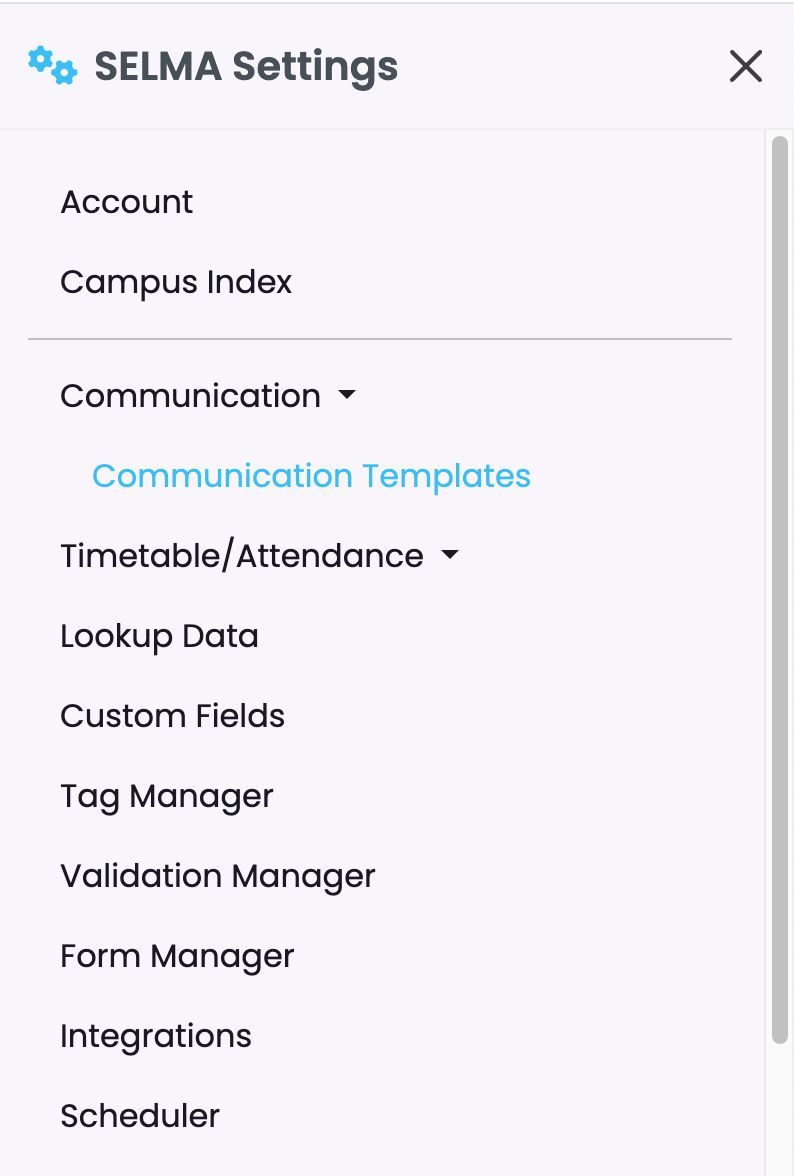
Navigate to Settings (Cog) -> Communication Templates
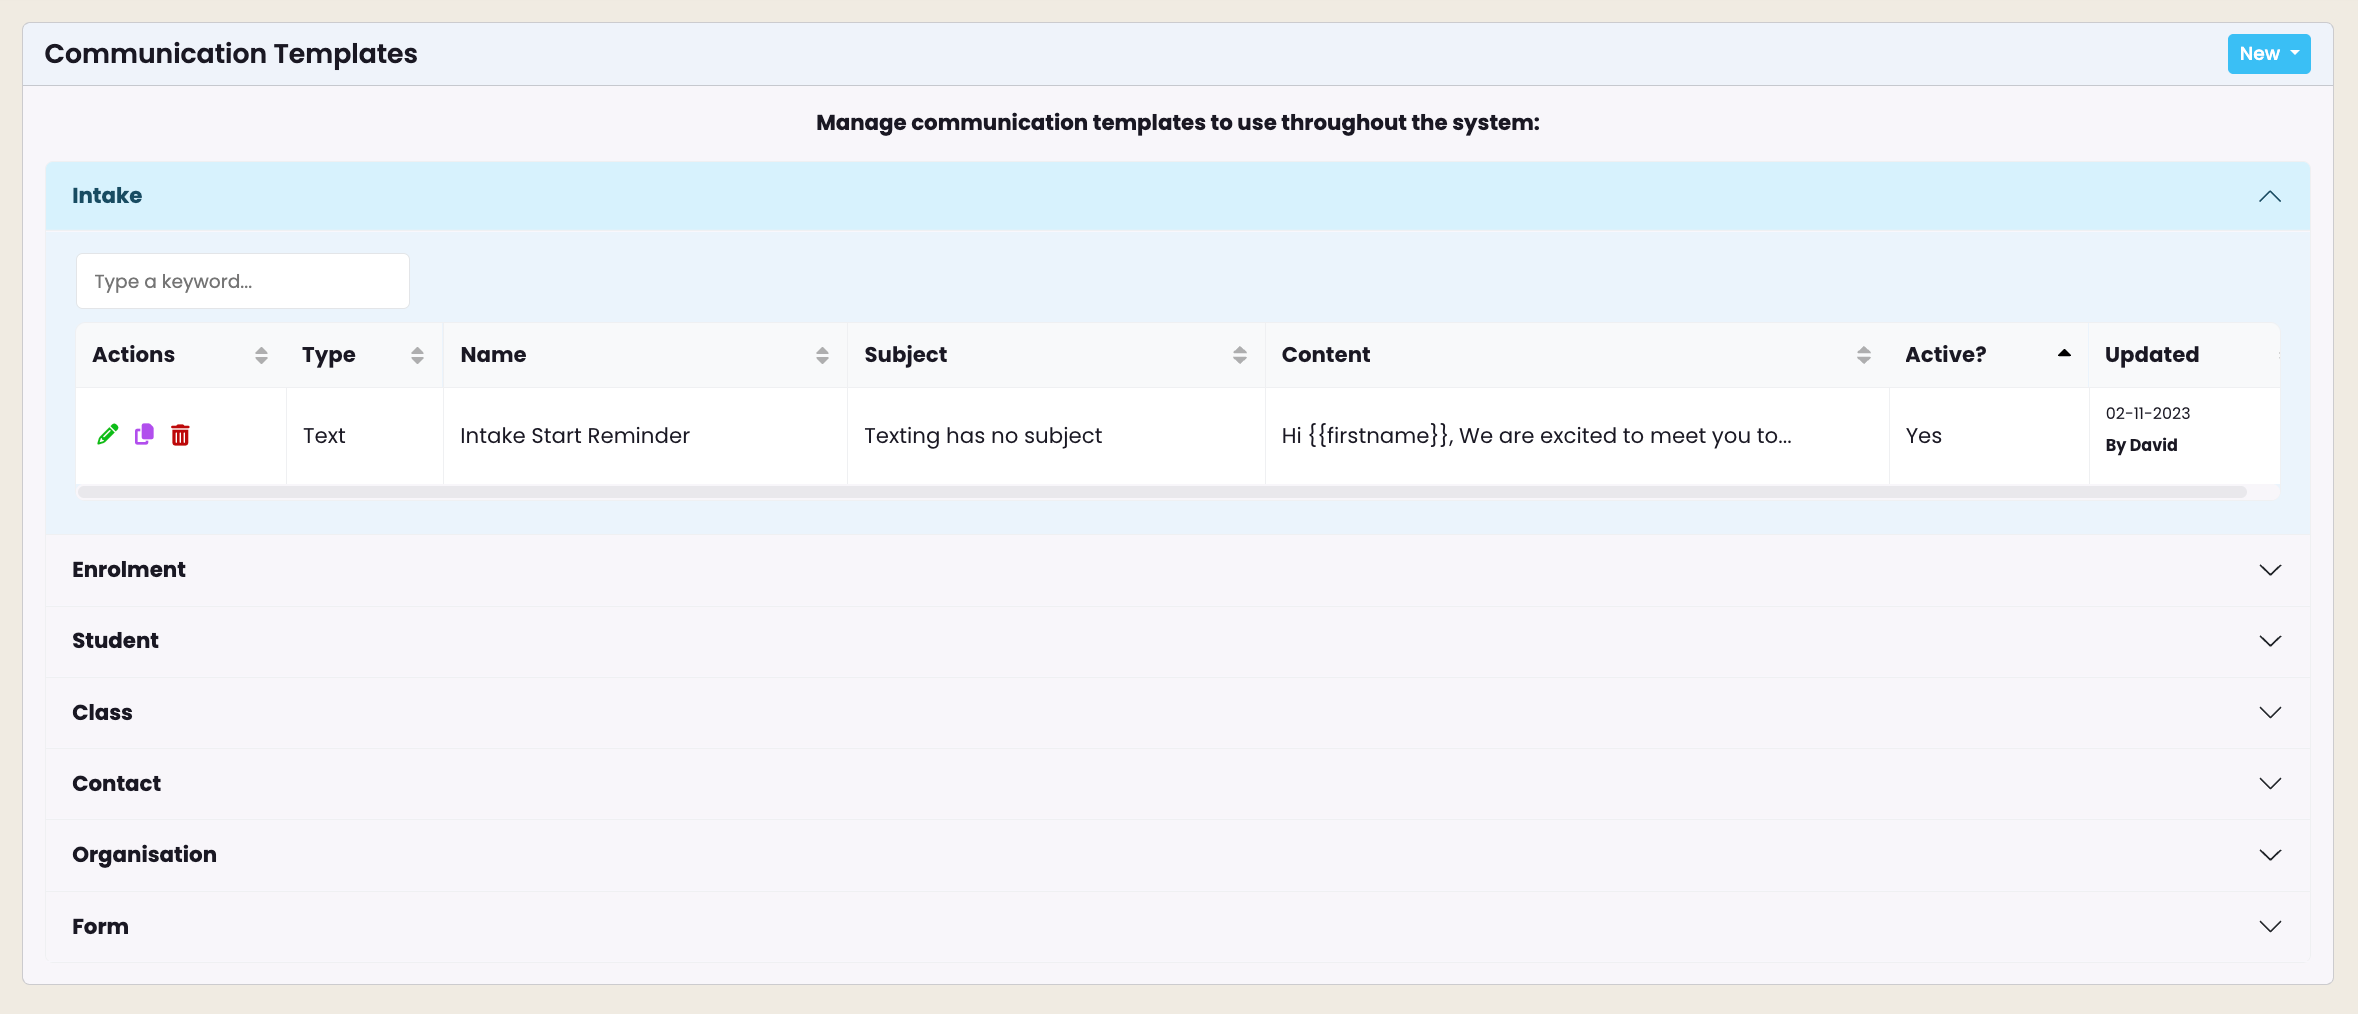
The most effective way of using comms in SELMA by creating templates. You can create templates for Emails, Email Attachments (PDF documents) and Text Messages.
Templates are managed in sections on the comms grid where you can create, search, edit, preview or delete.
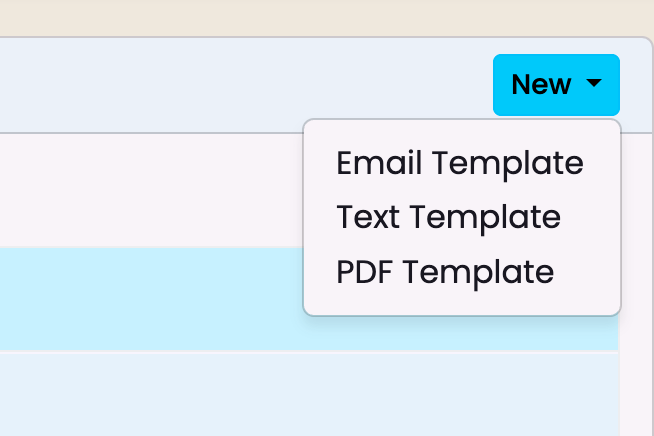
To create a new template, click on “New” and choose a template type between Email, Text or PDF.
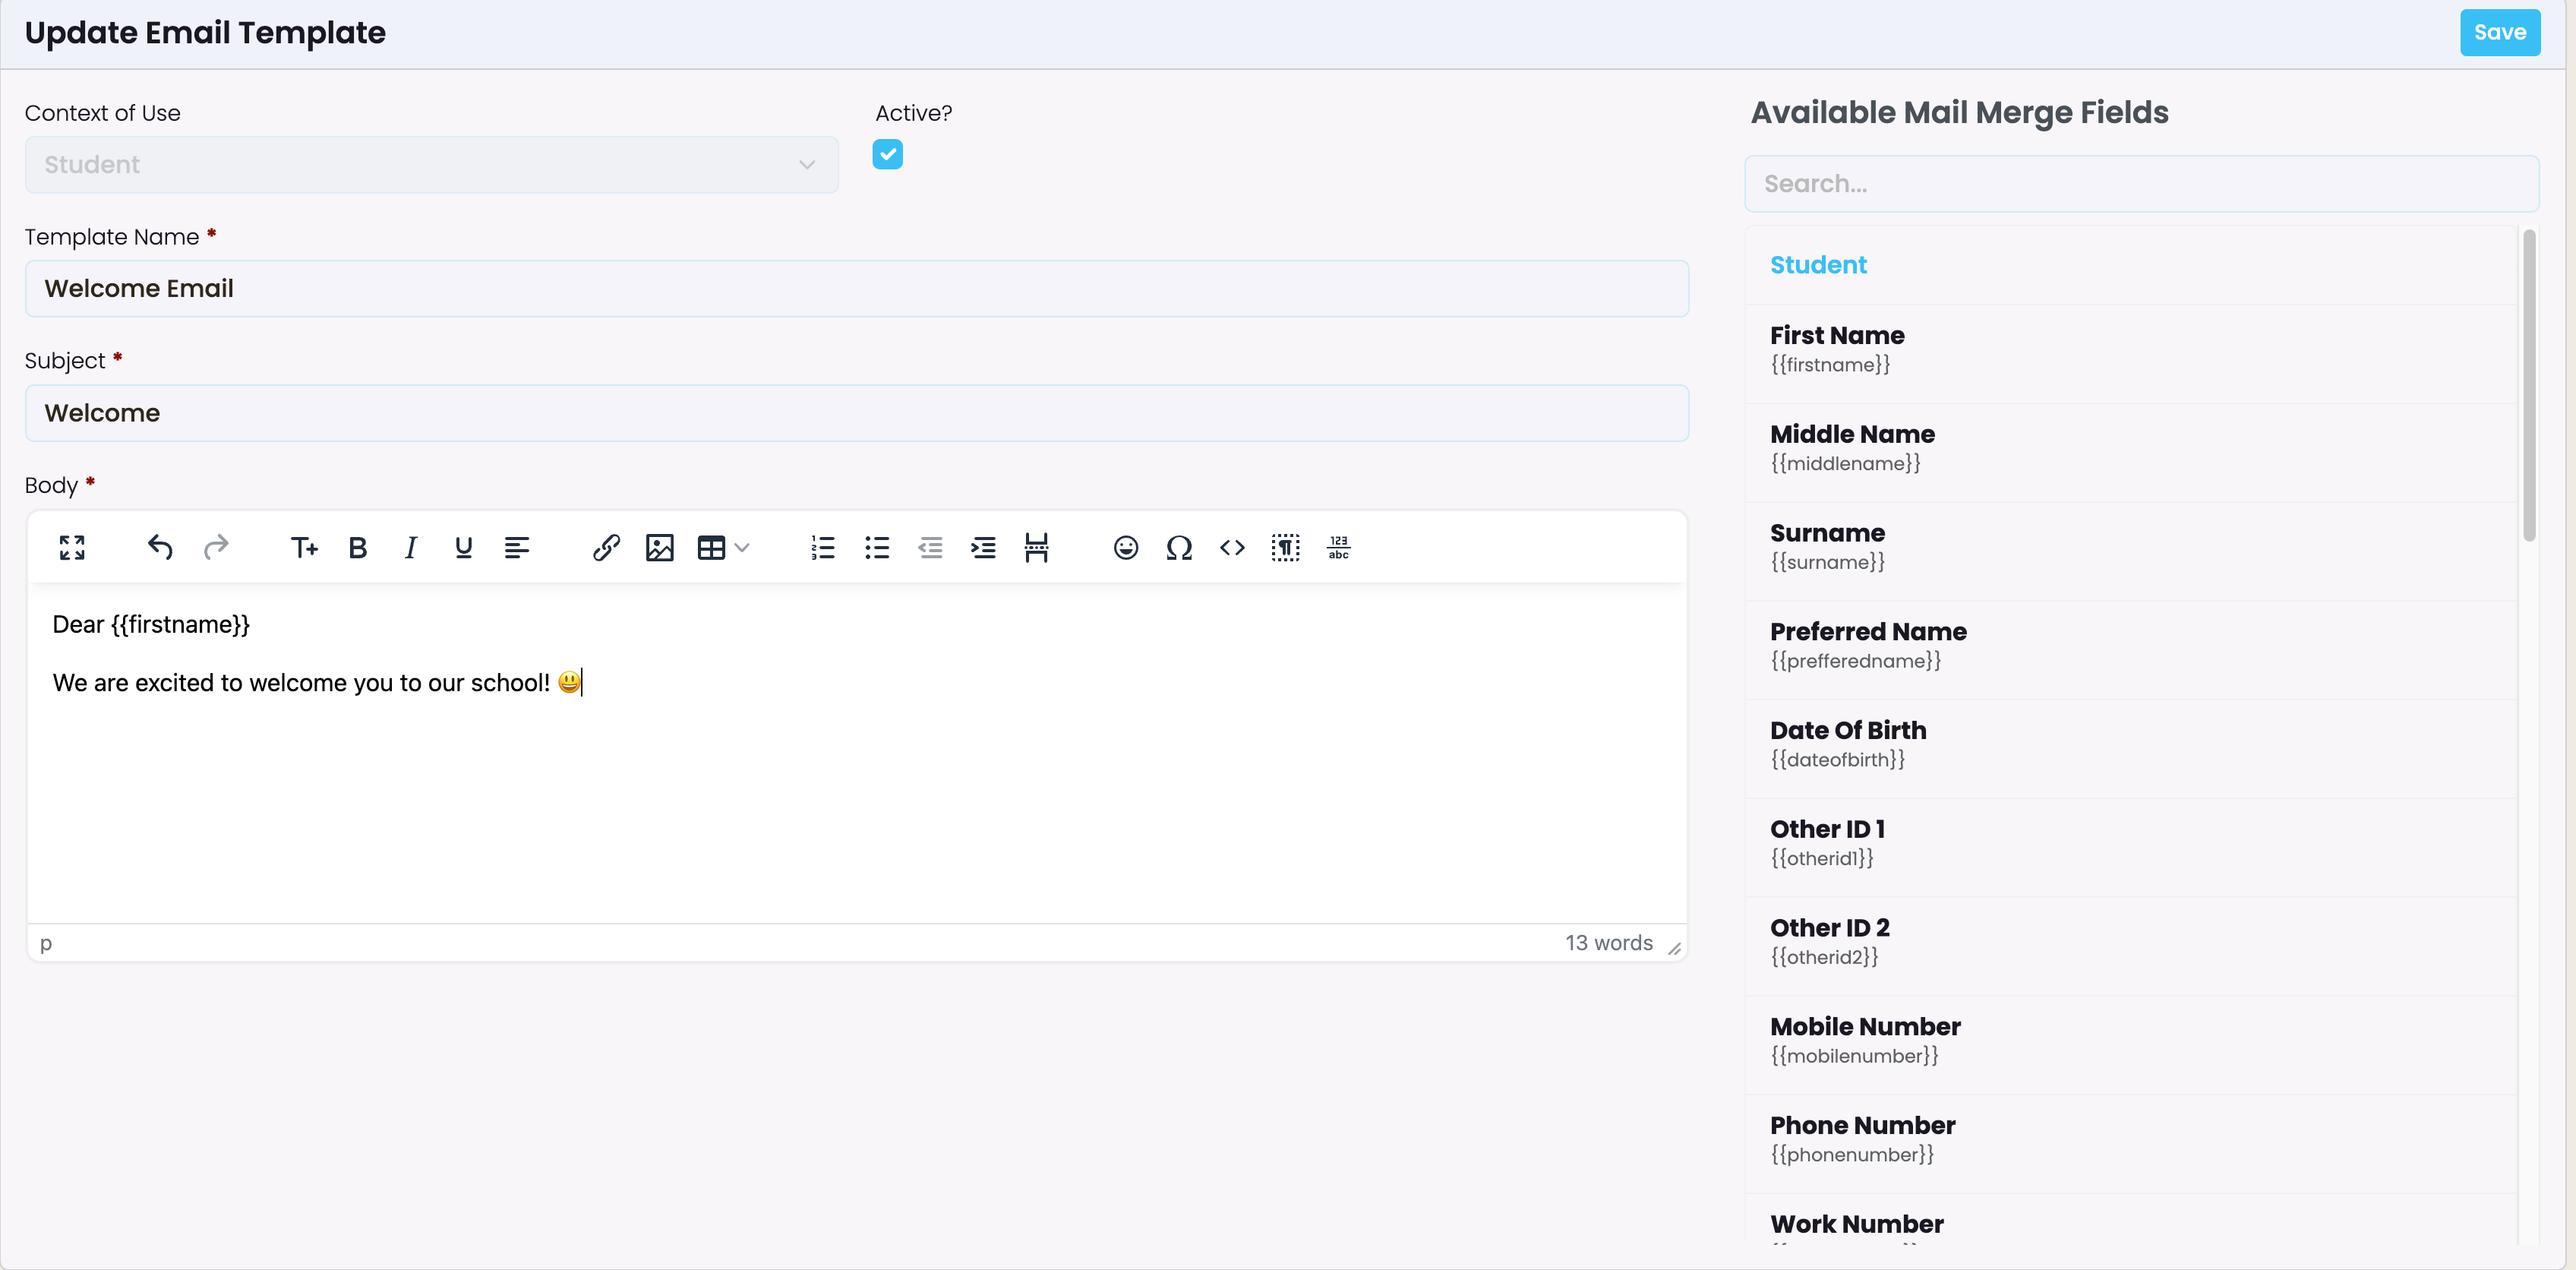
Email Templates
Email templates require Context of Use, Name, Subject and Body.
“Context of Use” serves to categorise and map each communication template within a section of SELMA.
For example, a template created with the context “Student” will only be available to be sent via Student record. If you choose “Intake”, the template can be used to send an email to one or many student(s) from an intake.
The email can also contain Mail Merge Fields and you can insert them by clicking on the selection on the right.
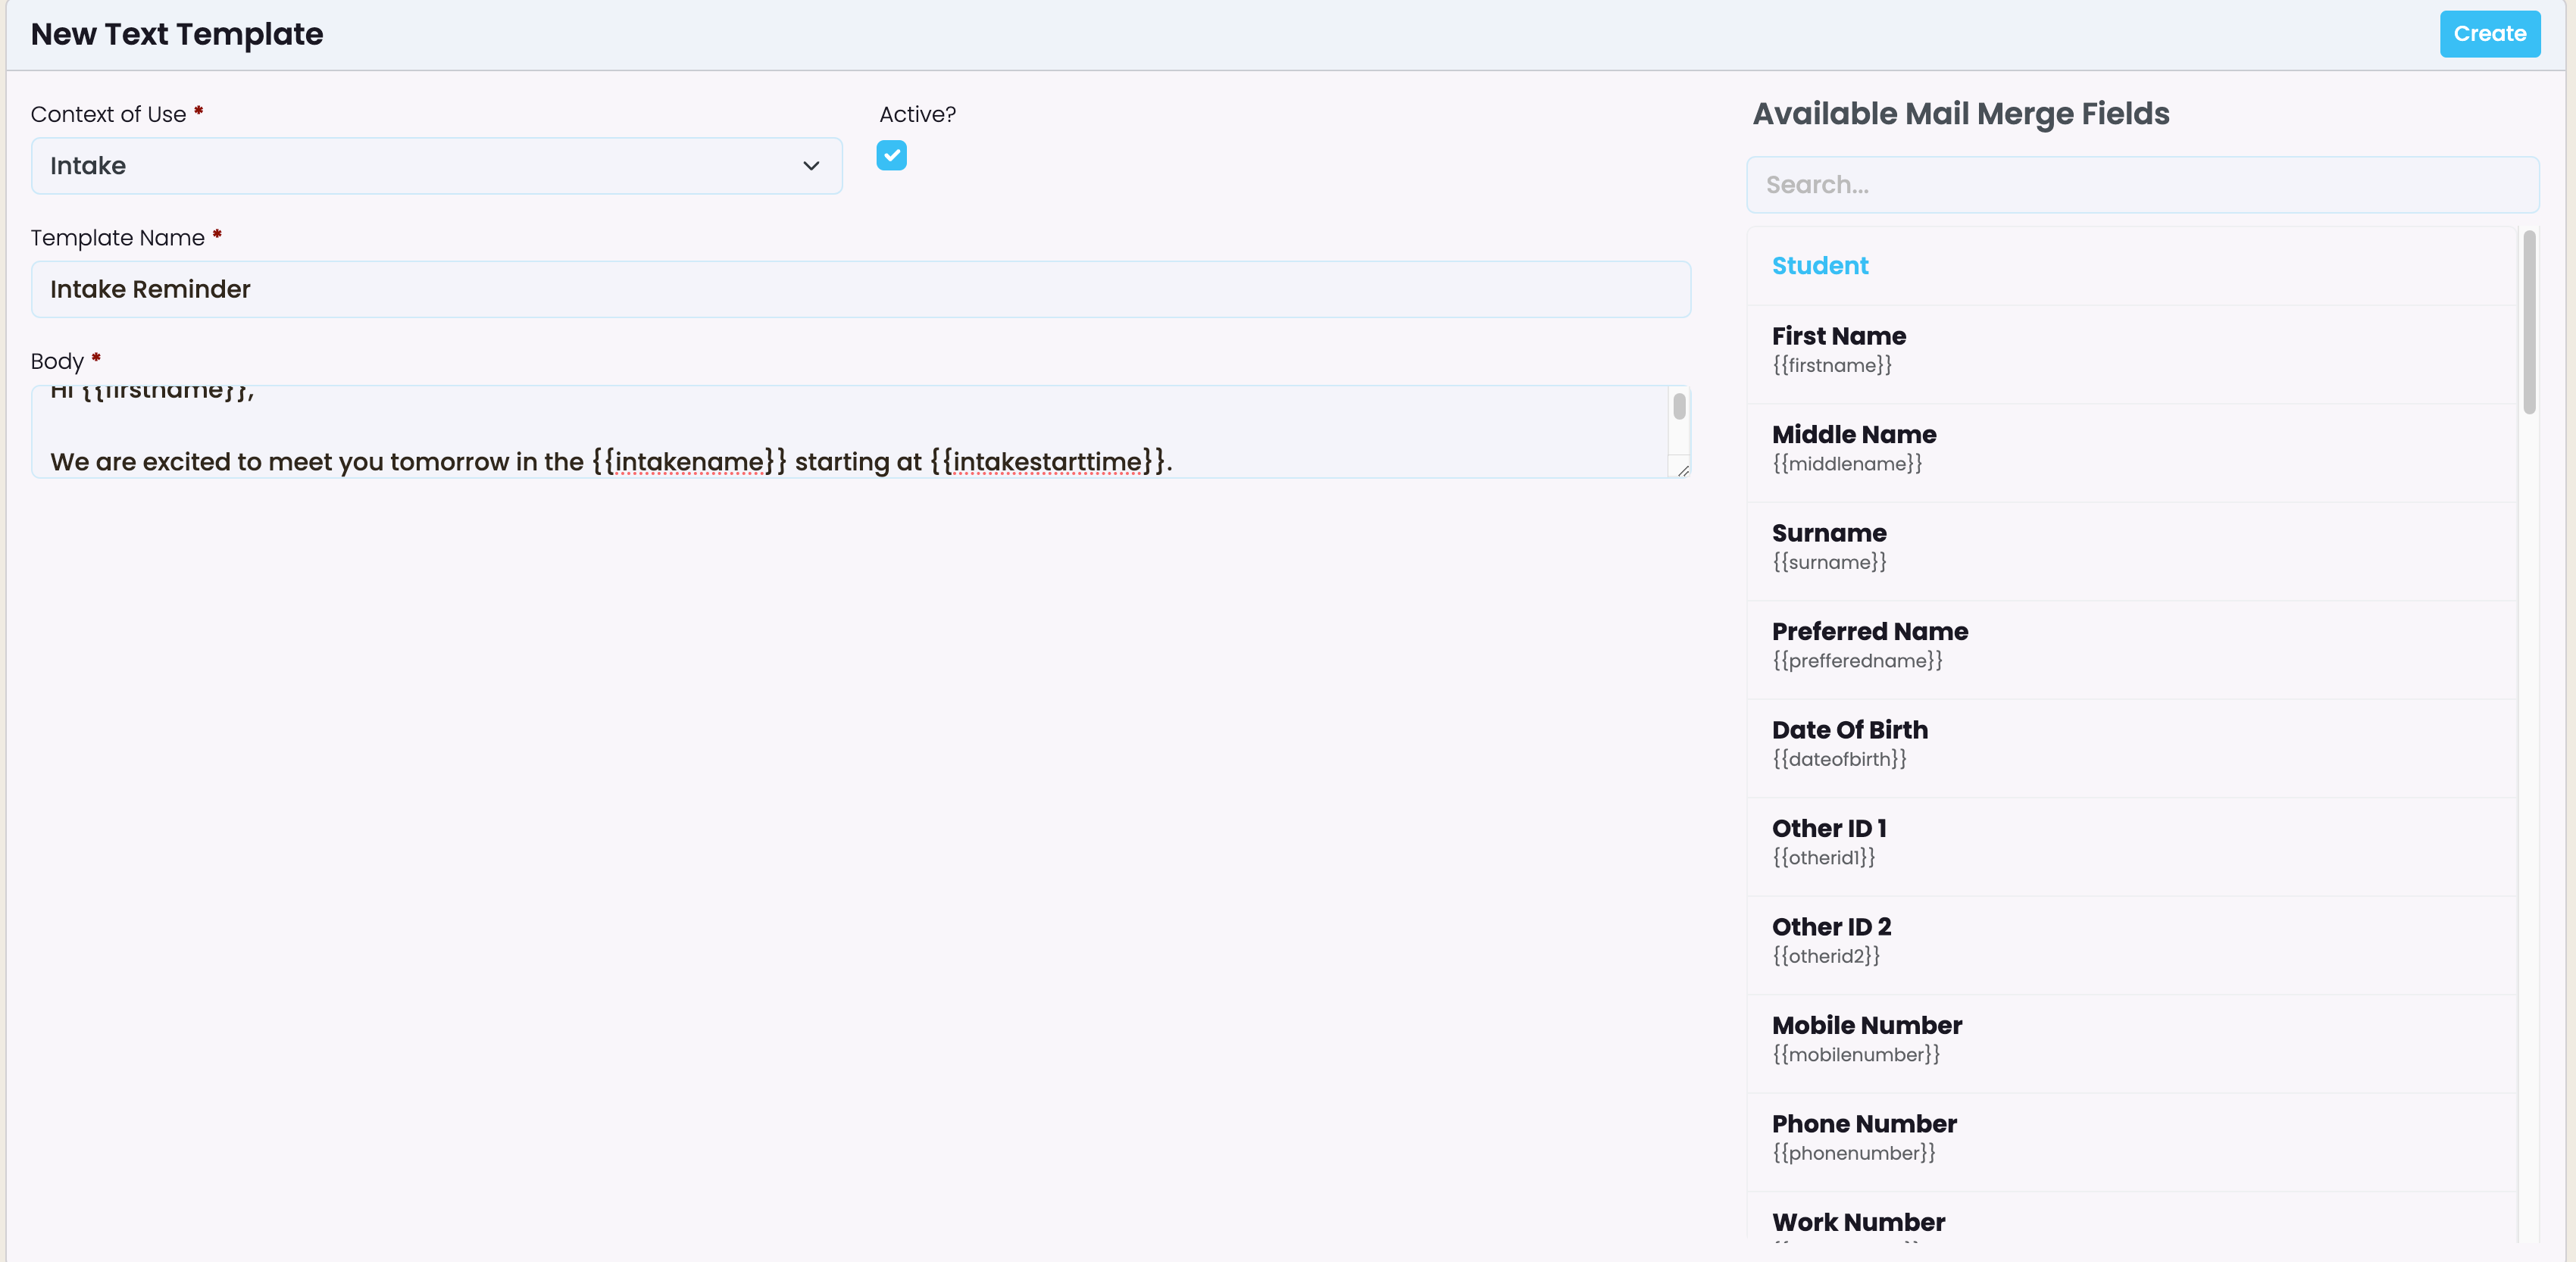
Text Message Templates
Text templates require Context of Use, Name and Body.
Text messages can be sent from a student record, from intakes, or from classes. The text message template is designed very similarly to the email designer above; however, styling is not possible, and the message body is limited to 300 characters.
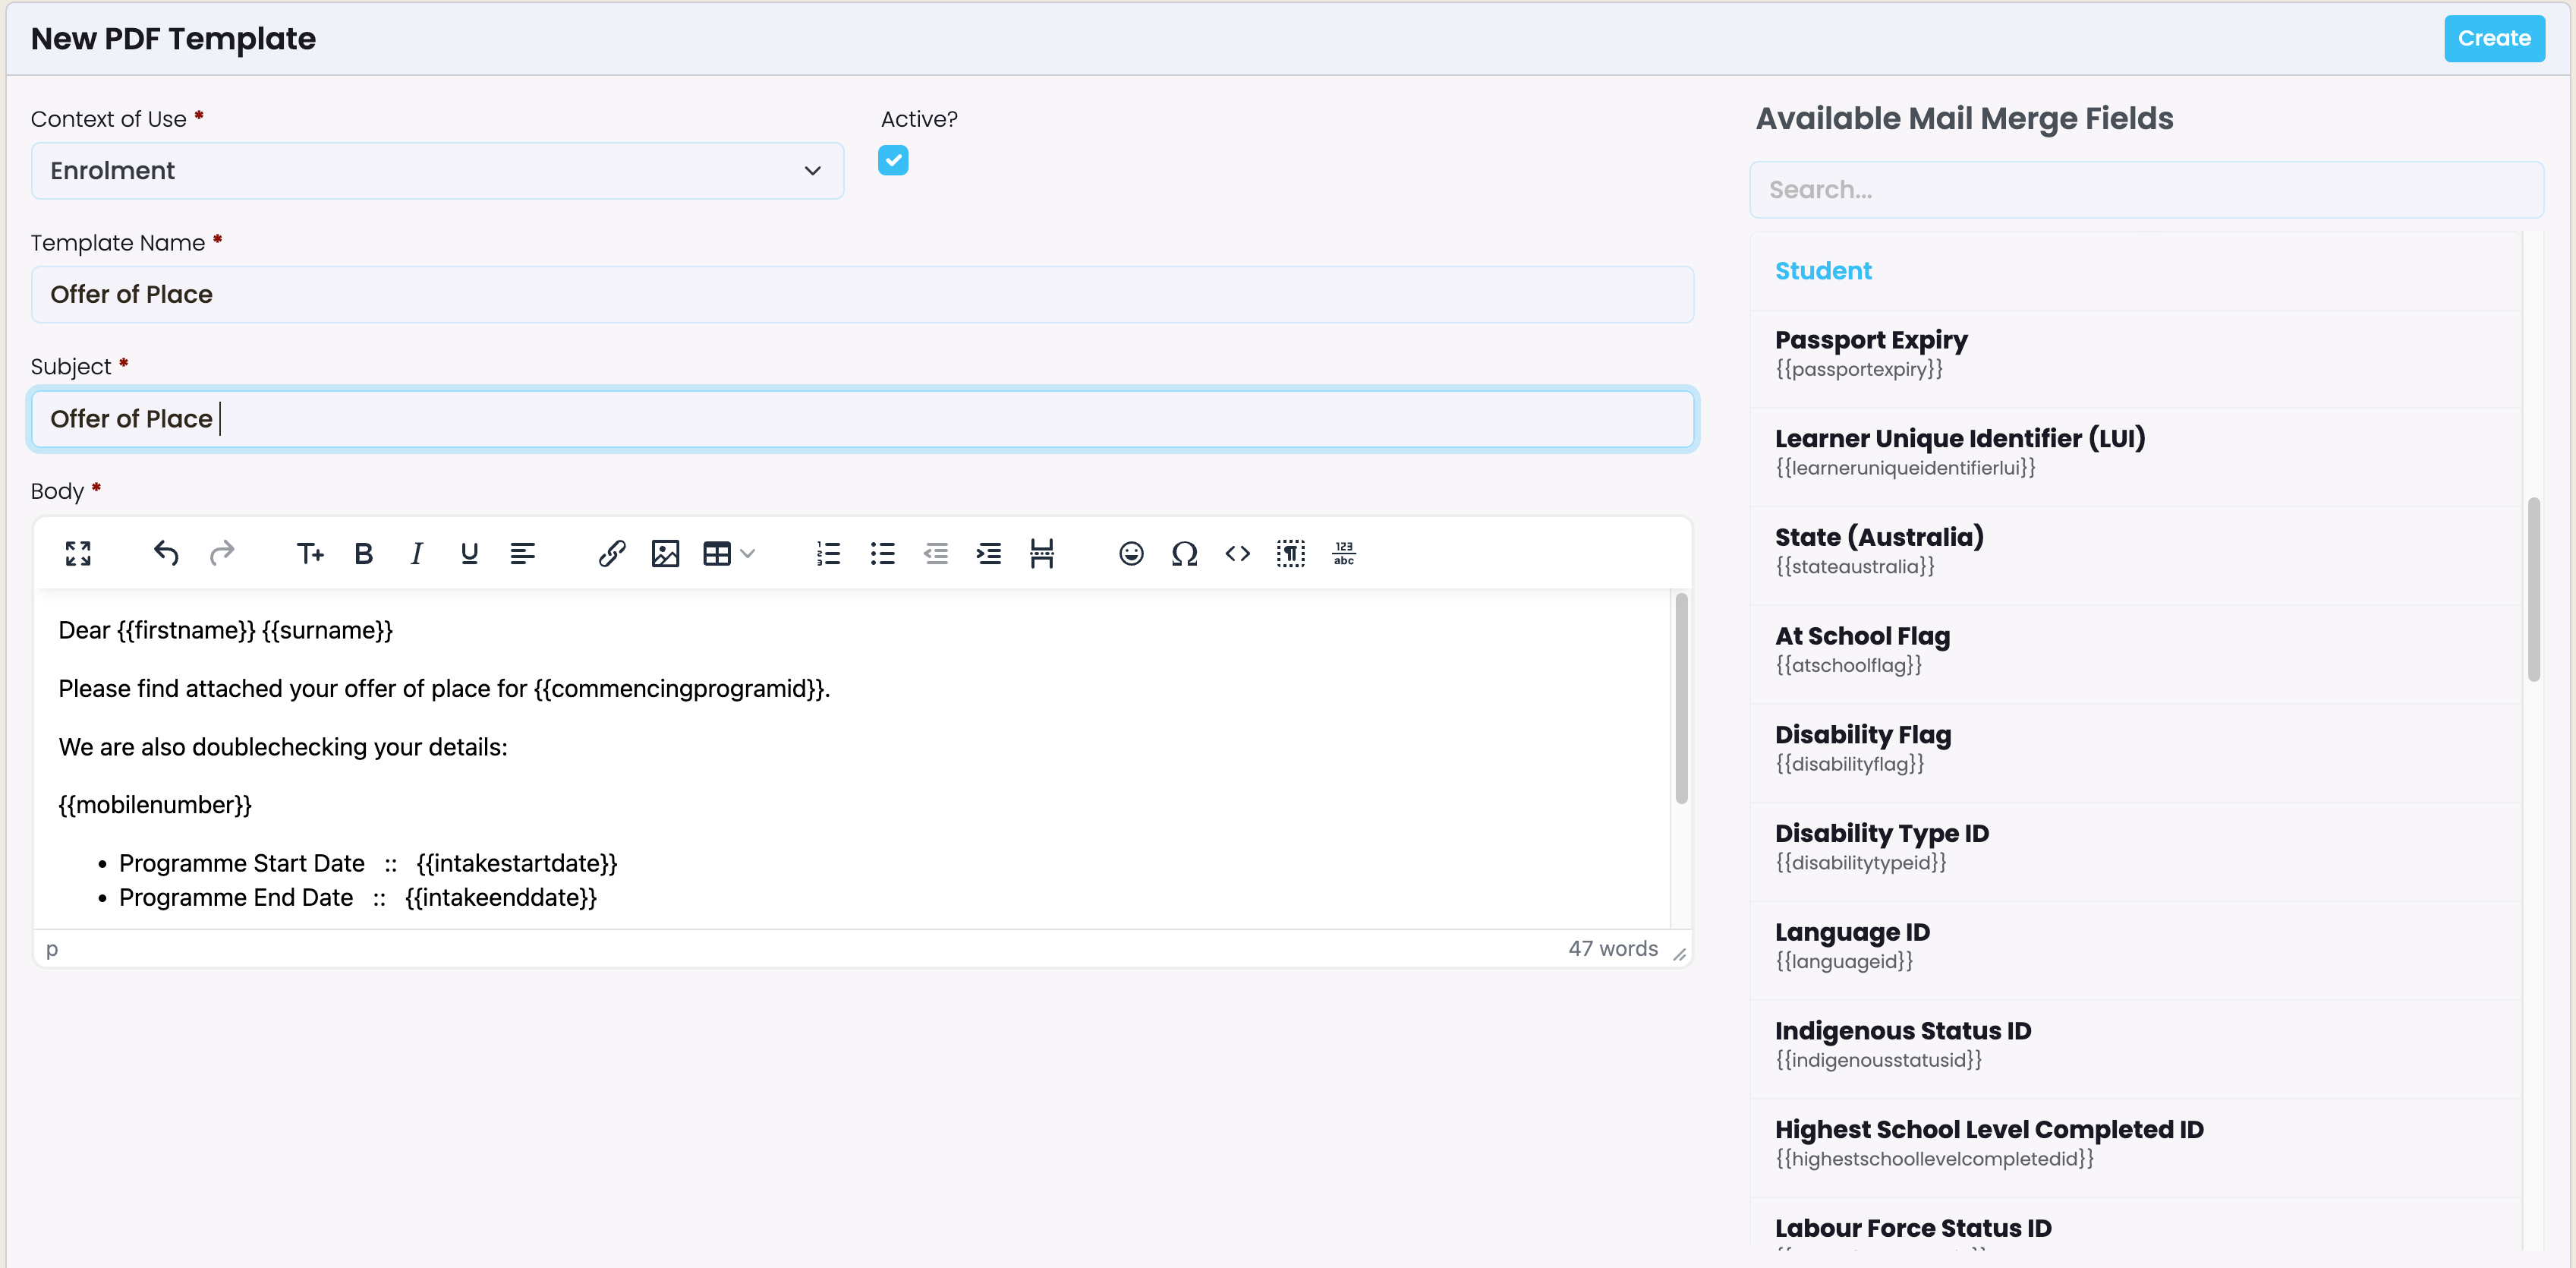
PDF templates
PDF attachment templates require Context of Use, Name, Subject and Body.
Like the email body, you can setup a PDF attachment that becomes available to be sent via email within the context of use.
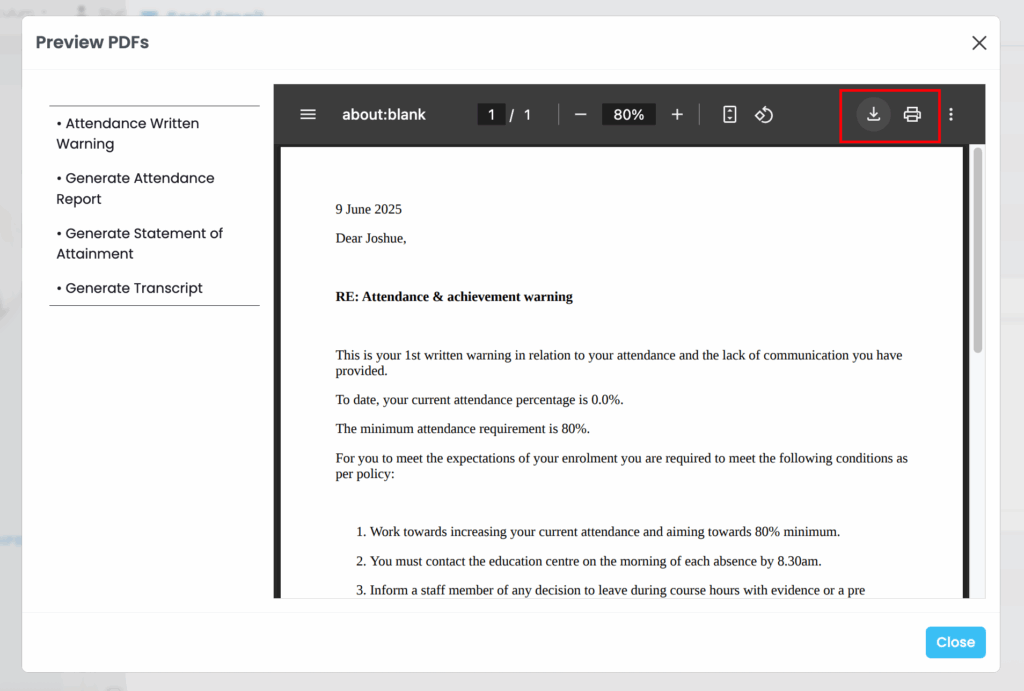
Preview, download and print PDF Template
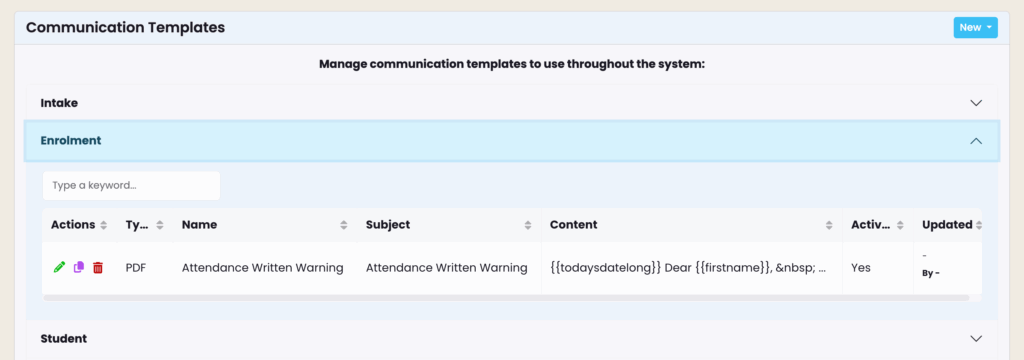
In this example, a PDF template named “Attendance Written Warning” was created in Communication Templates, under the Enrolment context.
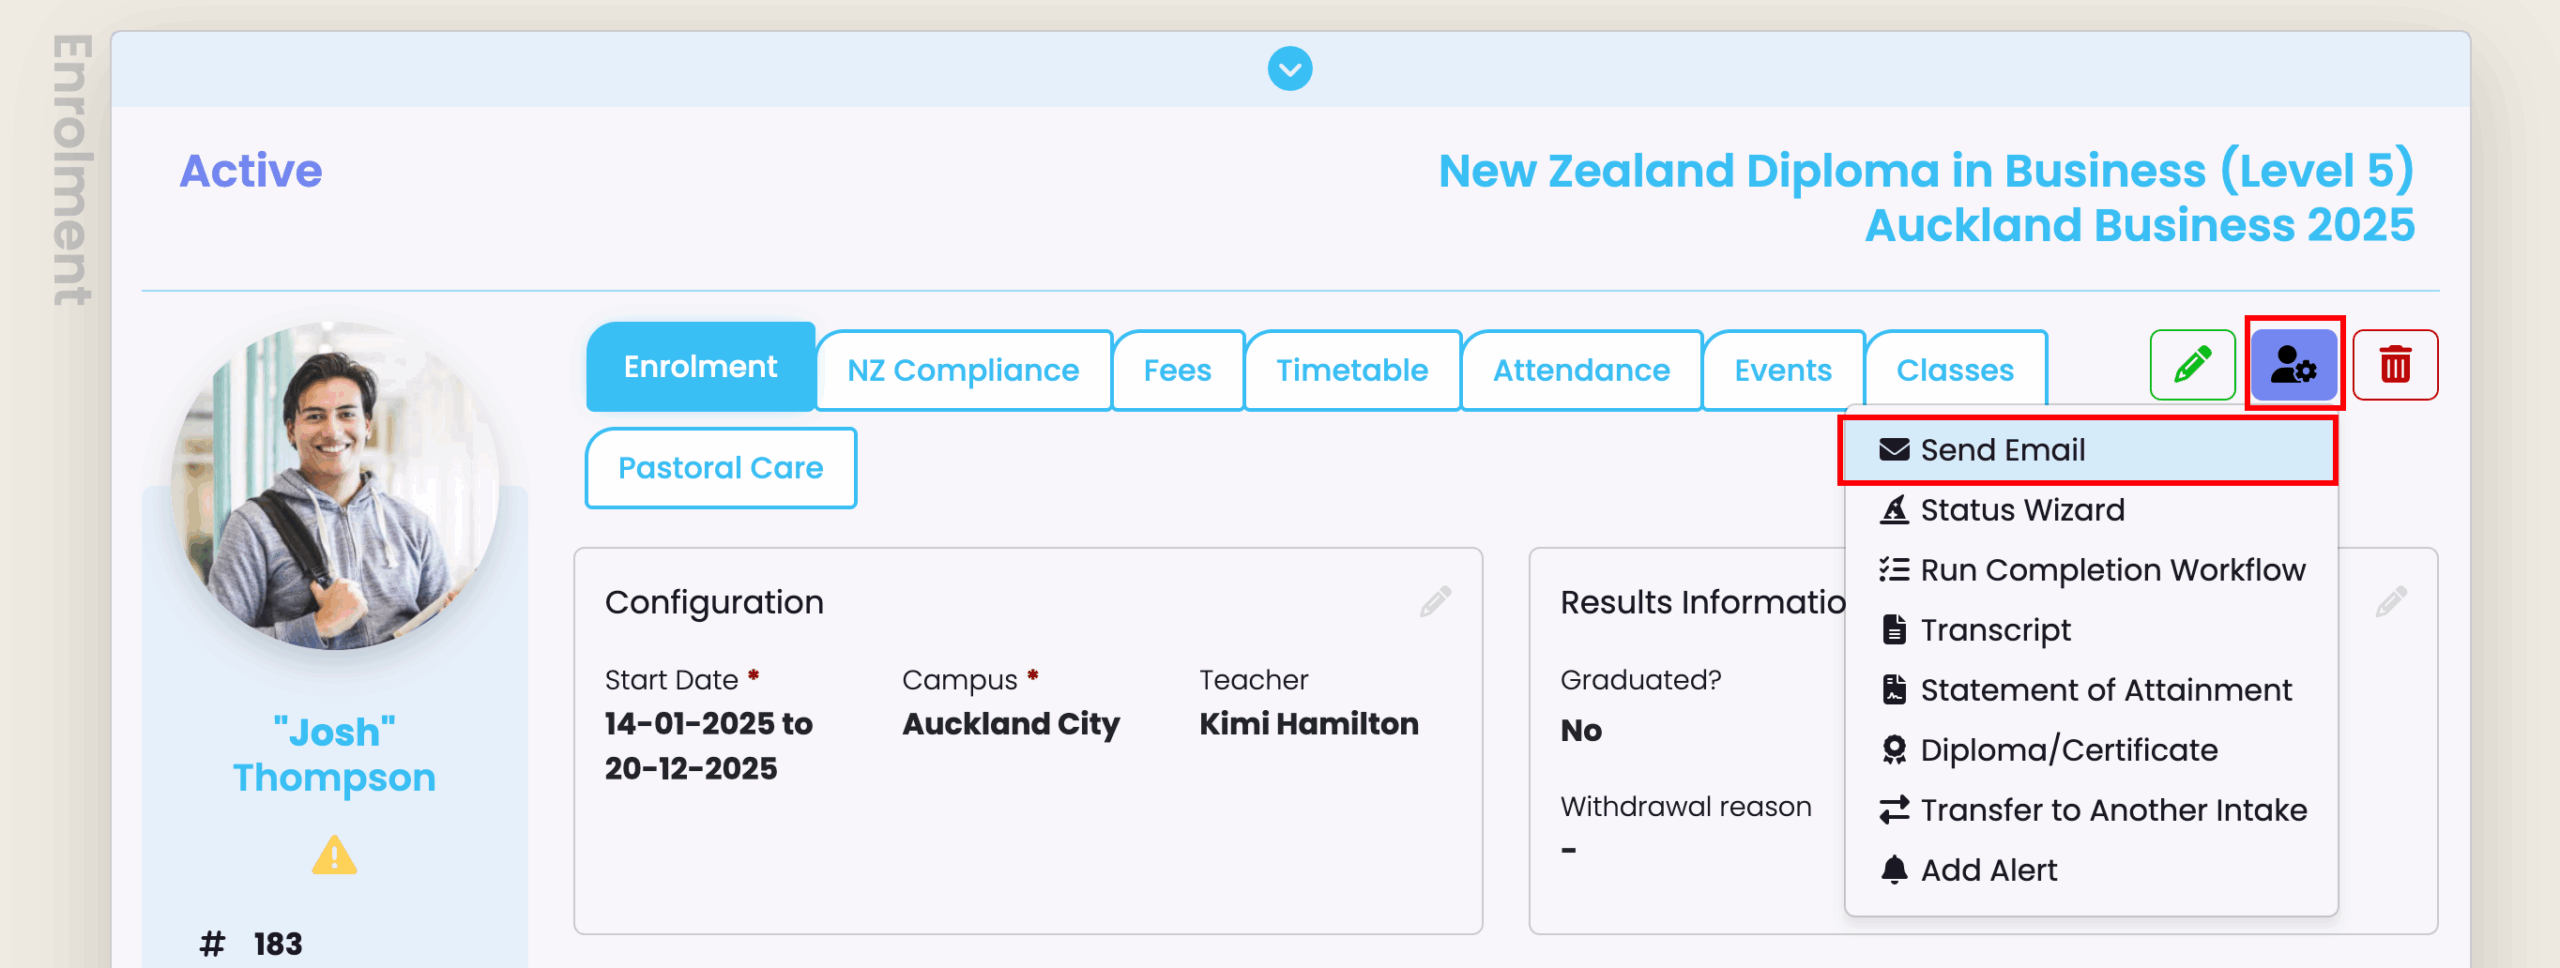
This template is accessible by opening an enrolment and navigating to “Send Email” from the actions menu.
To locate PDF templates, look for “System Attachments” below the email editor.
To send it via email, select it by clicking on the PDF template name.
To preview the document, click on the eye icon to the right of “System Attachments”.
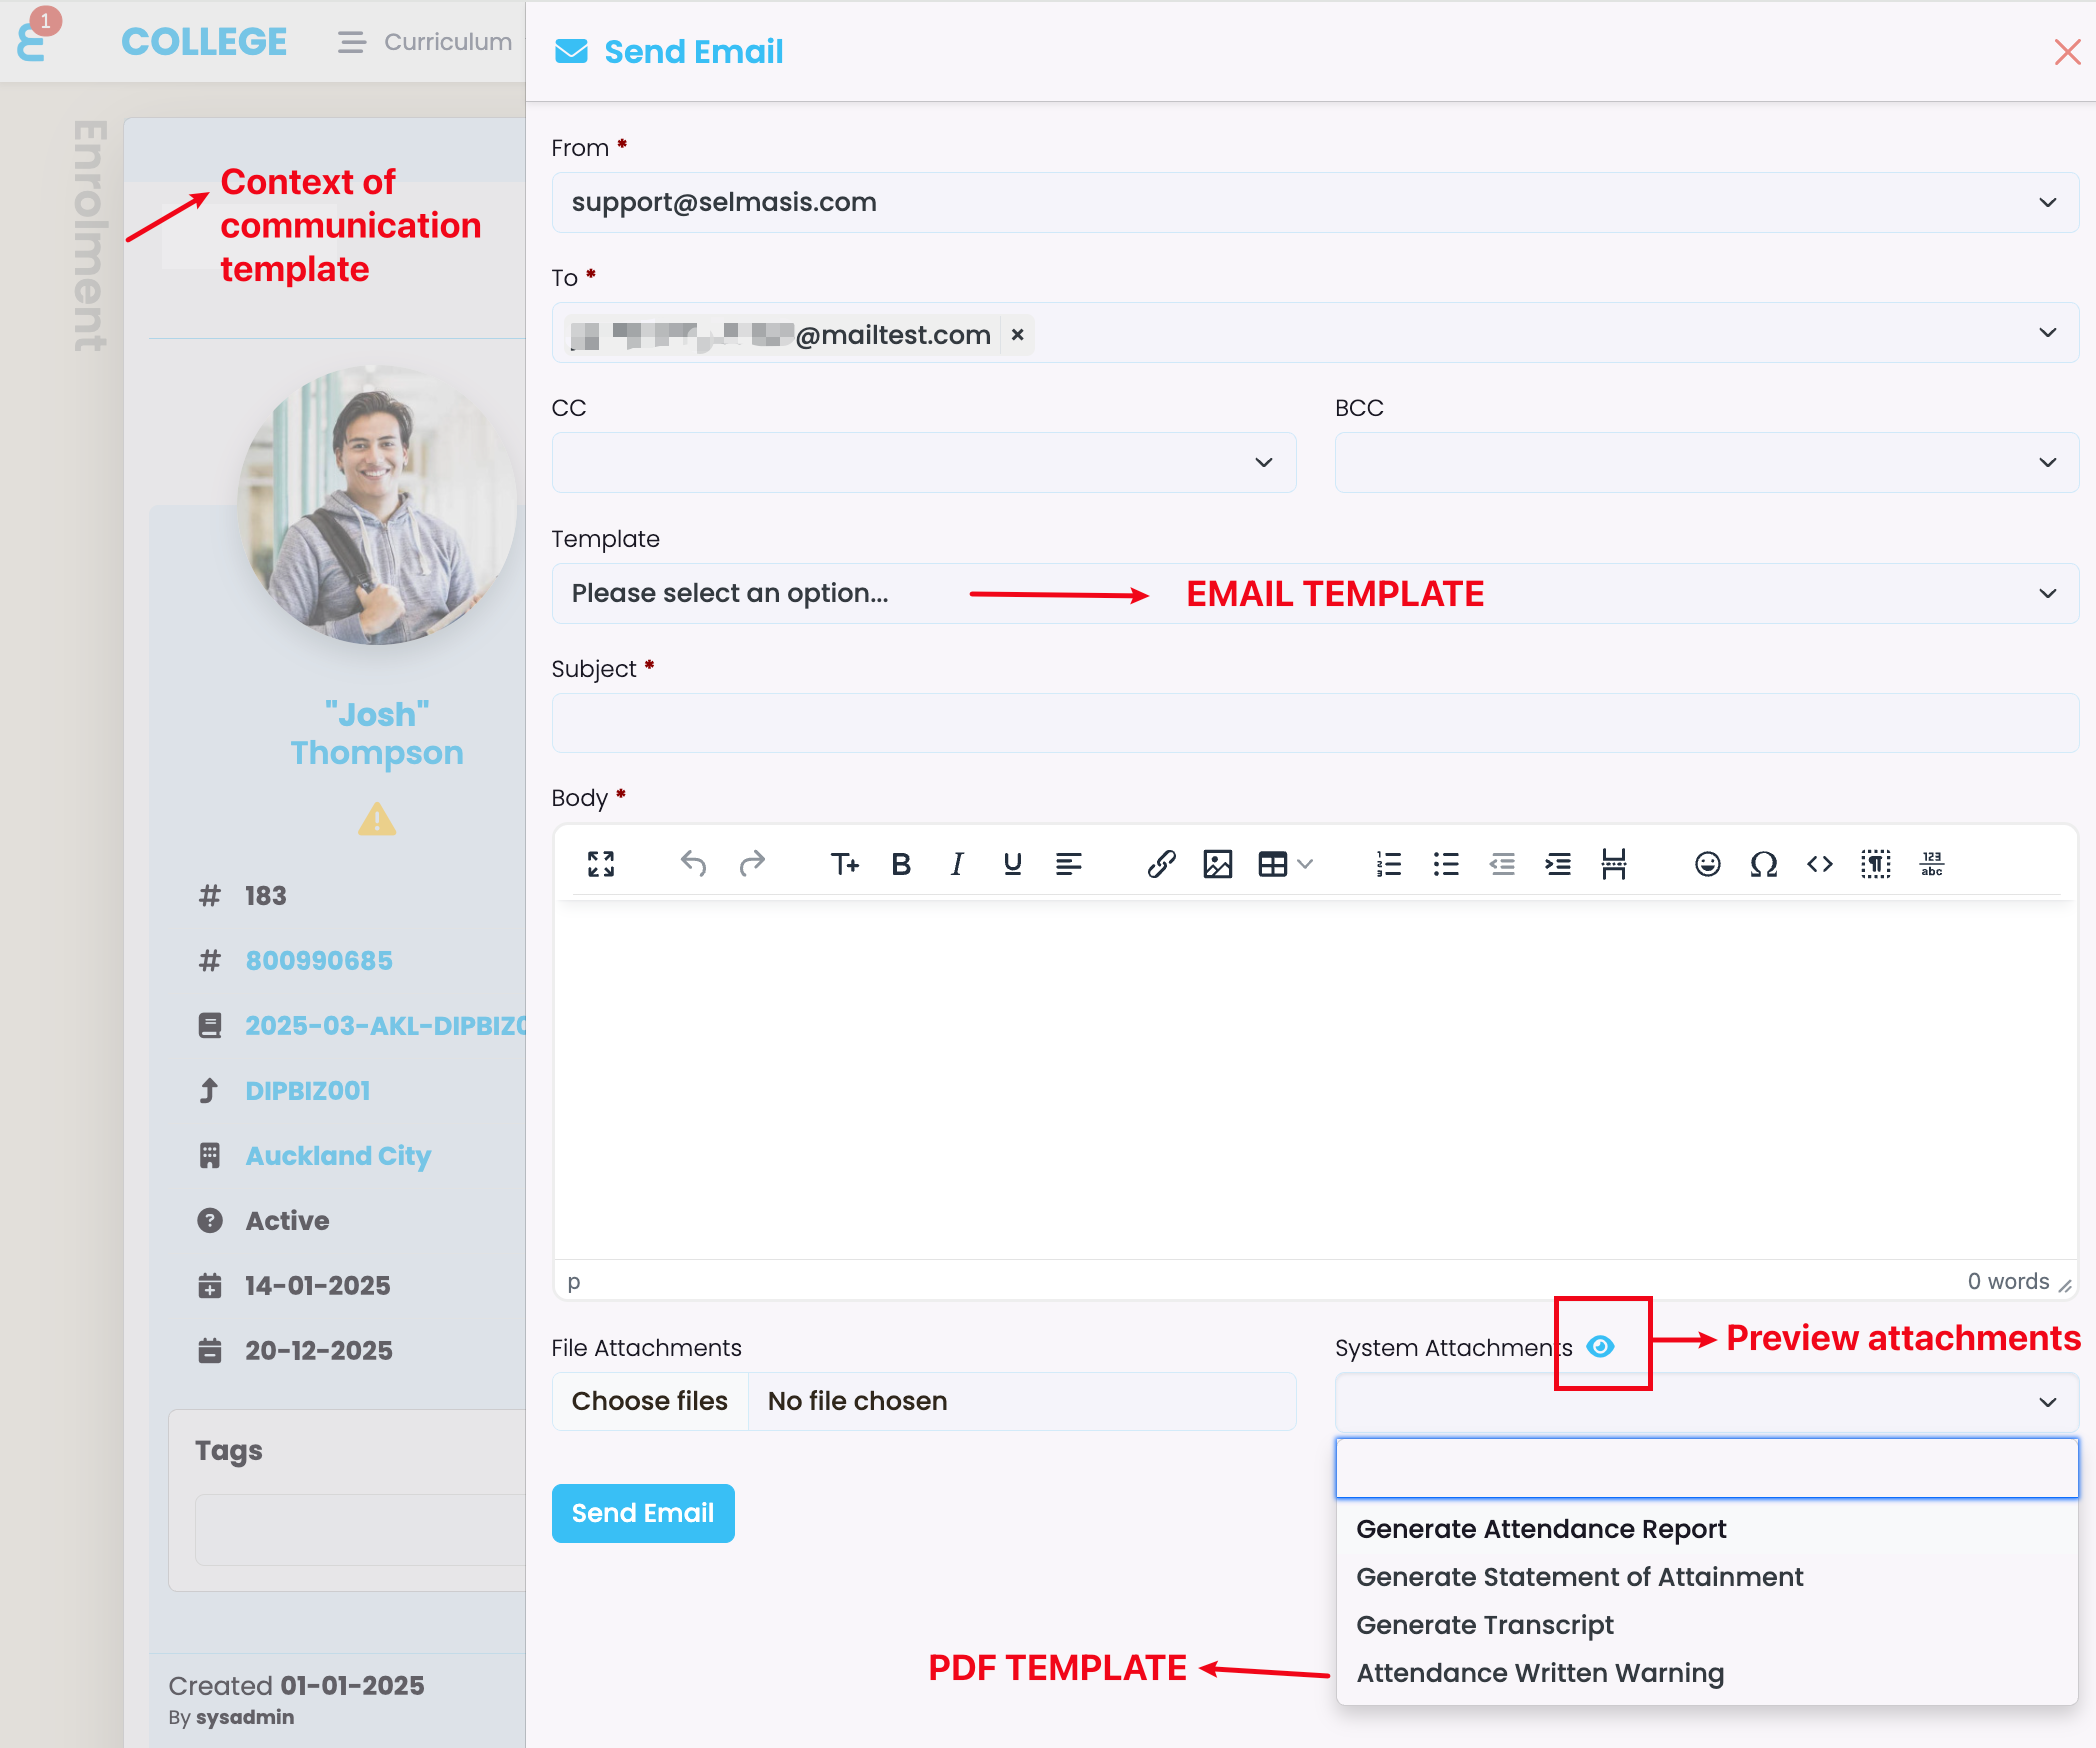
A popup window “Preview Template” will appear, where you can select from the documents available in the context (in this case enrolment).
The preview window has options to download and print the document.