On this Page –
Pre-defined contacts within SELMA –
- Employee
- Manager
- Supervisor
- Marker
- Assessor
- Contractor
- SELMA User
Contacts that are added to SELMA can be linked to relevant students. Additional Contact types can be added via your Look-Up Data – please refer to this article.
Create and Edit Contacts
To access your contacts in Selma, navigate to: Students -> Contacts
Create a Contact:
- Click on the green cross next to ‘Contact Index’ on the left of your screen:

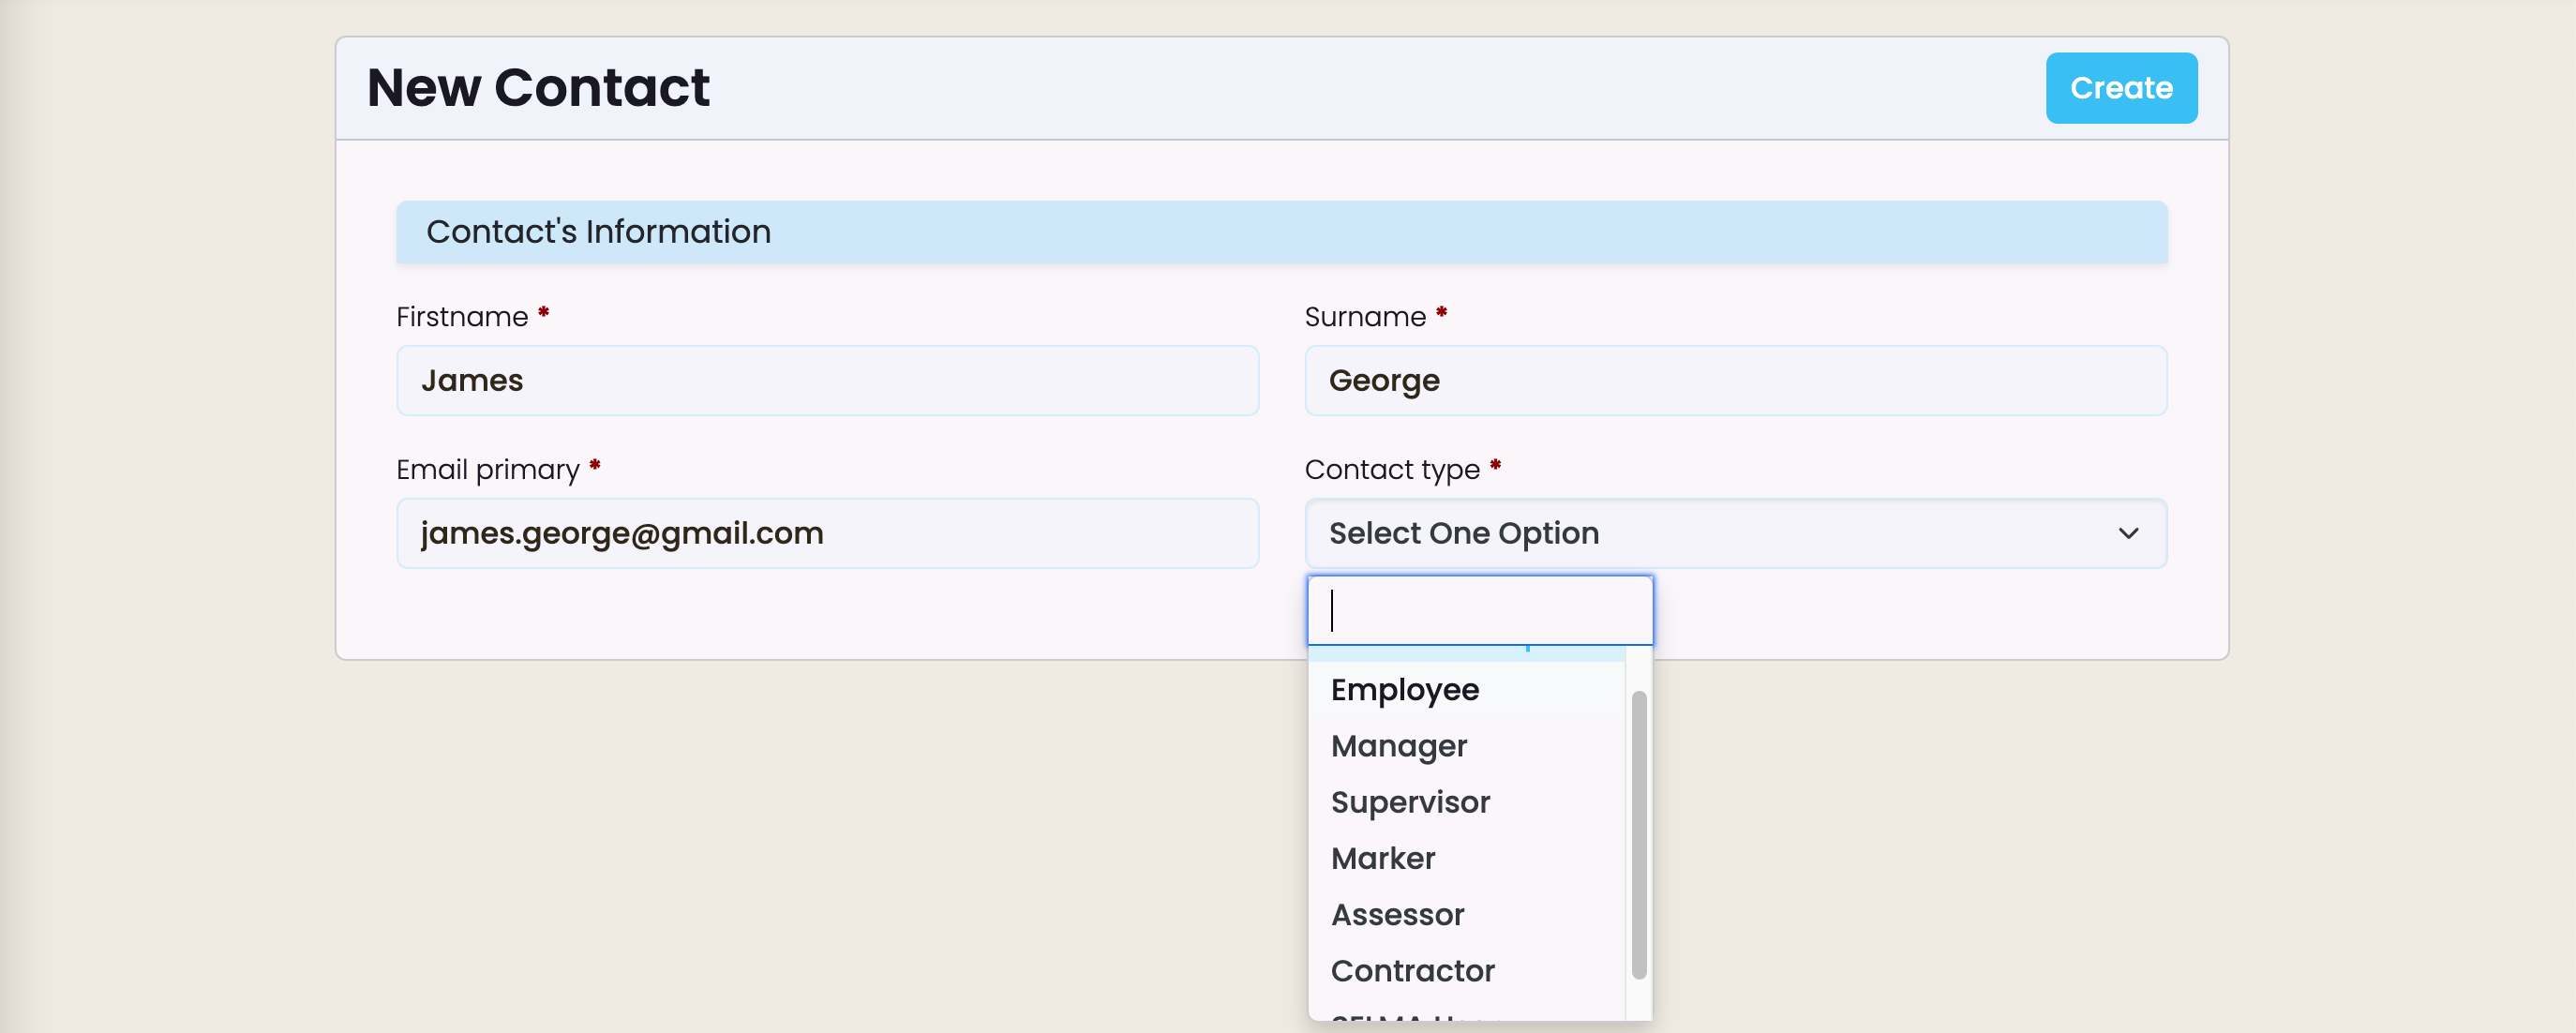
- Complete the New Contact form details and click on ‘Create’ once the details have been added –
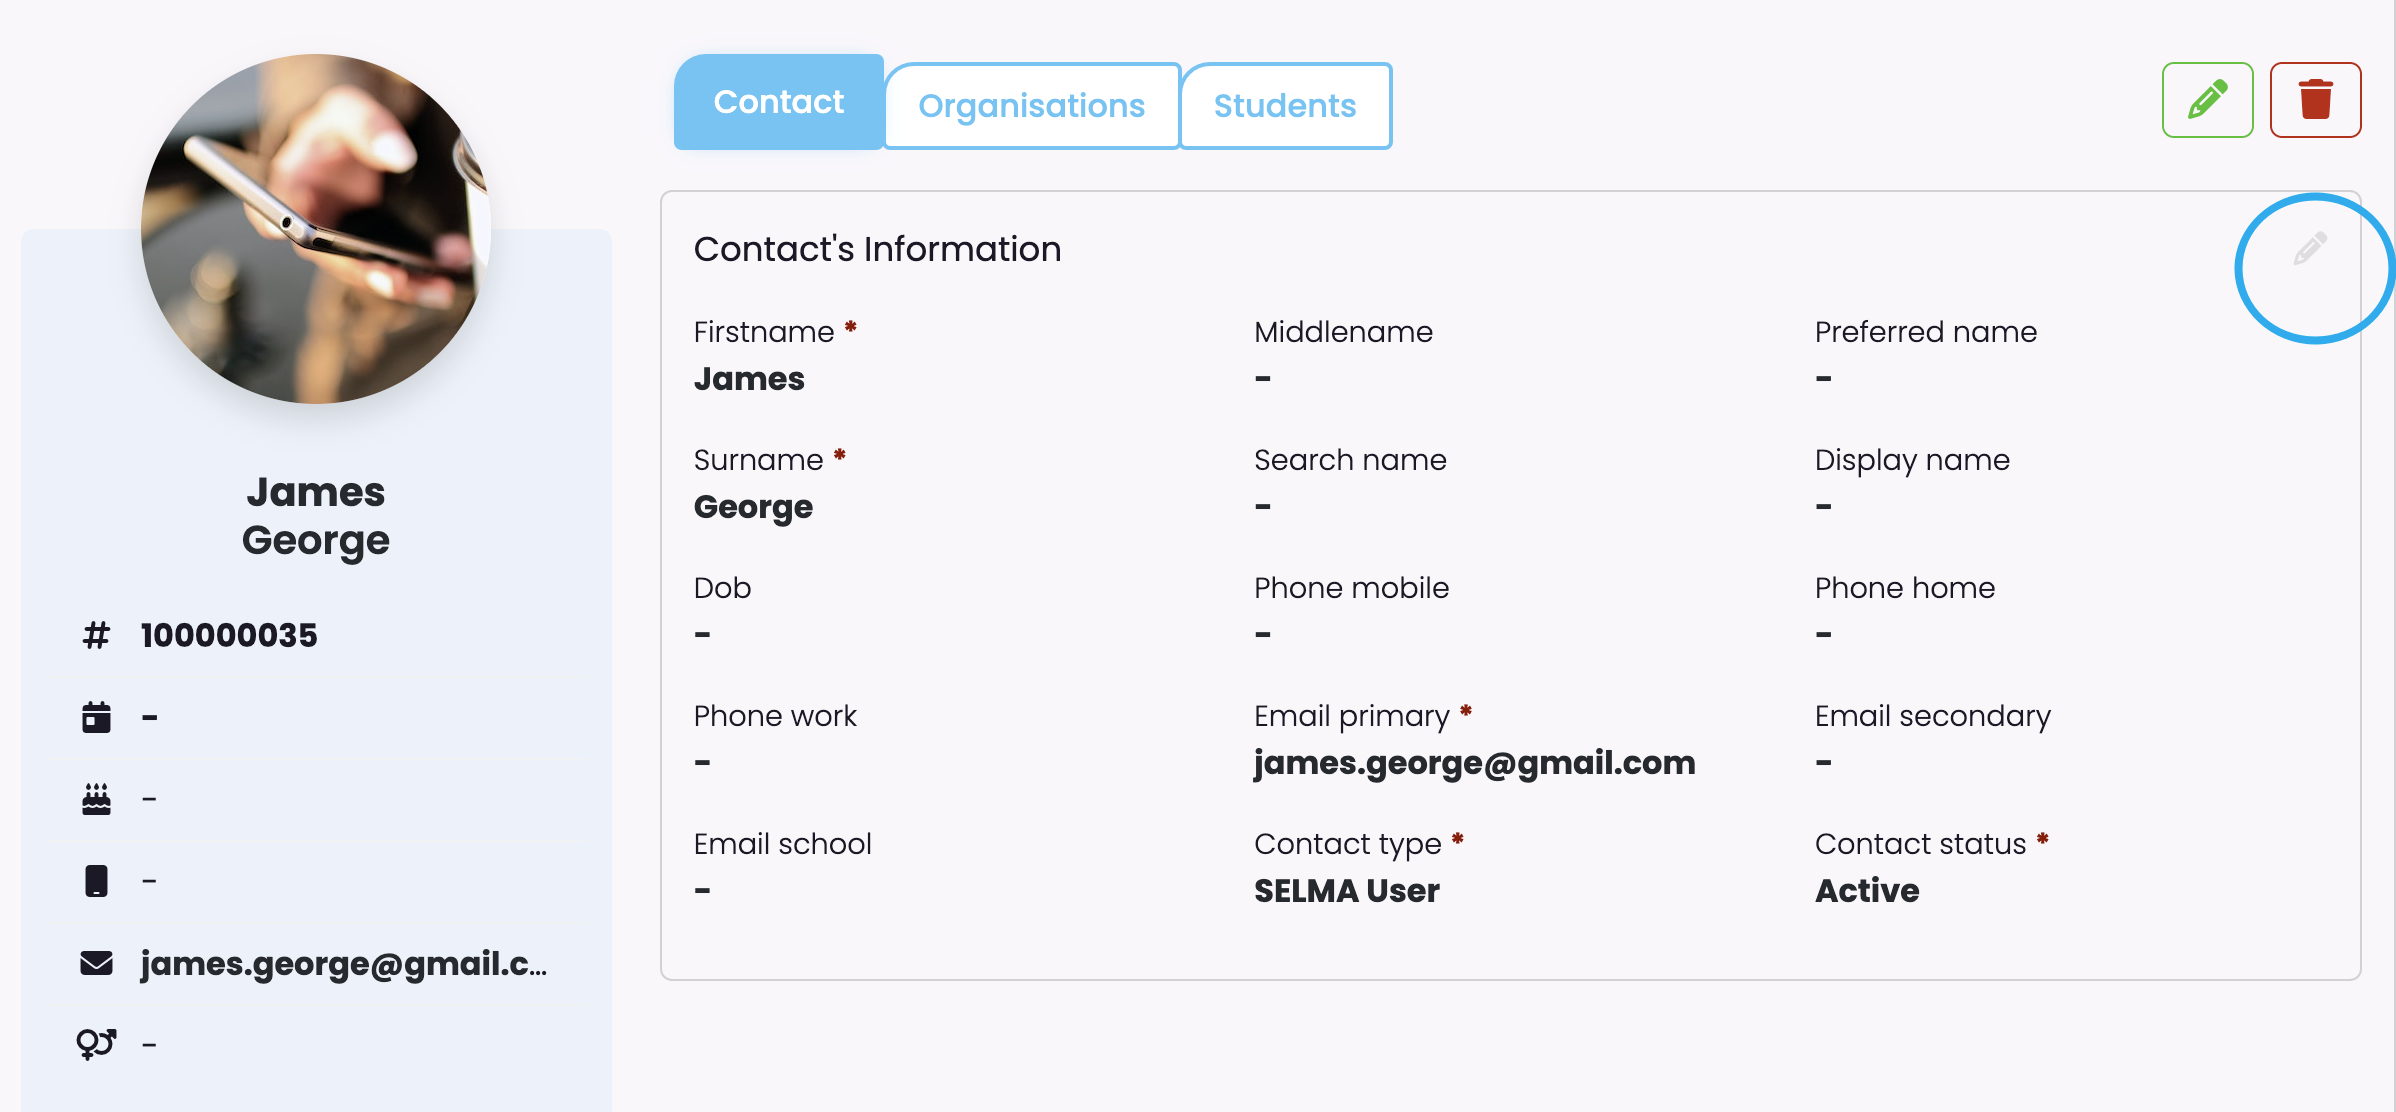
- Contact has been created with three index cards – Contact, Organisations and Students. All cards can be edited dependent on your system permissions.
- To add/edit Contact details, click on the grey pencil at the top of the Contact card –
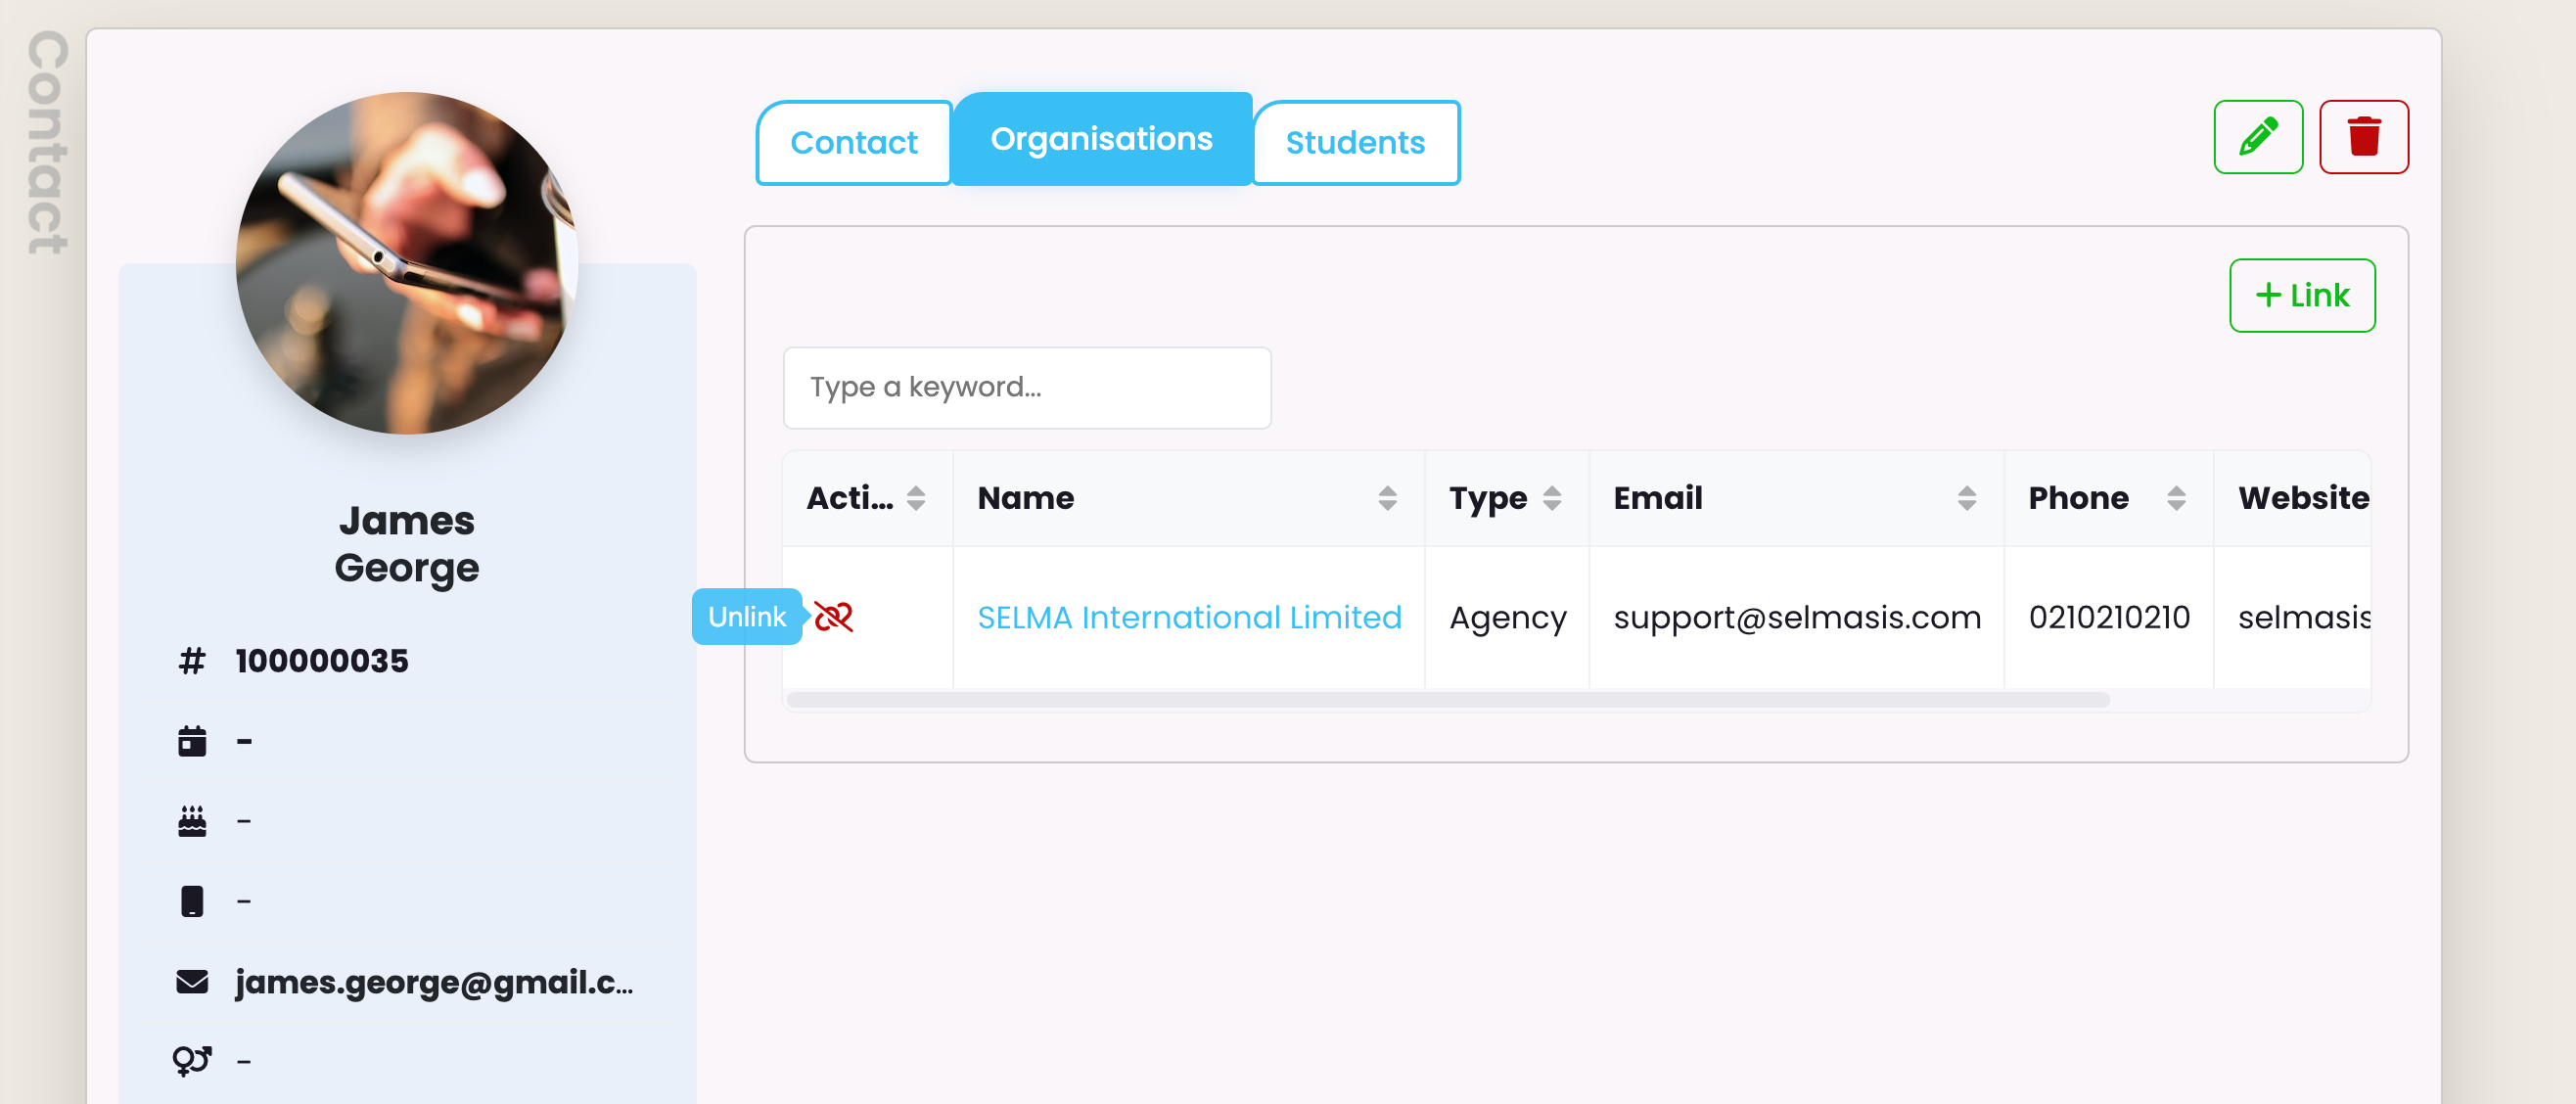
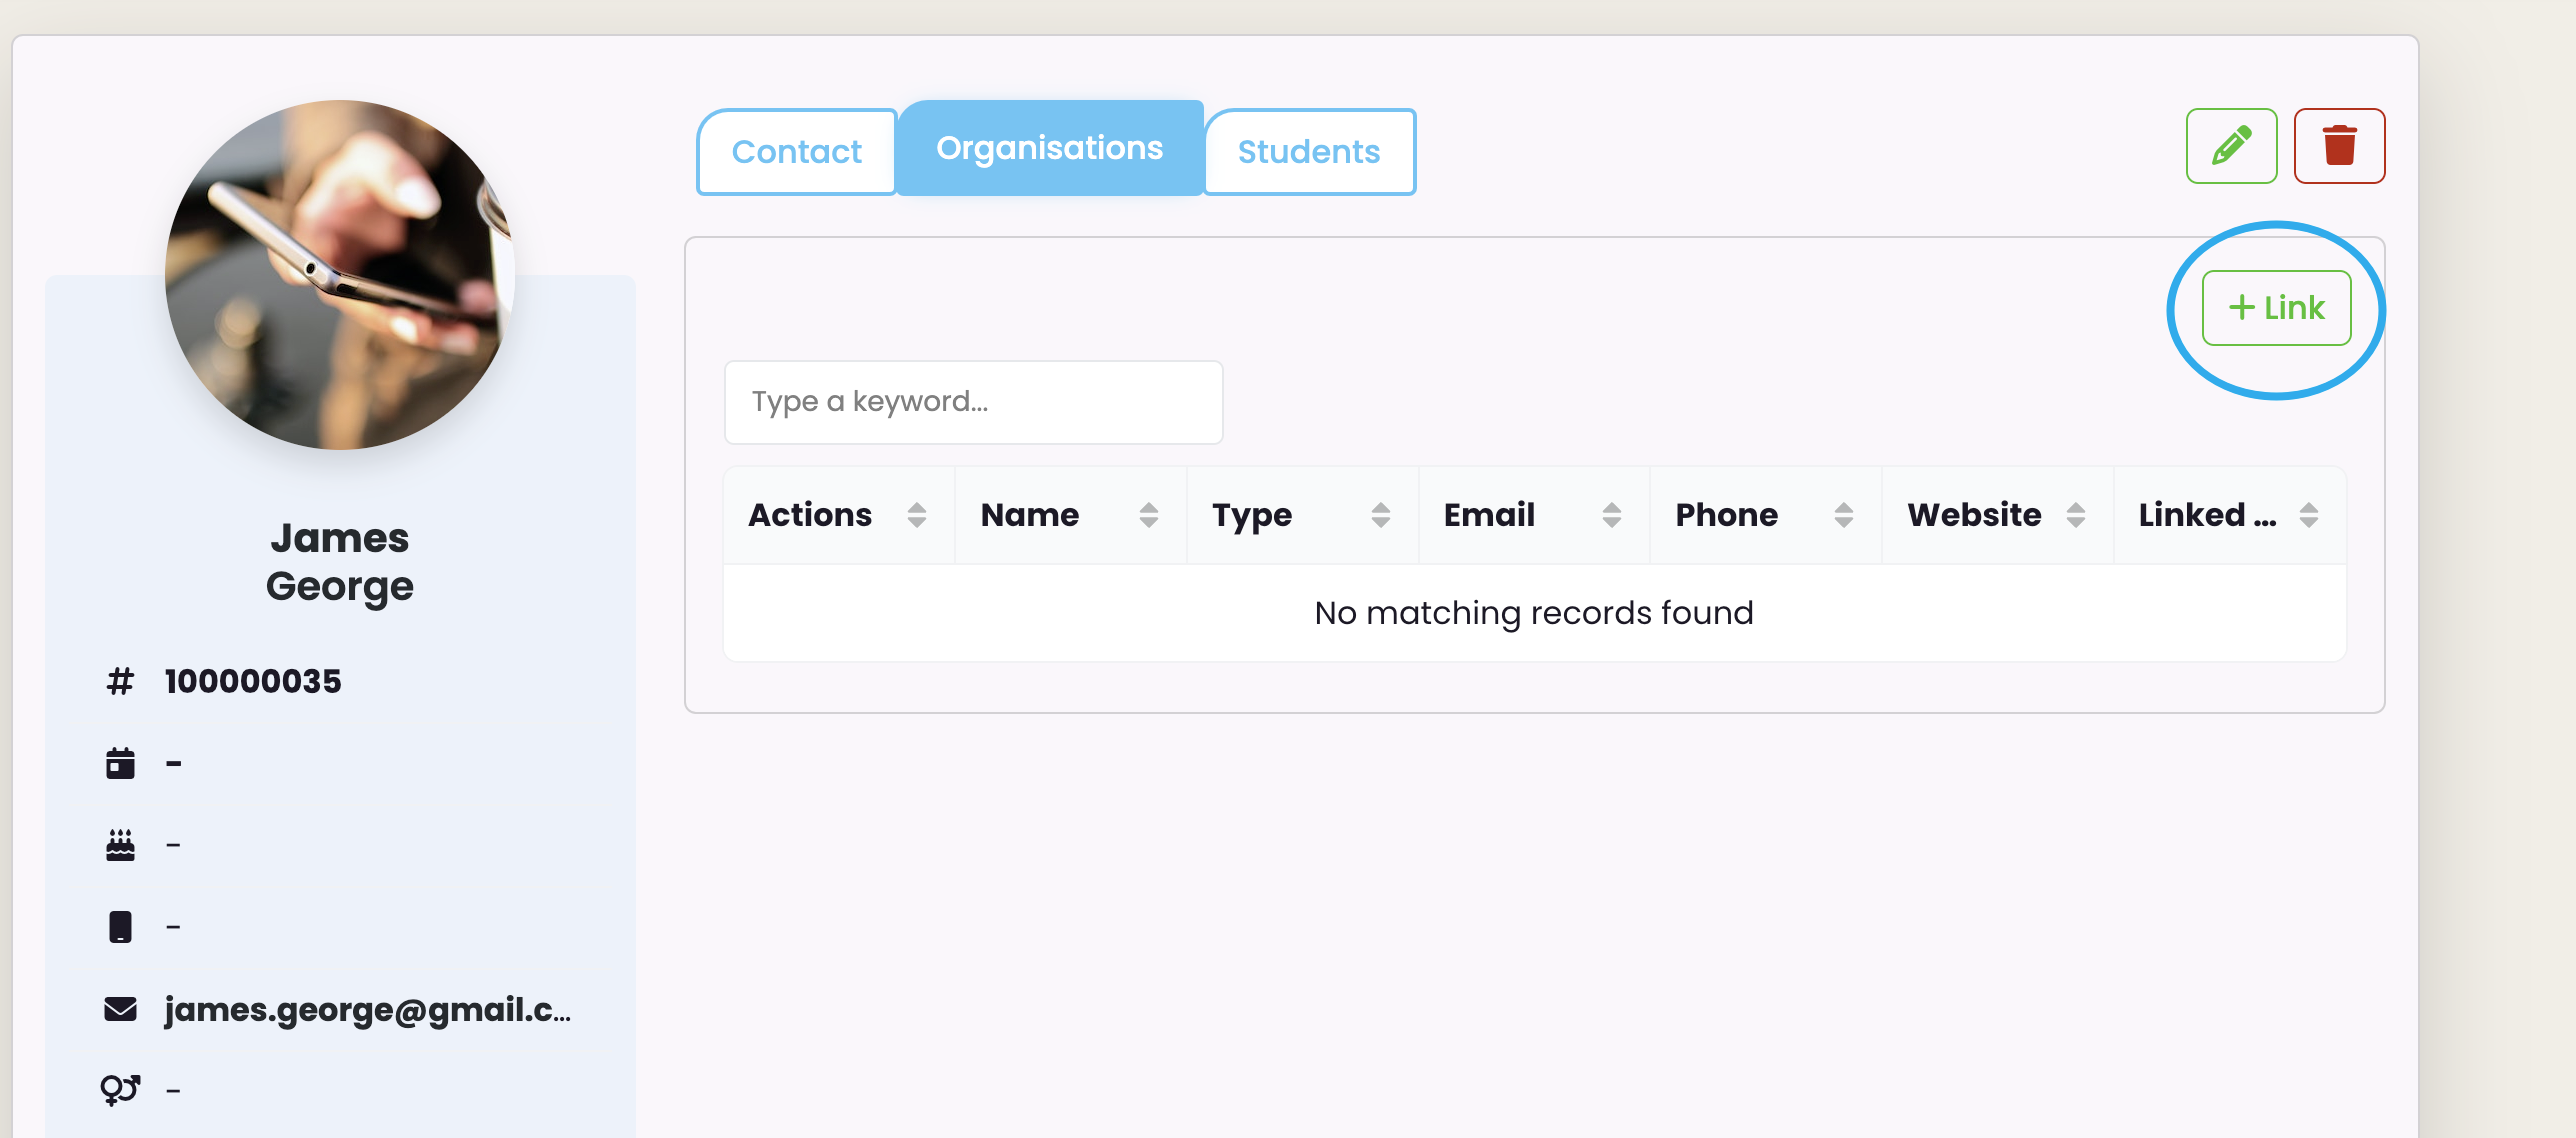
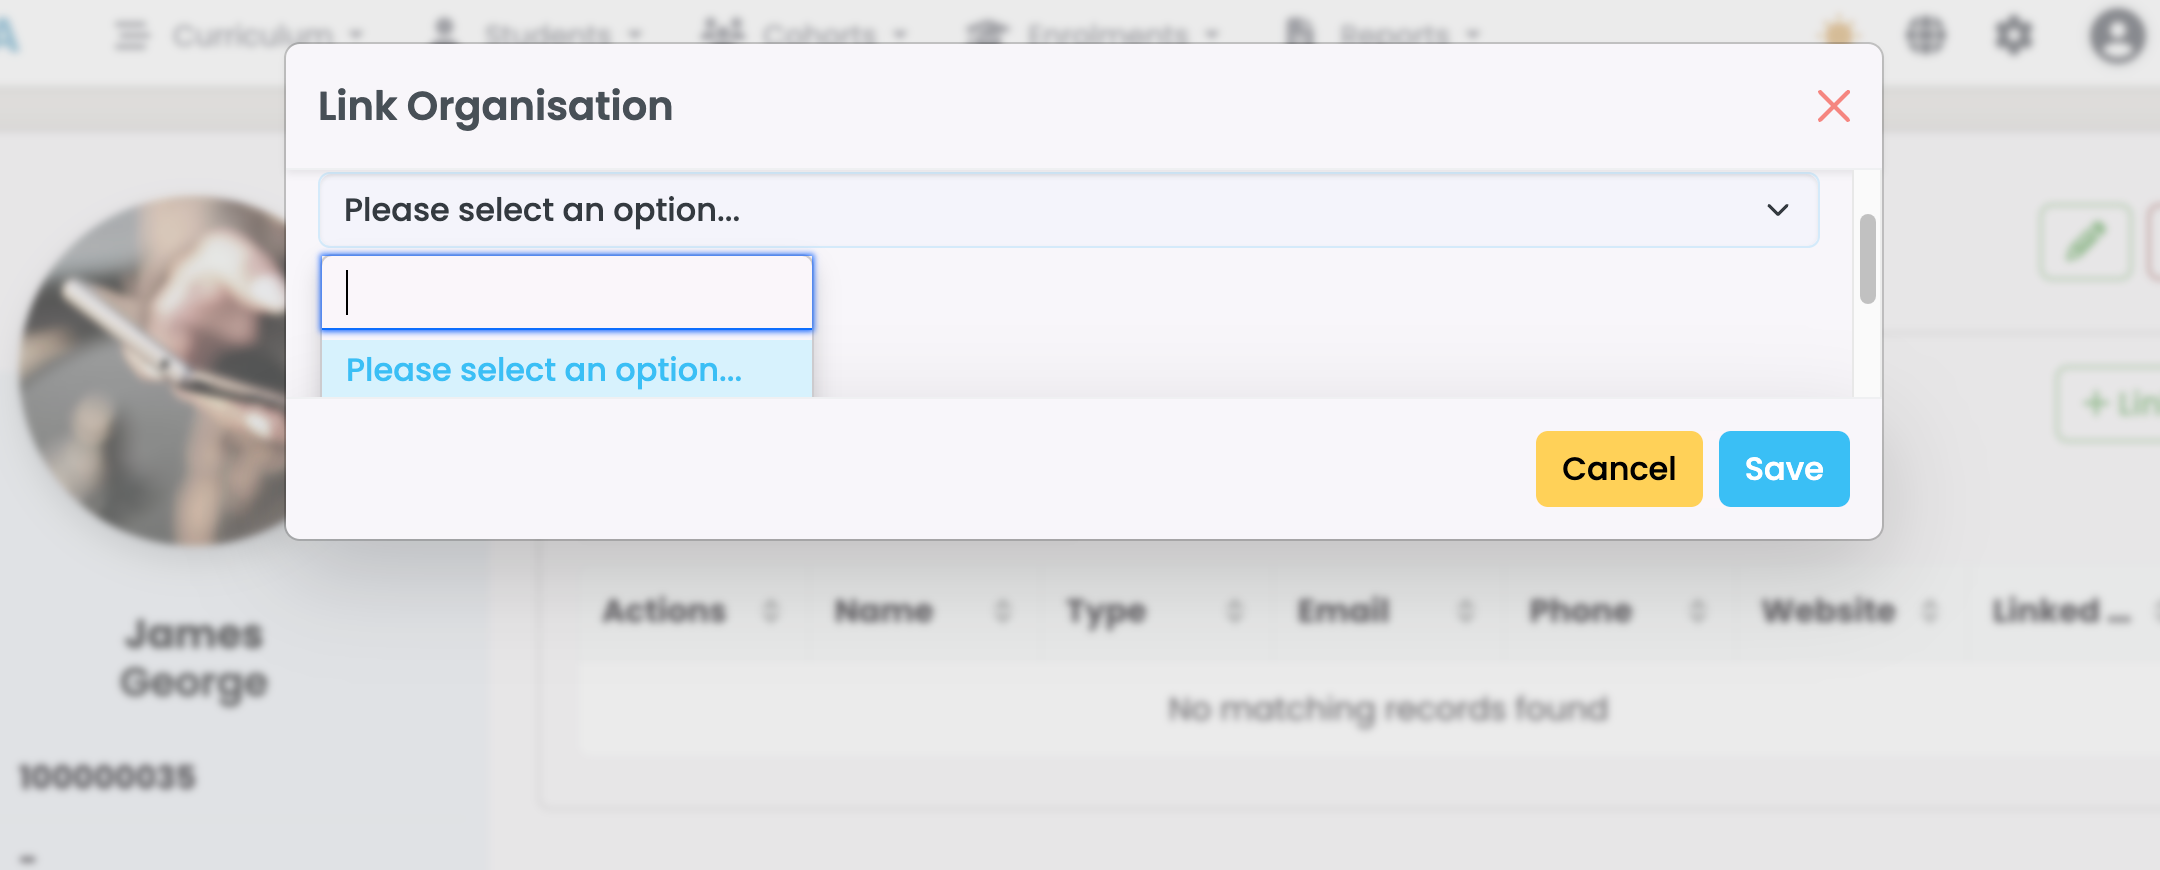
- To link an Organisation to your Contact, click on ‘Link’ at the top right of the Organisation card –
- Select relevant Organisation and click save –
- If you want to ‘unlink’ the organisation, click on the red, Unlink icon –